Free Photography Bundle ($180 value): PS actions, LR presets, photo overlays, & print templates!
Get it here.
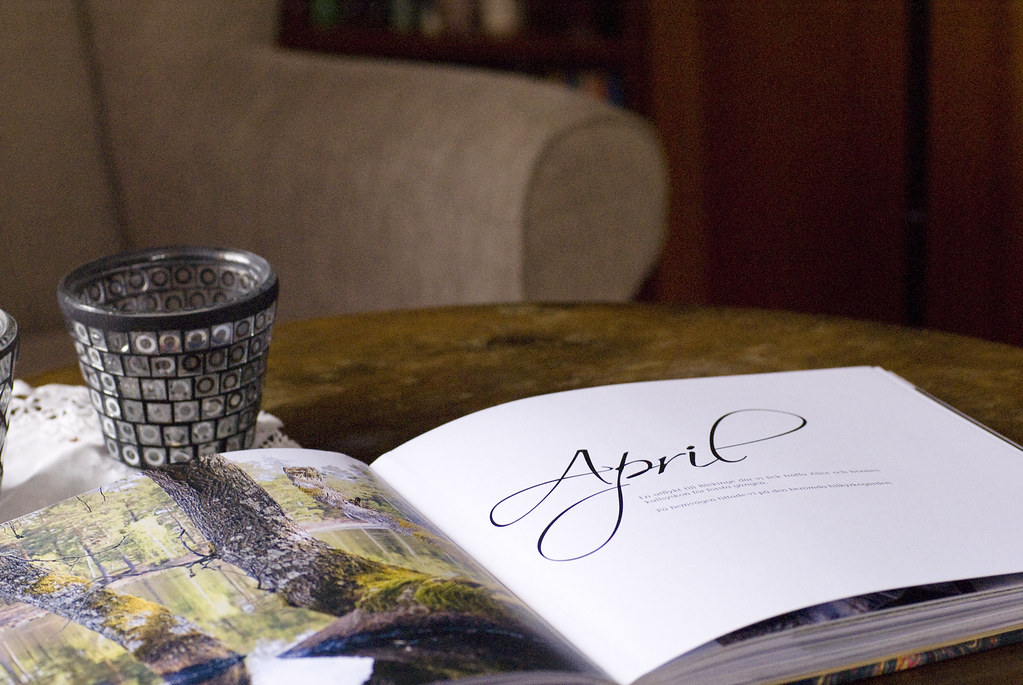
One of my favorite things about the days of shooting film, was not just making prints, but having prints. Digital photography is awesome on so many levels, but it doesn’t do much to encourage people to make tangible prints of their work. It’s just so much easier (and cheaper) to store the photos on a hard drive or social media site. I appreciate that level of ease, but I still have an affinity for prints–more specifically, photo albums. That’s why I’ve been delighted to see an upward trend in photo album sales. But, designing the perfect album can be quite the undertaking. Maybe even more appropriately called a big, tedious, time consuming chore.
Luckily, it doesn’t have to be such a difficult task. In fact, once you have a plan and get in the hang of it, designing a photo album can actually be something that is enjoyable. Here’s the process I use when I’m designing a photo album, hopefully you can use some of my advice and adapt into a plan that works for you. Let’s get started!
Step 1:Gather
The first thing I do is gather every possible thing that directly relates to the theme of the photo album I am working on. I check all of my photo resource such as my digital photo files, social media, and any Polaroid or prints I may have taken that work with the theme. At this point, I’m only sort of selective about what makes the cut and what doesn’t. If a photo is obviously not good or isn’t related, I leave it behind. At this point, if it’s okay, good, or great I’ll go ahead and include it.
In some instances, I’ll go beyond my photos and dig into other things that I may want to include in the album. For example, if I’m working on a album of a child, I may want to include some of their hand drawn artwork to supplement the photography. If I’m working on an album of a recent travel adventure, I might include a random note scribbled on a piece of paper that I found on the ground, a sketch I made, or a similar piece of scannable memorabilia that may add to the story. The point is, your photo album doesn’t have to be 100% about the photos–you can put other things in it as well! You can also add graphic design elements such as textures, borders, icons, and illustrations.
Step 2: Sort
Because you want your photo album to present itself as a visual story, you’ll need to figure out how to arrange the photos and artwork in a way has a natural flow. If you’re doing a family photo album, wedding photo album, or really any kind of album which is based on people, it’s most typical to put them in chronological order–usually from the earliest photos to the most recent, or in a way that closely follows the timeline of the event it is documenting. Travel photography albums may want to lump certain attractions or locations together, to be able to tell their stories more cohesively. In other words, put your photos of China in one section, dedicate another section for Japan, and so on and so forth. Keeping it organized will make it easier to “read”.
What that means, is initiating the sorting process. I’ll make folders for each section of my album using the photos I pulled in step 1. Again, the amount of folders and their contents will depend on what kind of album you are working on. You’ll need to figure out how many you need using your best judgement. The good news is, you can always combine them or separate them later on down the road if need be.
As I’m doing my initial sort, if happen to come across a photo I decide isn’t so great after all, I’ll file it back in the place in which I found it. The point of this is to end up with only the very best photos and also easing the burden of having to sort and resort a bunch of photos that just aren’t going to work out.
Step 3: The Final Cull And Round Two of Sorting
Now that I have all my photos sorted into general sections, I slow down a little and take a minute to look at each of the photos. It’s at this point where I start to become a little ruthless. It’s time to cull. We need to weed out the slackers that just don’t make the grade, and sometimes that means being a little critical of our own work. I’ll usually make three sub folders: Okay, Good, & Great. All photos in the Great pile automatically go in. From there, I see how many more photos I will need to fill out the album, then start dipping into the Good folder and the Okay folder as needed. I’ll do this for each section I created in step 2.
If the design requires it, I’ll also go through and resort each section and sort the individual photos within it, in the order I want them to appear in the album. Again, don’t stress out too much over this sort, since it is easy enough to change once you start getting everything laid out.
Step 4: Layout
I use Adobe InDesign to design my photo albums. It’s a feature rich program that can do whatever kind of wild and crazy design you can dream up, but with it comes a steep learning curve. If you’ve never put together a photo album, the idea of having to learn yet another Adobe product can be all too much. If you’re not up to it, there are plenty of other options available to you including free downloadable templates, 3rd party album design studio, or, oftentimes, print shops will have album design tools available on their website. Do a little independent research to see which suits you best. This is also the time I double check with my print shop to see what kind of requirements they have in regards to file sizes, resolution, margins, etc…
Because I design albums frequently and always use the same printer, I’ve worked up a few of my own templates in InDesign, that I can use to get my project off the ground quickly. Once I’ve settled on which template or design layout I think will work best with the photos I’m working with, I’ll start putting them into the pages.
I’ll reserve spreads and full pages to the photos that made the Great folder, or photos which really lend themselves to be the main attraction. Okay and Good photos will be arranged according to the timeline and prominence on the page. I’ll supplement the album with the extra artwork I curated, and add text to the pages as I see fit.
Speaking of text, it’s a great way to add details of the story to your album, such a caption stating where or when a photo was taken. You can also add quotes, fun facts, and other details that relate to the story. Text blocks can be large or small, but use your best judgement about how much is too much. You want your photos to speak for themselves to some extent. You’ll also need to make a judgement call on what photo looks good in which location. Don’t be afraid to try out a few options to find what works best.
Once you’ve got your layout finished, take a moment to look through the album cover to cover, paying close attention to the flow and overall aesthetic of the album. Edit as needed and make changes when necessary.
Step 5: Off To Print
Since you’ve planned ahead and figured out exactly which dimensions and file sizes are required from the print shop, this step is pretty painless. Package it up as directed by your printer and submit the album.
The most difficult part of this step is waiting patiently for you album come in the mail so you can sit down and enjoy it!

