Free Photography Bundle ($180 value): PS actions, LR presets, photo overlays, & print templates!
Get it here.
There are a lot of different ways that you can go about creating vintage effects for your photos in Lightroom and Photoshop. With our Fundamentals preset system for Lightroom it can be done quickly and easily. Fundamentals is a preset system (for Lightroom 4 and 5) that is available for free to anyone who subscribes to our deal notification email list. By subscribing to the list you’ll be emailed whenever we run a significant promo on any of our products, and as a bonus you will be able to download Fundamentals for free.
In this tutorial we’ll quickly walk through the process of creating a vintage effect on a sample photo. You can achieve this look in Lightroom with or without Fundamentals, but the purpose of Fundamentals is to speed up your workflow. You can get the vintage look with just a few clicks and without messing with a lot of sliders in Lightrooms develop module.
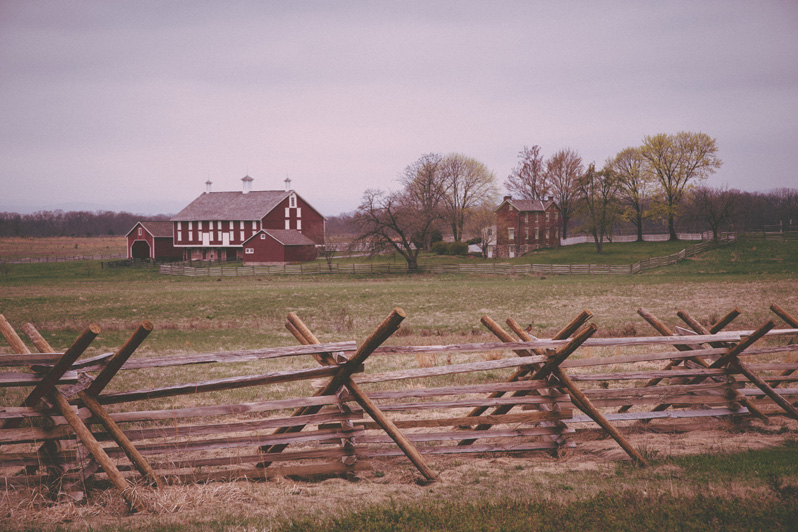
For this tutorial we’ll be working with this photo.
Assuming you already have Fundamentals downloaded and installed, open Lightroom and move to the Develop module. If you haven’t already downloaded and installed Fundamentals you can get access to download the set here, and installation instructions are included in the download file.
Here are the steps to get the vintage look:
- Click on preset 7.4 to apply a vintage curve
- Click on preset 2.10 to lighten the exposure by 0.25
- Click on preset 3.2 for low contrast
- Click on preset 4.2 for a typical tone adjustment
- Click on preset 6.4 for low desaturation
- Click on preset 10.2 for a low vignette
- Click on preset 11.2 for low grain
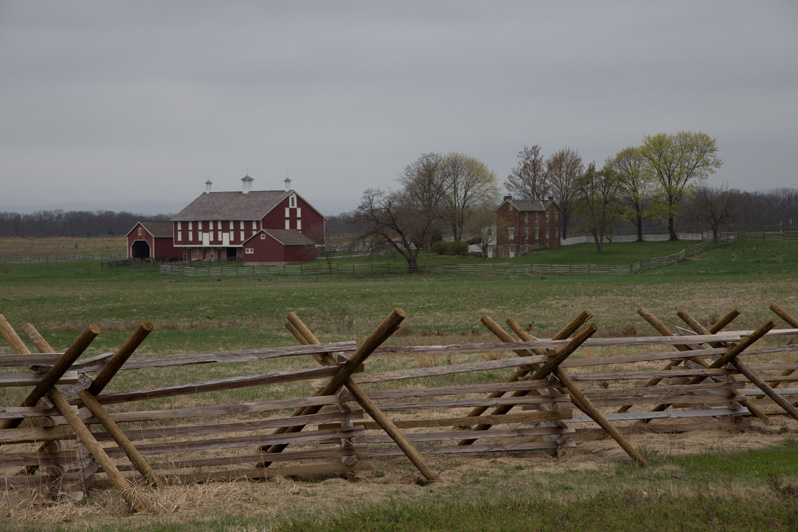
The specifics may vary depending on your photo, but you can easily experiment and get the look you want with just a few clicks. Here is our end result: