Free Photography Bundle ($180 value): PS actions, LR presets, photo overlays, & print templates!
Get it here.
Making use of Lightroom presets is one of the best ways to improve efficiency and speed up your workflow. Stackable workflow presets like our Master Workflow Lightrom Presets give you a great deal of flexibility while still allowing you to work quickly, but the most common use of presets is the one-click variety.
With most Lightroom presets you will apply the preset and you’ll get a result based on the type of preset you have chosen. For example, if you’re applying a vintage preset you will get a photo with some sort of vintage effect. However, the downside of one-click presets is that they will not look the same on every photo. Since each photo provides a unique starting point, the results of a preset can vary from one photo to the next.
The good news, and one of the reasons to absolutely love Lightroom presets, is that they can be easily customized or tweaked to suit the needs of a particular photo. When a Lightroom develop preset is run it will apply specific settings to the photo. You can certainly keep all of those settings as is, or you can easily adjust them as you see fit.
In this article we’ll take a look at how you can adjust, tweak, or customize the results of a preset. Even if you decide to make some adjustments to the results of a preset it may still be able to save you a considerable amount of time as compared to starting from scratch.
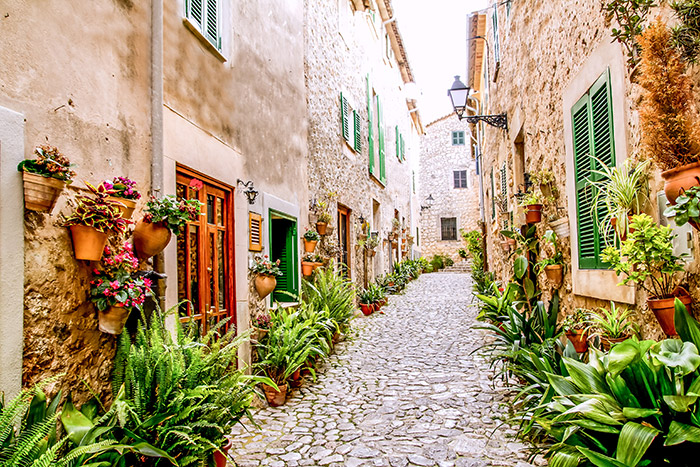
Example 1
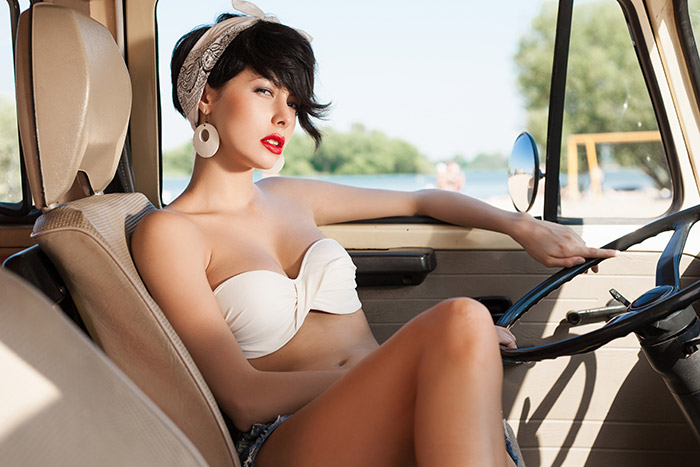
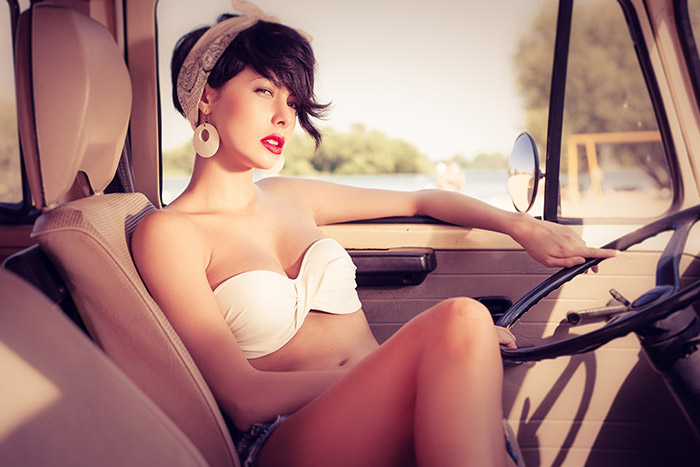
For our first example I will be using the sample photo shown below, and I will be applying one of our Lomo Presets to it.
After applying the violet lomo preset it looks like this:
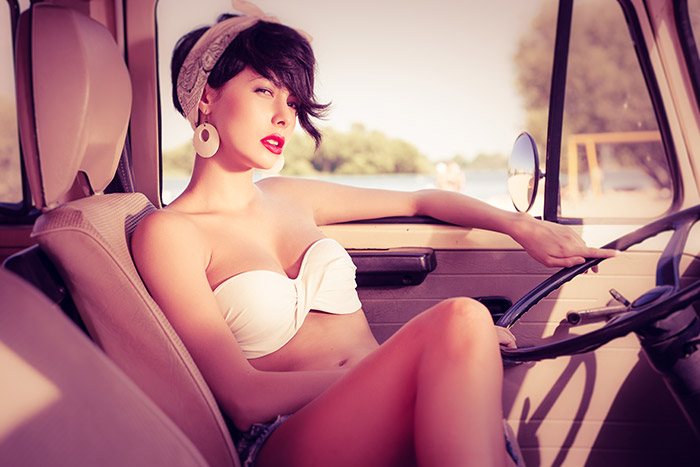
In this case I’d like to reduce the amount of purple or violet. I’ll simply move down to the split toning settings where I can see a strong purple/violet is being applied in the shadow areas.
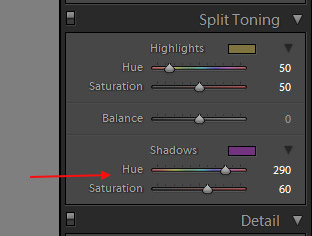
By reducing the shadow saturation from 60 to 30 I can significantly decrease the strength of this effect. And the result is shown below.
Example 2
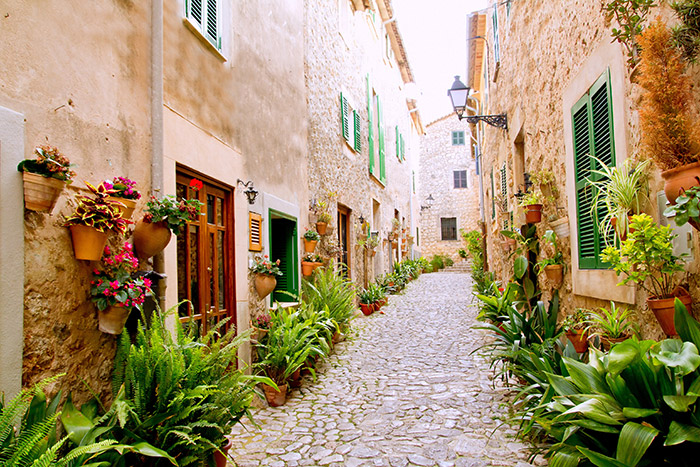
For the next example I will use a one-click preset from our HDR Hero Presets, and the sample photo below.
After applying the Bold HDR preset the photo looks like this:
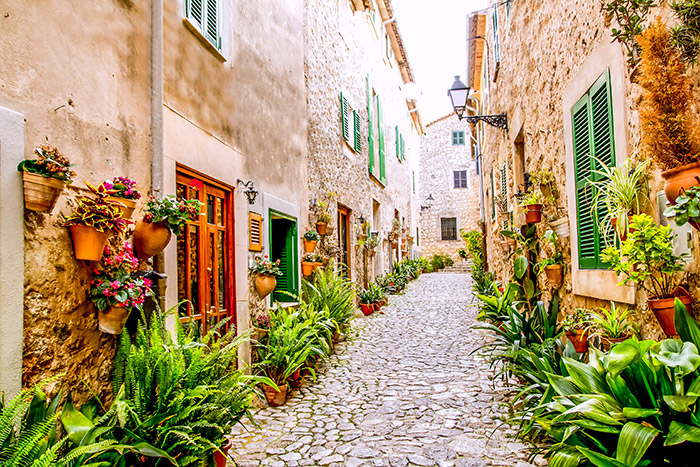
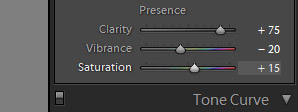
The saturation is a little to strong for this photo, especially the greens. So I will go to the Basic settings in the develop module and reduce the saturation from 15 to 0.
After that change the photo looks like this:
It still has the HDR effect, but without the green areas becoming overly saturated.
Conclusion
As you can see, the settings created by Lightroom presets are very easy to tweak as needed. Presets can be used as a starting point, and even if your photo doesn’t look perfect after applying the preset you may still be able to get the look that you want with just a minor tweak or two, which can still save you a great deal of time compared to starting from scratch and not using presets at all.

