Free Photography Bundle ($180 value): PS actions, LR presets, photo overlays, & print templates!
Get it here.
Any time you are working with portraits or photos that include people it is important to get the skin tones right in order to have a pleasing, natural look. Dealing with skin tones can be frustrating at times if you are not sure how to correct the issue, but Lightroom gives us some options that will pretty easily correct the most common issues with skin tones
Fixing Red or Over-Saturated Skin
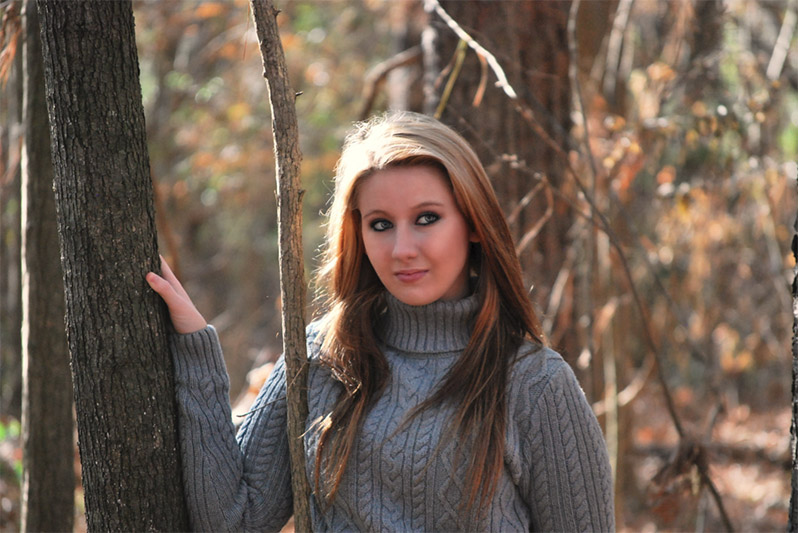
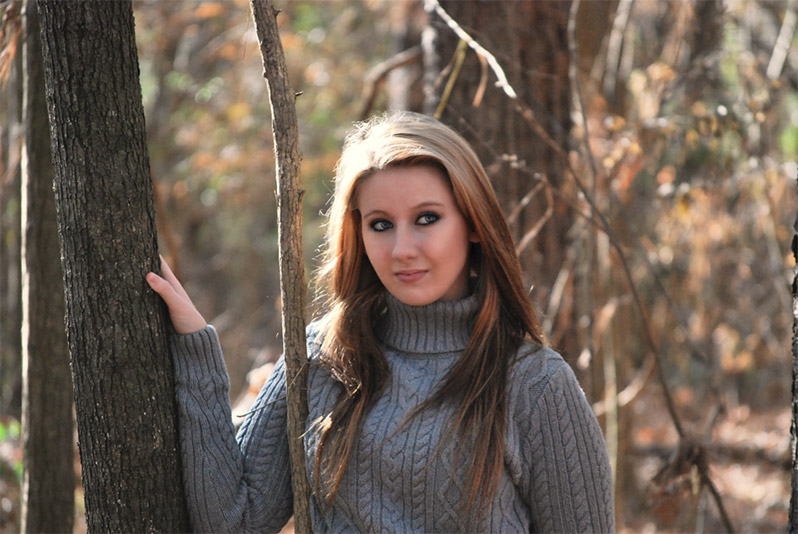
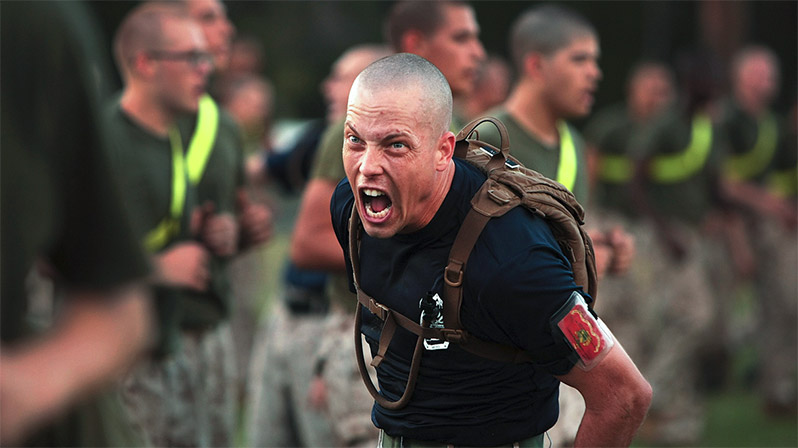
One of the most common problems is skin that looks too red or orange. A quick and relatively easy solution is to use the HSL sliders. Let’s take a look at the sample photo below.
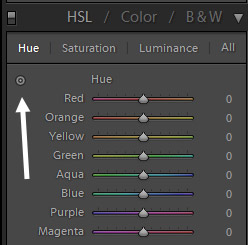
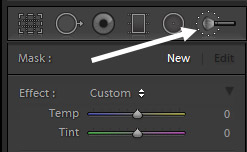
I’d like to reduce the redness of the skin, and the first thing I’ll due is work with hue. Typically when working with skin tones you will be adjusting the orange and red sliders, but Lightroom will actually choose the appropriate colors to edit if you let it do the work. Click on the target icon (shown below).
Now, hover your mouse over an area of skin that you want to correct and move your mouse or your mouse wheel up and Lightroom will automatically adjust the sliders that correspond to the colors of the area that you select. I selected an area of the model’s face and moved up just a little, and you can see the Lightroom slightly increased the red and orange hue.
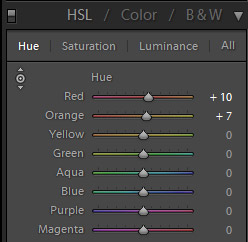
When you are dealing with red or saturated skin and you are adjusting the hue you will typically want to increase the hue settings. If you decrease the red and orange hue the skin tone will get increasingly red.
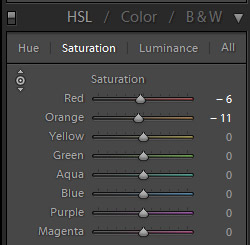
Now, on to saturation.With saturation we will do the same thing, click on the target (It may already be selected since you just used it for hue. In that case you don’t need to click it again). This time we’re going to find an area of skin that we want to correct, and we’re going to move the mouse or wheel down to decrease the saturation.
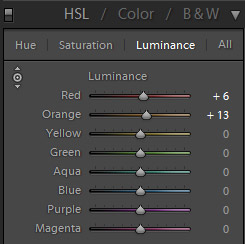
Next, we’ll work with luminance. Again, you’ll be clicking on the target icon unless it is still active. Luminance determines how light or dark the color is. In this case I want to lighten the skin tone just a bit, so I will move the mouse over the model’s face and move the mouse or scroll wheel up to increase the settings.
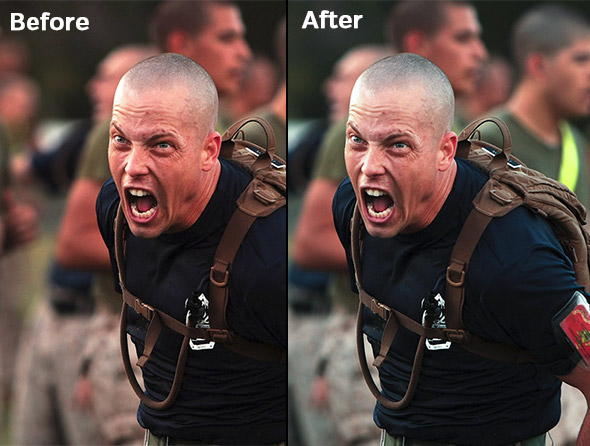
After those changes the photo looks like this:
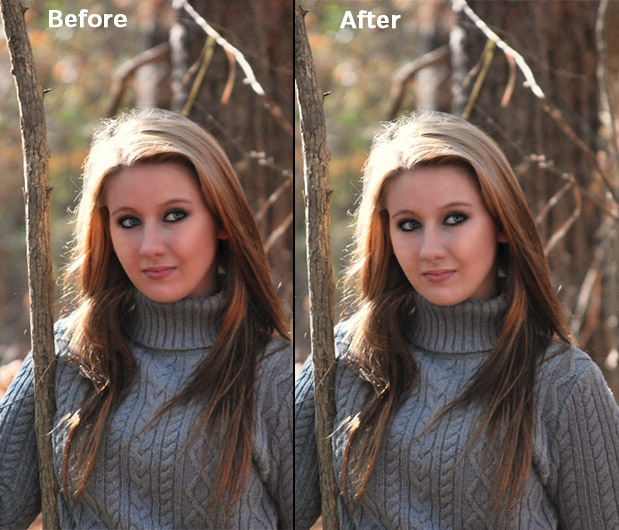
And here is the before and after side-by-side:
Fix Warm or Cool Skin Tones
Another common problem is that the skin tones may be too warm or cool. Sometimes the warmth can go hand-in-hand with the skin being-oversaturated, but that is not always the case. You can use the white balance settings (temperature and tint) to correct this. If the photo is too warm you will want to cool it down with the white balance sliders, and if it is too cool you will want to warm it up.
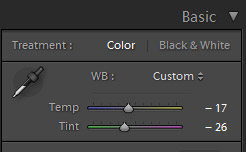
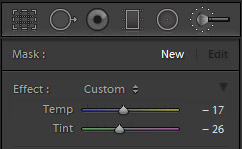
For this sample photo I would like to cool down the temperature a little.

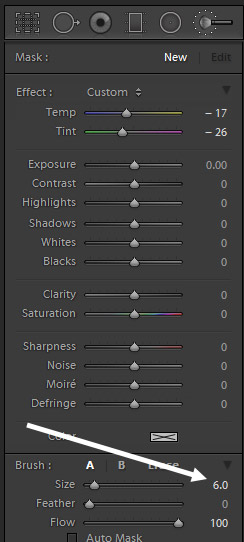
To do this, I’ll adjust the temperature to -17 and the tint to -26. This photo is a JPG file, if you are working with a RAW file the numbers will look a little different, but in either case you’ll be move the sliders to the left to cool down and to the right to warm up.
And after those changes the photo looks like this:
And here is a side-by-side of the before and after versions:
Now, since we just adjusted the white balance those changes impacted the entire photo. In some cases you may want to warm up or cool down the skin with impacting the white balance of the entire photo. In these situations you can use an adjustment brush to only change the skin.
To do that, select the adjustment brush tool by using the keyboard shortcut “K” or by clicking on the icon shown below.
I’ll use the same settings for temperature and tint that I used in the previous example, but this time I’ll apply those settings in the adjustment brush instead of applying it as a global setting.
Now, I’ll change the size of my brush.
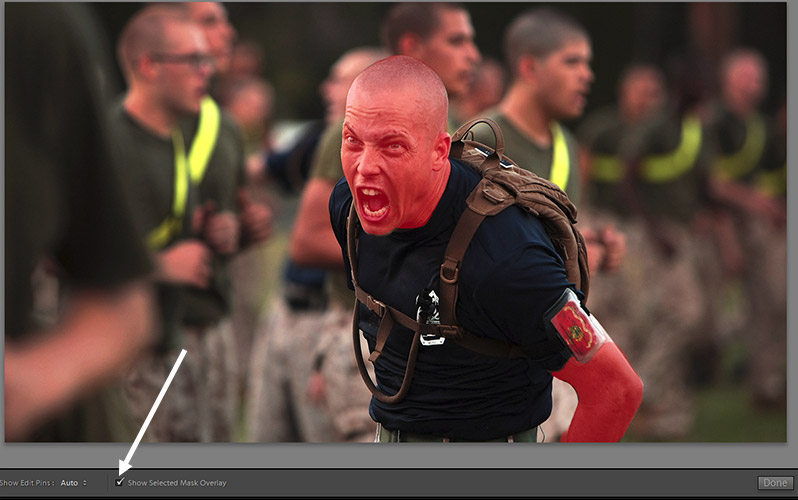
And then I will use the mouse to brush over the skin. If you check the box for “Show Selected Mask Overlay” it will show a red mask over the area where you have brushed. This is really helpful for easily seeing where you have brushed and where you have not.
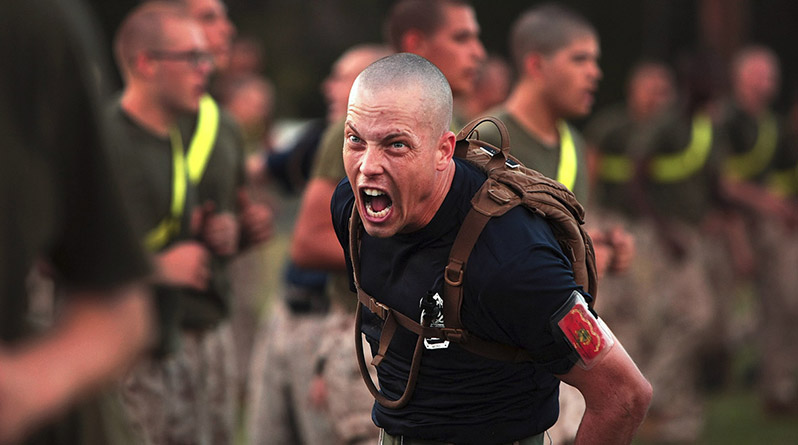
And with the red mask turned off I can see that the skin tone has been cooled down, but the white balance of the rest of the photo has not been impacted.
So there you have 3 ways to fix skin tones in Lightroom: with the HSL sliders, with global white balance changes, and with the adjustment brush. Those 3 options are all pretty easy to use and they will take care of most of the skin tone issues that you will face.

