Free Photography Bundle ($180 value): PS actions, LR presets, photo overlays, & print templates!
Get it here.
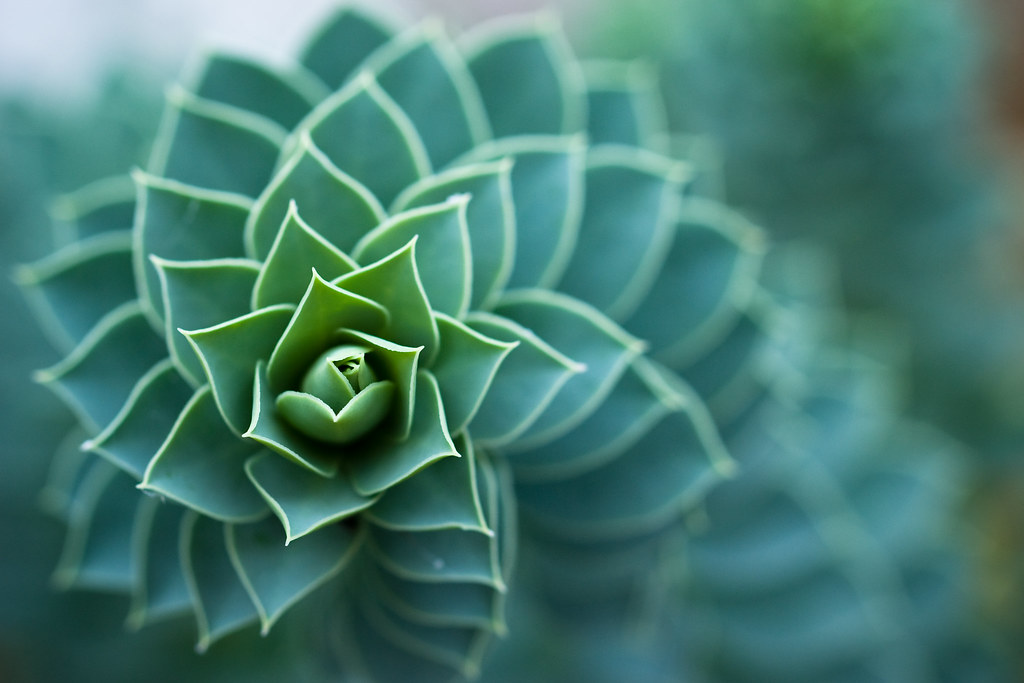
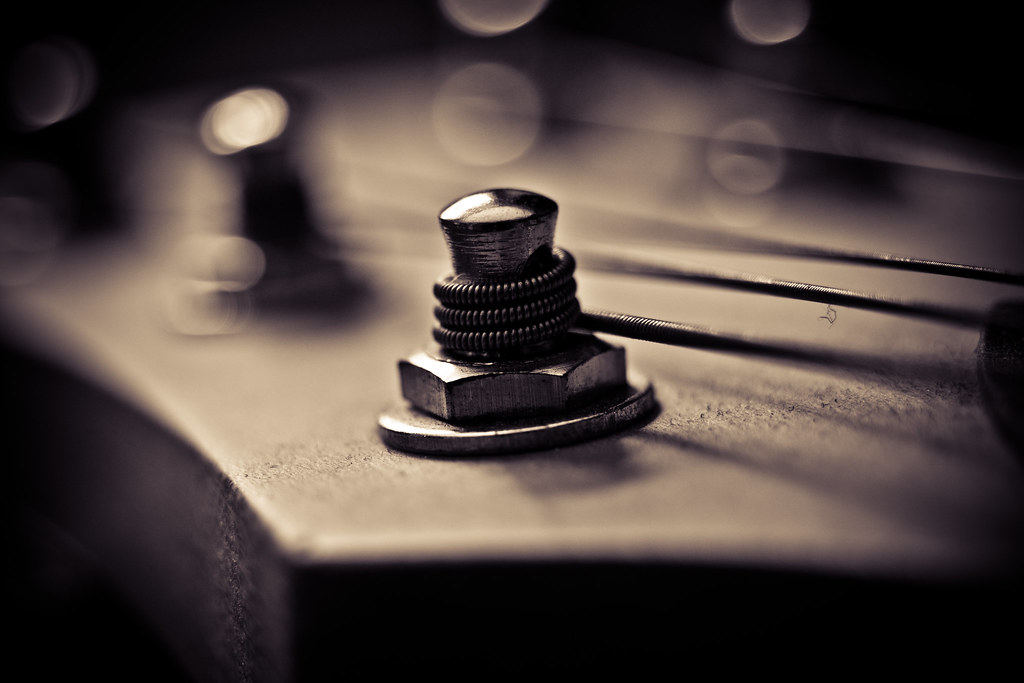
To understand how to capture good bokeh, it’s important to know the difference between good and bad bokeh. Though, good and bad bokeh are both fairly subjective, it’s safe to say “good” bokeh is generally smoother, with fewer sharp edges. The more even the bokeh effect the less distracting it becomes, meaning it tends to allow the eye to focus more on the subject. That being said, there are times when you may want to use bokeh as an artistic effect and when a less diffused blur will be desired. It truly is dependent on the look you are going for! Keeping all that in mind, let’s take a look at a few ways you can achieve that popular bokeh look.
Aperture Settings
The easiest way to get a shallow depth of field–more bokeh–is by shooting on a lower aperture setting. For example, f1/4 will have a very shallow depth of field, thus maximizing the background blur. Using narrow apertures, however, can make it difficult to get your entire subject in focus. That’s why you should always pay close attention to the areas of your photo that need to be in focus when shooting on narrow apertures. When you’re shooting on f1.8, it’s not uncommon for a persons eyes to be in focus but their nose to be out of focus, so pay attention to the details!
Step Away From The Background & Closer To The Subject
Unfortunately, not every photo is going to work on a narrow aperture setting. If you need to open up your aperture a bit, but still want some bokeh in the background, you can sometimes accomplish this by having your subject step away from the background. The more distance between the subject and the background, the easier it will be to blur out the background. And keeping with this trend, moving yourself closer to your subject is another easy way to increase bokeh.

When you’re doing this, just be sure to keep be mindful of the composition, as you may need to change it up a little to keep the image balanced and aesthetically appealing.
Lens Choice
I always try to avoid writing tutorials that simply suggest you buy a new piece of equipment to make your photography better. The majority of the time, I strongly feel as though buying new gear isn’t the best answer. However, when it comes to good bokeh, the sad truth is not all lenses are created equal.
Generally speaking, the kit lens that comes with most DSLR’s isn’t going to be the lens that gets you the best quality bokeh. While these lenses are useful, what works best for bokeh is a fast lens–that is, one with narrow aperture settings. Prime lenses–lenses with only one focal length–are typically fast. Investing in a good quality prime lens, such as a 35mm, 50mm, or 85mm, etc…, or a zoom lens with a lower aperture would be beneficial if you don’t already own one.
Canon and Nikon both make great prime lenses that are budget friendly. For Canon, look into the 50mm, and Nikon makes a great 35mm prime lens. But, when shopping for a new lens, take into consideration what you primarily shoot. If you shoot a lot of portraits, a 35mm may not be the best choice.
Handy Tools
Lastly, you may want to check out one of the many free depth of field calculators and bokeh simulators available online, like this one, or as apps you can install on your smartphone or tablet–these will help you calculate the settings and distances you’ll need to help you get the exact amount of bokeh you’re looking for with the equipment you shoot with.

