Free Photography Bundle ($180 value): PS actions, LR presets, photo overlays, & print templates!
Get it here.
Photographers have borrowed a lot of their techniques from famous painters, like the Dutch Masters and artists from other periods, who paved the way for the compositional and lighting standards we (still) adhere to today. One of the most obvious of these techniques is Rembrandt lighting.
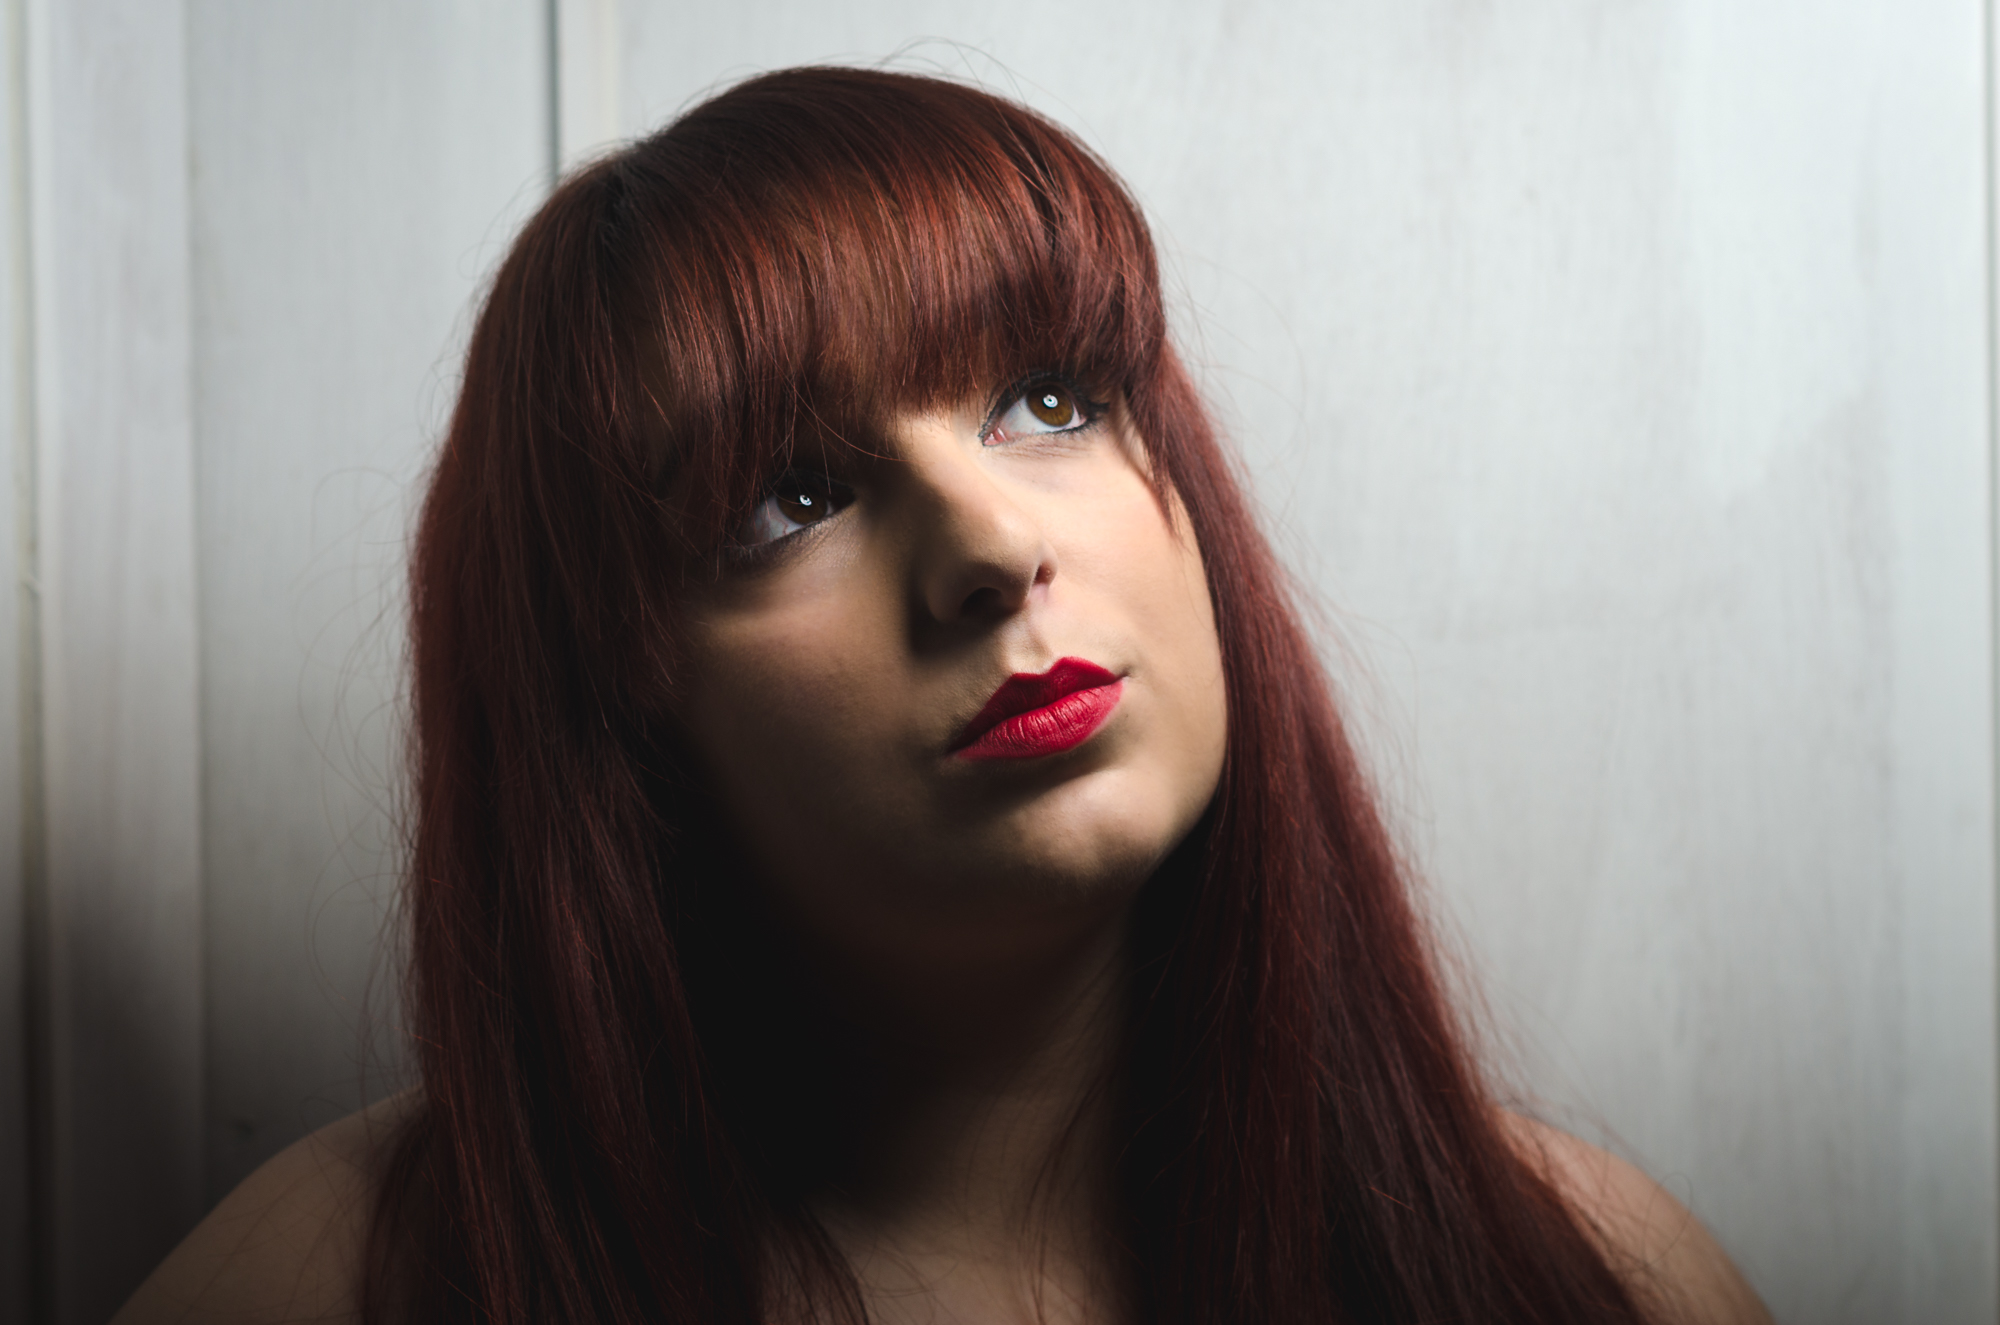
Rembrandt lighting is easily identified by the characteristic triangle of light that appears below one of the eyes of the subject. If you take a look at some of Rembrandt’s most famous portraits, you’ll notice he loved to paint a similar light pattern on his subjects– that’s why us photographers call it Rembrandt lighting.
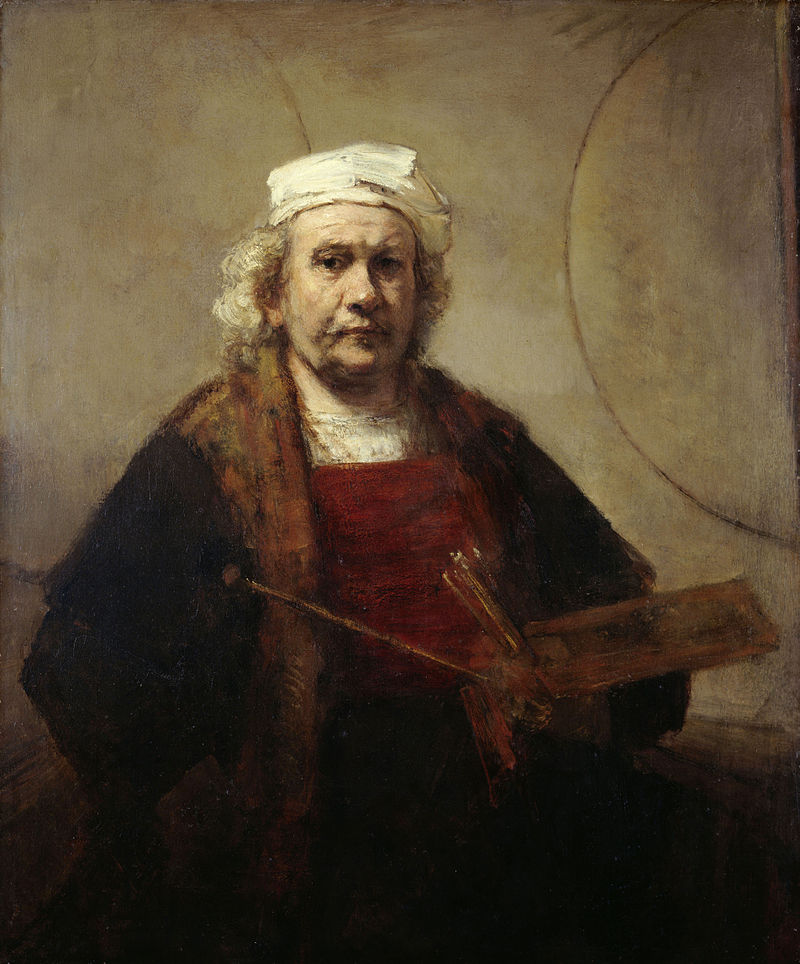
A late self portrait by Rembrandt. Notice the triangular lighting pattern under his left eye?
When To Use Rembrandt Lighting
Rembrant lighting adds a moody feel to a portrait, so it’s best used selectively. While it is a flattering lighting pattern, it may not necessarily work well if, for example, you are shooting an energetic cheerleader. Instead, reserve Rembrandt lighting for those times when you want to add a little mystery and drama into the portrait. Another great thing about Rembrandt lighting (aside from it’s aesthetic awesomeness) is that it works well on all ages, making it a very useful tool for portrait photographers to know. So, without further ado, let’s get to how to pull it off. Luckily, it can be done with minimal lighting equipment and a relatively simple setup. Let’s get to it… 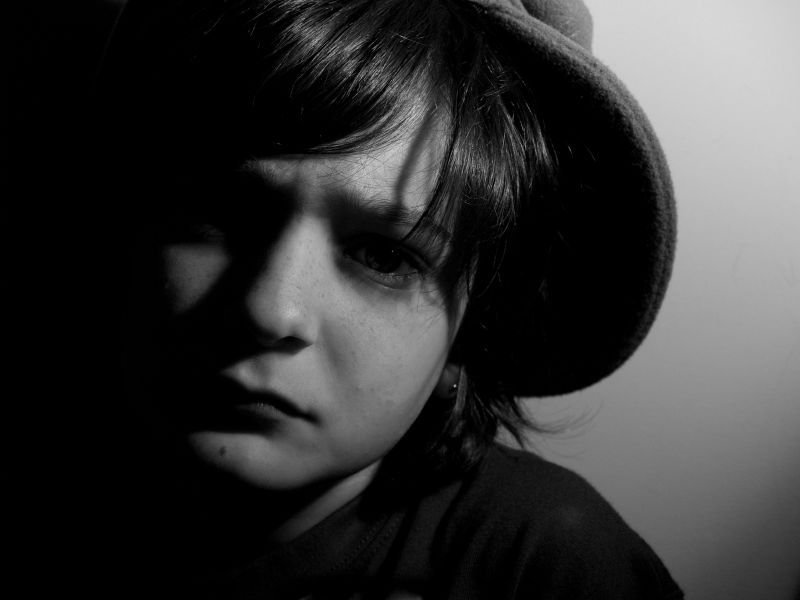
The Setup
As promised, I’ll show you how to achieve a Rembrandt lighting pattern using only one light, but you’ll also want to use a reflector (or something that will serve as a reflector in a pinch). The reflector is going to serve as a fill light, so if you have two lights, you can use two instead of the reflector–just make sure you set the second light to about half power so it’s not too bright. In some instance, the light from a window would work in place of a reflector as well, again, just make sure the window light isn’t too bright.
Take a look at the diagram below for a schematic of the setup.

The setup itself is fairly simple and shouldn’t take too long to get setup–which is another really great thing about Rembrandt lighting! Start by setting up the light–which is our key light–at a 45-degree angle facing the subject. You’ll want to raise the key light so it’s a tiny bit higher than your subjects head. Next, place the reflector on the opposite side of the subject, about even with the key light.
You’ll stand with the camera between the key light and the reflector. Have the subject stand directly in front of the camera, facing the key light. If you’re using continuous lighting, you should see the trademark light triangle without having to take a test shot. If you’re using a strobe without a modeling light, you may need to take a few test shots until you get the desired results.
Fine Tuning It
Technically speaking, the point of the light triangle should stop even with the tip of the subject’s nose, not extend past it nor end short of it. You can fine tune the size of the light triangle by asking your subject to very slowly turn their head toward the camera until the triangle is just right.

With all that being said, try not to get too hung up on making it “technically correct”–in this case, that’s fairly subjective anyways. Find what looks right for the photo and stick with that or take several different versions so you can choose from which looks best by comparing them side by side.

