Free Photography Bundle ($180 value): PS actions, LR presets, photo overlays, & print templates!
Get it here.
The end result of any Photoshop action will vary from one photograph to the next. Because the starting point is different, a particular action could look great on one photo and not so great on another. We work very hard to create actions that work well on a wide variety of photos, but that doesn’t mean that you’ll never want to tweak it to improve the results, or to get a slightly different look. The good news is that our actions leave the created layers and adjustment layers in tact and you can easily edit them to suit your needs.
If you’re familiar with adjustment layers in Photoshop you probably already know how to edit our actions. And if you’re not familiar with adjustment layers, it’s easy! Let’s take a look at a few examples to show how the actions can be customized for a specific photo.
Example 1: Reducing the Overall Strength of an Effect
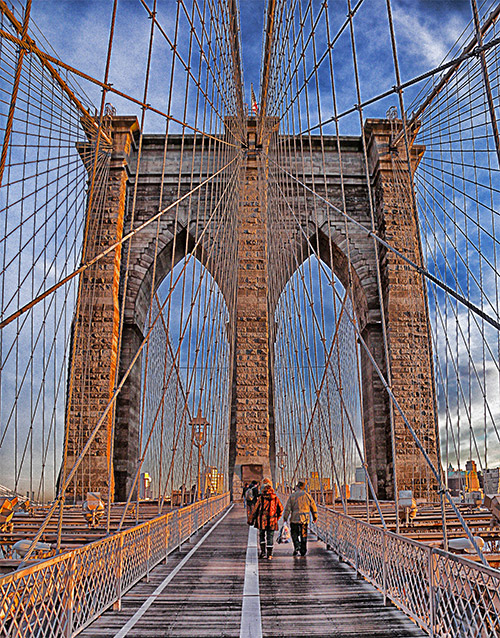
For this example we’ll use an action from our set of Faux HDR Actions – Vol. 2, and we’ll use the sample photo shown below.

When I apply the Standard HDR 2 action the effect is too strong, as shown below.
I like the effect, I just want the strength to be reduced. This is a simple change. All of the layers and adjustment layers created by the action are contained in a folder/group in the layers palette. If you want to reduce the strength of the entire effect all you need to do is lower the opacity on the folder/group. Simply make sure that you have the folder/group selected, and then reduce the opacity until it suits your needs.
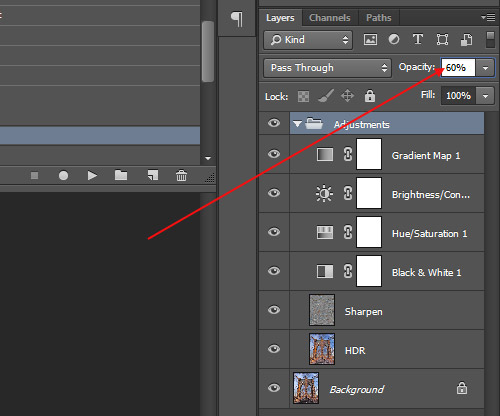
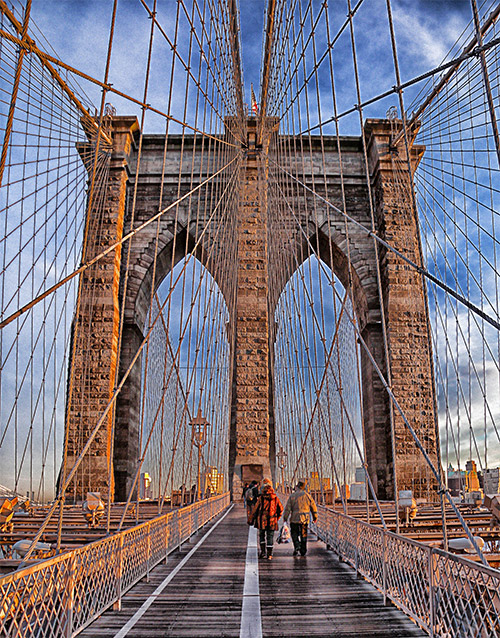
In this case I have reduced the opacity to 60% to achieve the look shown in the photo below.
Example 2: Reducing the Strength of a Particular Layer
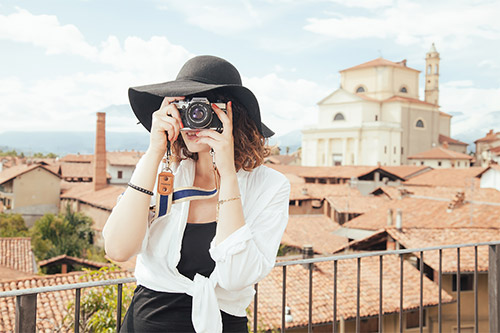
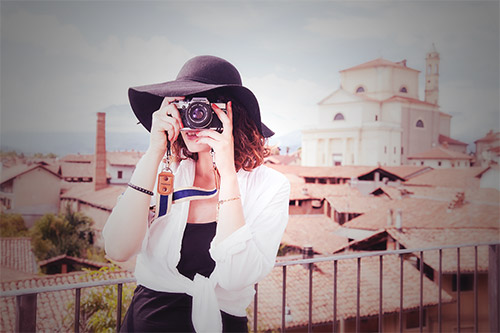
The approach shown in example 1 will reduce the opacity on the overall effect, impacting each layer or adjustment layer evenly. There may be times when you want to reduce the strength of only a particular aspect of the effect rather than impacting the entire effect. Let’s take a look at an example using one of our Lomo Actions and the sample photo below.
The lomo actions include a blur around the edges of the photo, which is characteristic of a true lomo photograph, but in some cases you may want to reduce the blur. When I apply the violet lomo action to this photo I get this result.

If I want to reduce the strength of the edge blur all I need to do is select the blur layer in the layers palette and reduce the opacity of that individual layer.
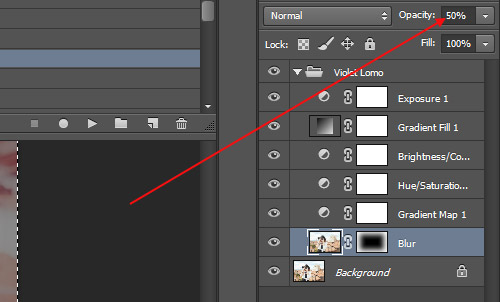
When I adjust the opacity of the blur layer from 100% to 50% I get the following result, with a much softer blur.
Example 3: Tweaking a Curves Adjustment Layer
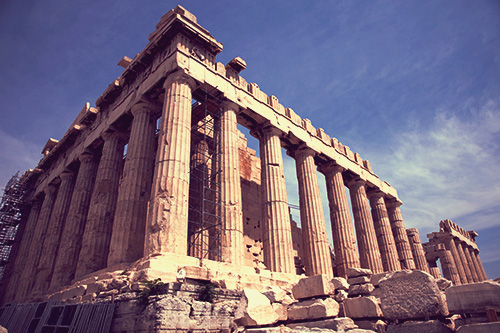
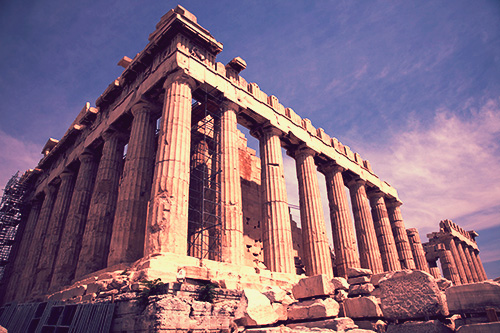
For the third example I’ll use one of our sunset actions on this photo:

After the action it looks like this:
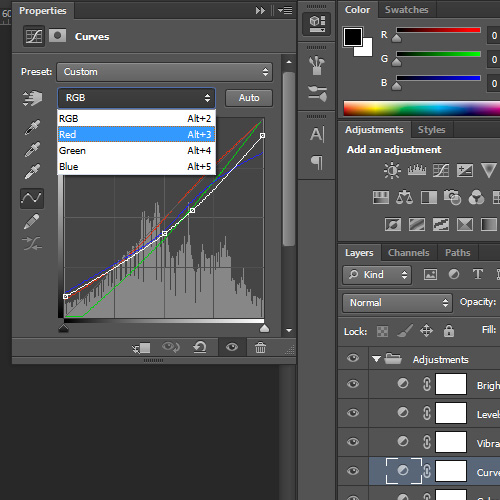
I like the result of the action, but as an example, let’s say that I want to adjust the use of red in the photo. I can select the curves adjust layer.
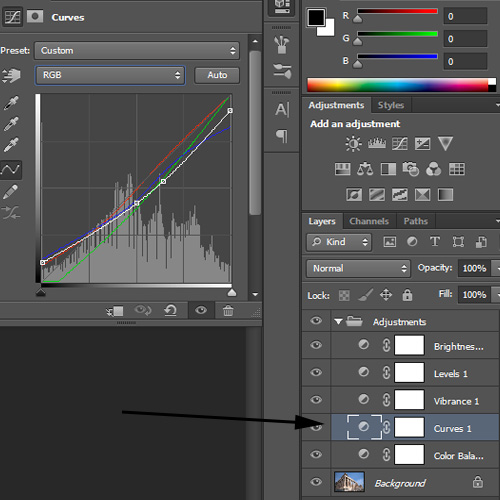
Then select “red” from the dropdown.
I’ll make an adjustment to the curve.
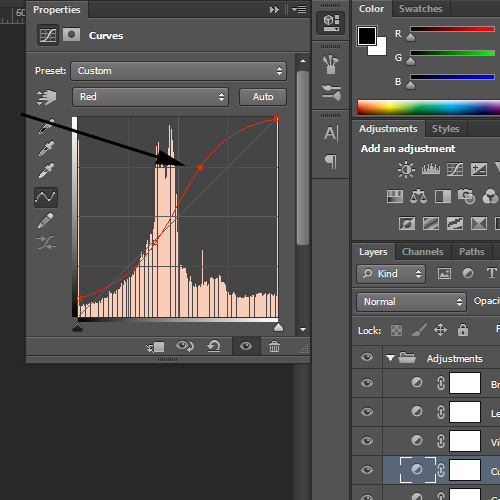
And that will alter the photo accordingly.
Summary:
So you can edit the blend mode and opacity of layers, you can hide or delete layers, and you can edit adjustment layers like curves, levels, brightness/contrast, etc. This gives you the flexibility to make the actions work better for a specific photograph if you are not 100% happy with the default result, and it allows the actions to be useful for a much wider variety of photos.

