Free Photography Bundle ($180 value): PS actions, LR presets, photo overlays, & print templates!
Get it here.
This article is part of our series Photo Editing 101 by Ian Pullen. This series will cover all of the basics of using Photoshop for editing photos. If you’re just getting started with Photoshop or photo editing, or if you’re looking to improve your skills in this area, this series will provide an excellent foundation. If you want to make sure that you don’t miss future articles you can subscribe to our newsletter or follow us on Twitter, Google+, or Facebook. You can also find the articles that have already been published by visiting the Photo Editing 101 course page.
Gaussian Blur is just one of several different types of blur filter available in Photoshop. It’s one of the more easily understood blur filters as everything in the image is blurred quite equally and it also offers a greater degree of control than some of the one click blur filters.
The Gaussian Blur filter takes its name from the Gaussian mathematical function and you can head over to Wikipedia if you fancy broadening your mind or, perhaps, just staring blankly at your screen for a few moments. Thankfully an understanding of the math isn’t important to get to grips with the filter, so let’s take a look at how it works and finally consider a practical creative use for the effect.
Should You Convert Your Photo to a Smart Object?
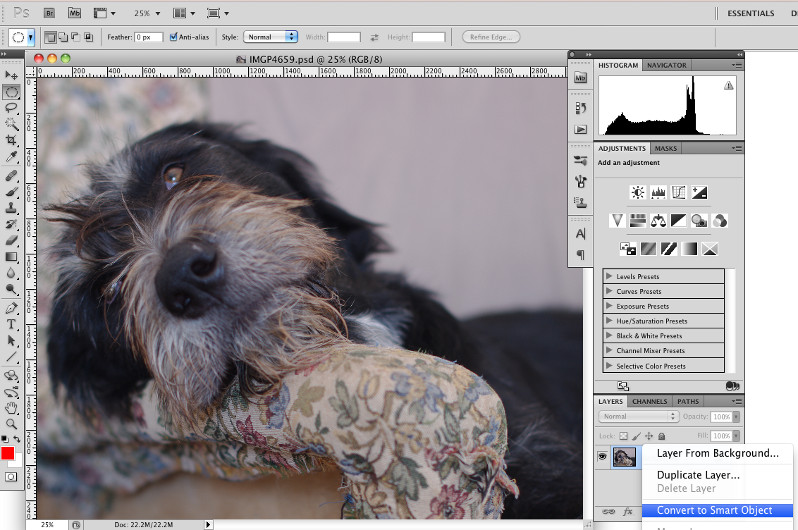
If you have a version of Photoshop that supports Smart Objects, it is advisable to use them as they allow you to adjust filter settings or to remove them completely at any point without affecting other edits you have made. If you apply filters to a normal layer, once you click the OK button, there’s no way to adjust and the only way to remove them is by going back in History.
To convert your photo to a Smart Object, just right click on the Background layer in the Layers palette and select Convert to Smart Object.
How Do You Open the Gaussian Blur Filter?
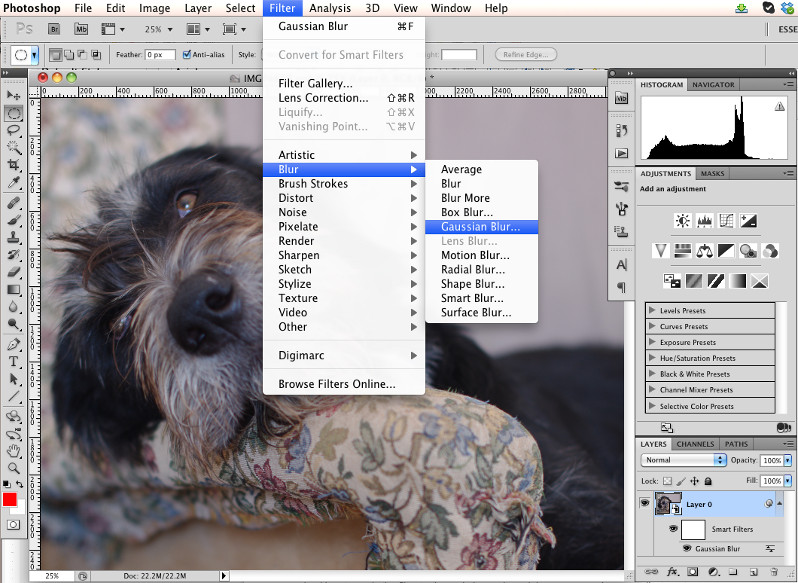
To open the filter dialog, just go to Filter > Blur > Gaussian Blur. If you converted the background to a Smart Object, you can now click the OK button and you’ll see that a Smart Filters entry has been added to the Layers palette, containing a Gaussian Blur entry. Just double click on that to reopen the Gaussian Blur dialog.
How Do You Adjust the Gaussian Blur Filter?
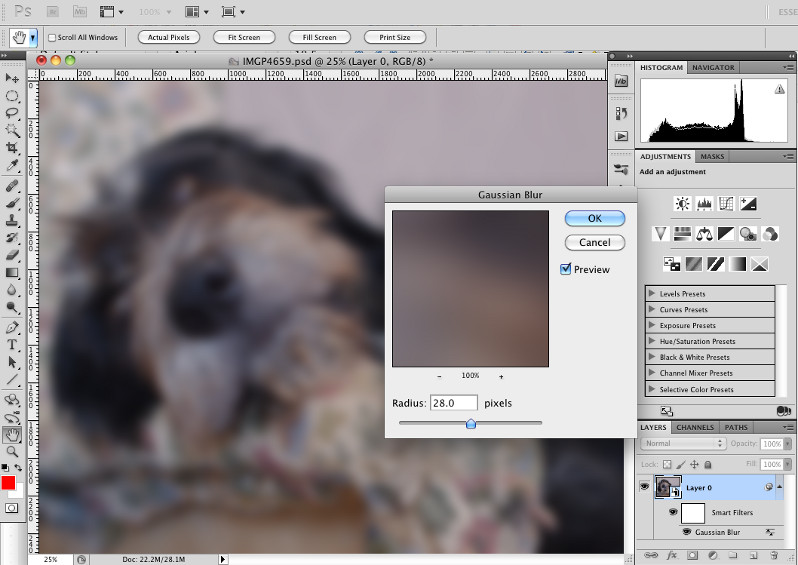
The Gaussian Blur dialog is very straight forward and easy to use, containing a preview of a detail of the main image and a Radius slider. Moving the slider to the right increases the strength of the effect equally across the whole image. You can click on the + and – icons underneath the preview window to zoom in or out, to better see how the filter is affecting your image. You can also click on the Preview checkbox to apply the filter to the main image in real time as you make your adjustments.
At this point, especially if you’ve pushed the slider quite a way to the right, you may be wondering what the point of this tool is. On a technical level, low levels of Gaussian Blur can help to reduce noise in an image and, as odd as it sounds, it can also form an initial step in sharpening images.
However, it opens up plenty of creative possibilities for your photos and I’ll quickly describe one possible creative use.
Draw the Eye to Your Subject With Gaussian Blur?
One effective way to use Gaussian Blur is to frame your main subject so that the surrounding area is blurred or in soft focus without applying the same effect to the subject.
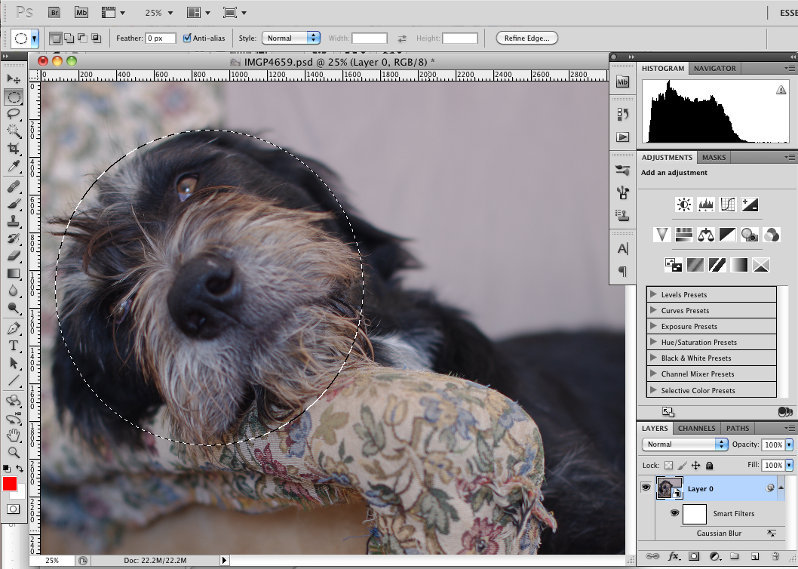
If you select the Elliptical Marquee tool from the Tools palette, you can draw a circular selection around your subject.
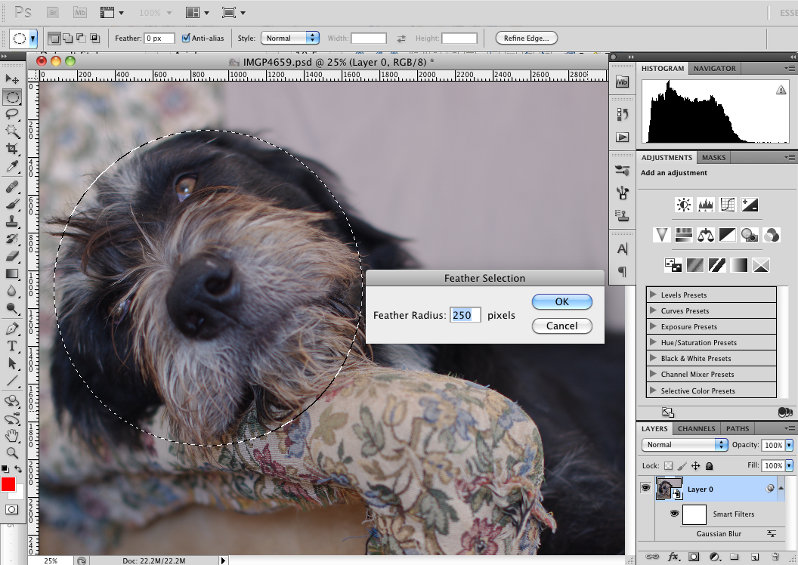
Now go to Select > Modify > Feather and set the Feather Radius to 250px.

If you’re using a version of Photoshop without Smart Objects, you’ll now need to go to Select > Inverse before applying the Gaussian Blur filter. If you’re using a Smart object and haven’t already added a Gaussian Blur Smart Filter, you can also use this approach.
However, if you’ve already added a Smart Filter, you can edit the filter’s mask, so don’t invert your selection as described in the previous paragraph. Instead, click on the white rectangle icon next to the Smart Filters entry in the Layers palette, which means you are now working on the mask rather than the visible image. Next go to Edit > Fill and set the Use drop down menu to Black before clicking OK.
If you now double-click on the Gaussian Blur layer and adjust the Radius slider, you’ll see that only the area that is outside of the area you selected is affected.
Conclusion
Gaussian Blur is a very handy general purpose blur effect and by using feathered masks, it can help you to create attractive soft focus effects, such as vignettes around portraits. If you enjoy shooting landscapes, you may be interested in finding out about the Orton effect which can be recreated easily in Photoshop with Gaussian Blur.
See more articles in the Photo Editing 101 series.

