Free Photography Bundle ($180 value): PS actions, LR presets, photo overlays, & print templates!
Get it here.
This article is part of our series Photo Editing 101 by Ian Pullen. This series will cover all of the basics of using Photoshop for editing photos. If you’re just getting started with Photoshop or photo editing, or if you’re looking to improve your skills in this area, this series will provide an excellent foundation. If you want to make sure that you don’t miss future articles you can subscribe to our newsletter or follow us on Twitter, Google+, or Facebook. You can also find the articles that have already been published by visiting the Photo Editing 101 course page.
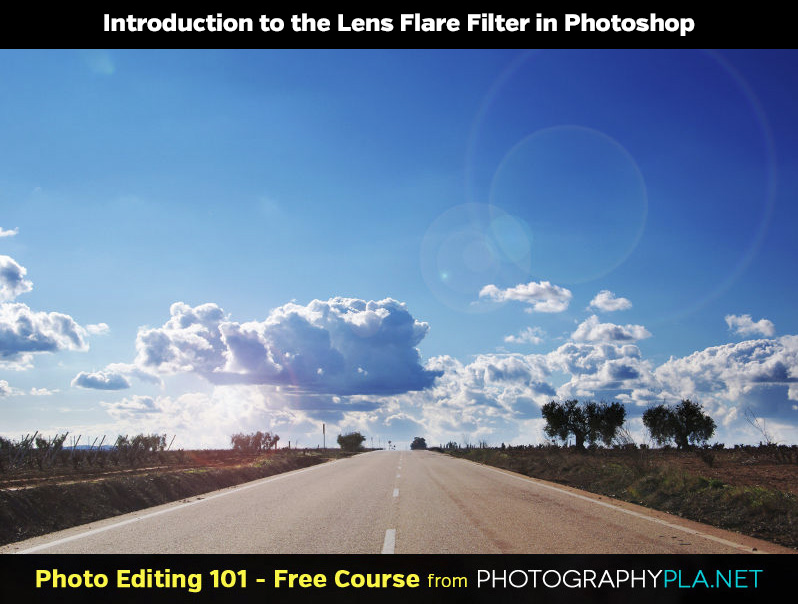
The Lens Flare filter in Photoshop allows you to quickly and easily apply a simulated lens flare effect to your photos.
As Photoshop filters go, this one has had a bit of a bad press, largely as a result of being abused by photographers and designers looking for quick ways to add interest to images. However, it can be used creatively and with care to help make images more evocative and, with the Instagram generation hooked on creative filters, there are still plenty of users who enjoy such effects.
In this article I’ll describe how you can use the Lens Flare filter and then show you a technique that allows you to apply it in a non-destructive way that also offers you a greater degree of control over how the final effect appears.
How Do You Open the Lens Flare Filter?
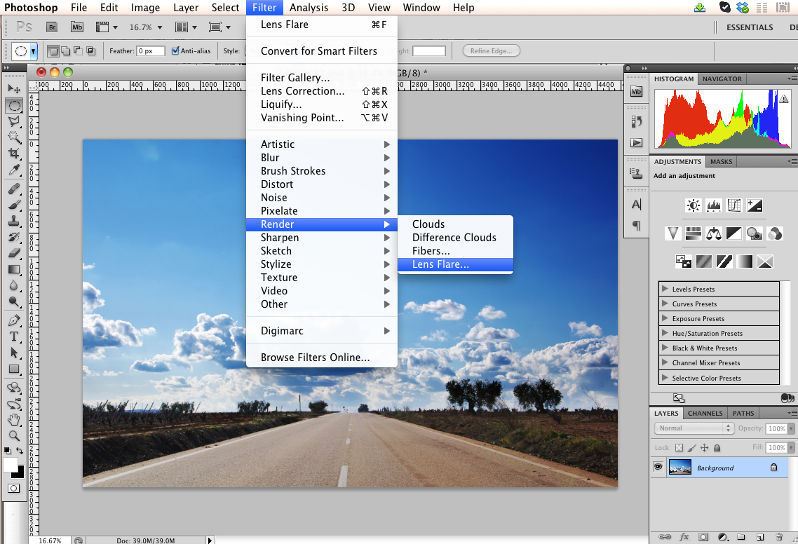
To open the filter dialog, go to Filter > Render > Lens Flare.
How Do You Use the Lens Flare Filter?
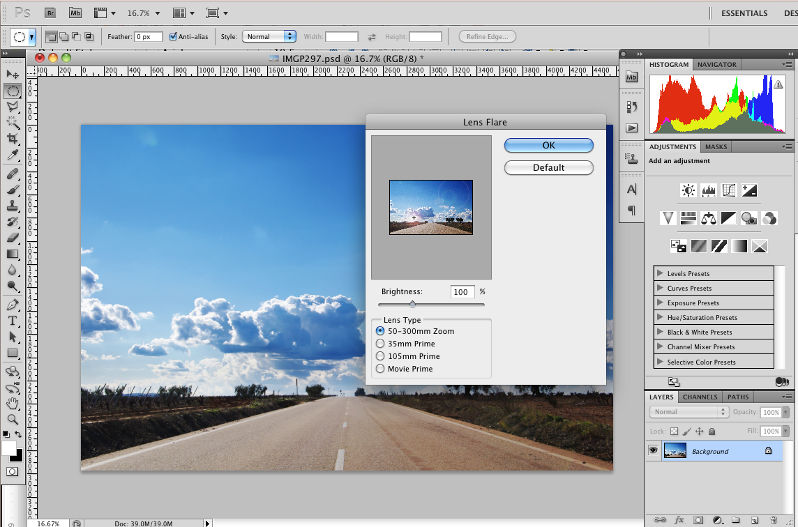
The controls for the Lens Flare filter are very straight forward to use.
There’s a small thumbnail image of your photo that gives an impression of how the effect will appear when applied to your photo, though at its relatively small size, it’s difficult to get a good feel for the result. The main purpose of this thumbnail is to allow you to place the focus point of the lens flare within your photo, which you can do by clicking and dragging on the little preview image. If you have an obvious light source in frame, then you should center the lens flare on this point for the most natural and believable results.
Below the preview is the Brightness slider and this allows you to vary the strength of the flare effect. Note that should you push this too far to the right, you will effectively burn out the whole image and turn it pure white.
Finally, there are the different Lens Type options that you can choose from, each of which produce slightly different effects, as you can see from these examples below.

50-300mm Zoom

35mm Prime

105mm Prime

Movie Prime
How Do You Use the Lens Flare Filter Non-Destructively?
Many Photoshop users will be holding their hands up at this point and calling out that you can make the Background layer a Smart Object and then apply the Lens Flare filter. This would allow you to edit the flare effect after it is first applied and even delete it altogether. While that is indeed a good way to apply the filter in a non-destructive way, I’m going to share a technique that is a twist on this idea and allows you to adjust the strength of the effect beyond just using the Brightness slider.
Firstly you need to apply your Lens Flare filter directly to the image Background layer and when you’re happy with the placement, go to Edit > Undo Lens Flare to remove the effect.
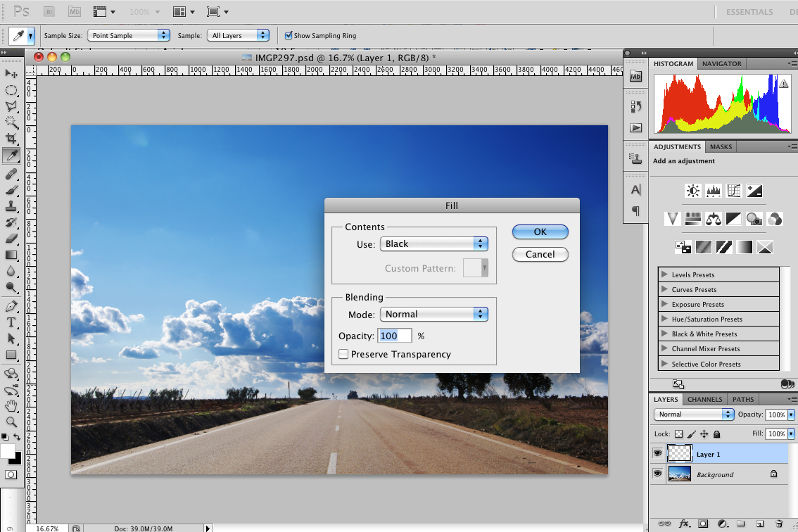
Now add a new layer to your document by going to Layer > New > Layer and then go to Edit > Fill and set the Use drop down to Black before clicking OK. In the Layers palette, right click on this new layer and select Convert to Smart Object so that you can edit the Lens Flare filter after it has been applied. If your version of Photoshop doesn’t have Smart Objects, you will have to create a new layer again if you decide you want to change the effect later.
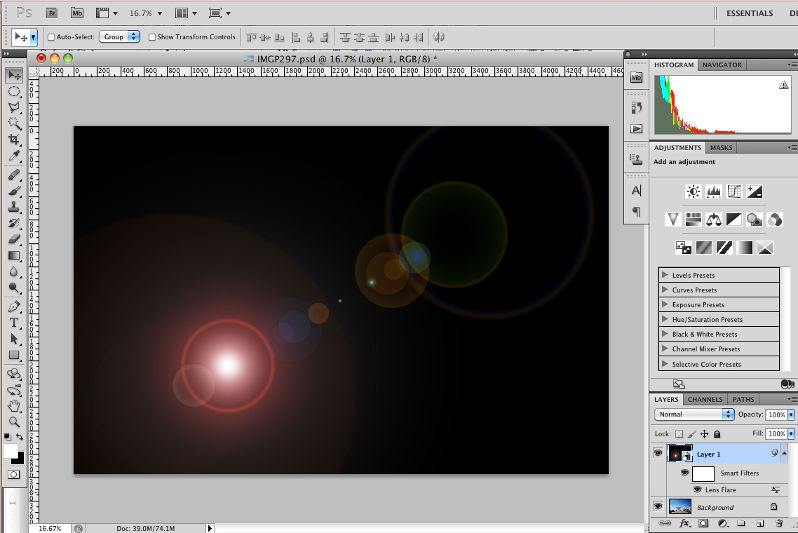
With the black layer still selected, apply your Lens Flare filter again. The settings and positioning will still be the same as when you applied it to the background layer.
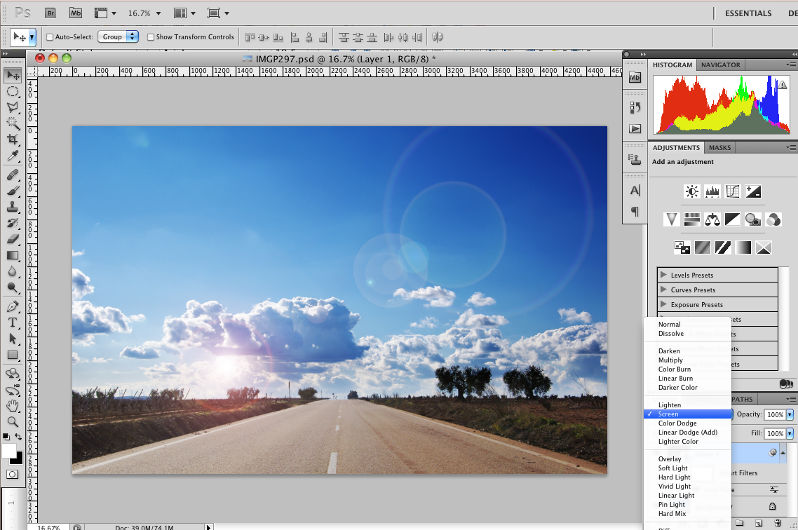
At this stage, this probably isn’t quite result that you were aiming for, but now change the blending mode for the layer to Screen. You do this by clicking on the drop down menu at the top of the Layers palette that defaults to Normal and selecting Screen from the list. Now things should look as you were hoping for.
If you’ve used a Smart Object, you can double-click on the Lens Flare entry in the Layers palette and edit the effect as desired. However, one other advantage of using this technique on a separate layer is the ability to reduce the strength of the flare by reducing the layer opacity, using the Opacity slider positioned next to the Blending Modes drop down menu. In the main shot on this page, you can see how I reduced the opacity to 70% which just toned it down a little.
Conclusion
While many photography purists will question why anyone would want to sabotage their photos by adding lens flare, there’s no doubt that filter effects are very popular with many and the technique described here will give you the maximum flexibility when using the Lens Flare filter.
See more articles in the Photo Editing 101 series.

