Free Photography Bundle ($180 value): PS actions, LR presets, photo overlays, & print templates!
Get it here.
This article is a part of our series Photo Editing in Lightroom 101. Throughout the series we’ll cover the details of Lightroom’s library and develop modules and how you can use Lightroom to improve your own photos. As new articles are published they will be added to this page. If you don’t want to miss future articles in the series, please subscribe to our RSS feed or our email newsletter.
Lightroom includes some settings that allow you to correct common issues introduced by lenses. The lens correction settings can be found on the right side of the develop module just below the detail settings.
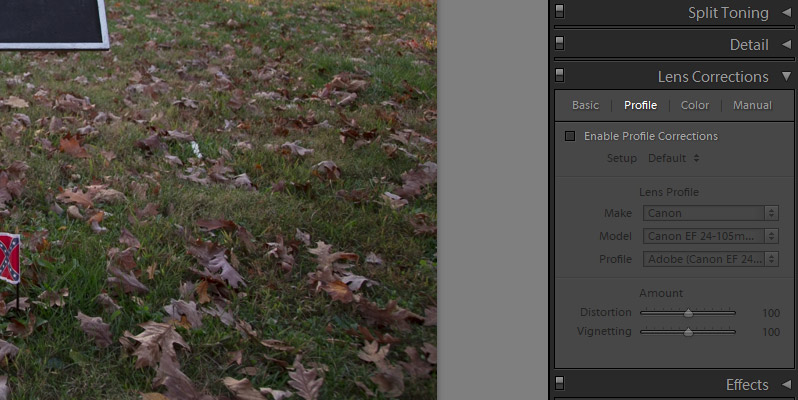
If your photo was taken using a lens that is registered with Lightroom a lot of the work can be done automatically just by checking the box to enable profile corrections. Here you’ll see that the make, model, and profile of the lens are recognized and listed.
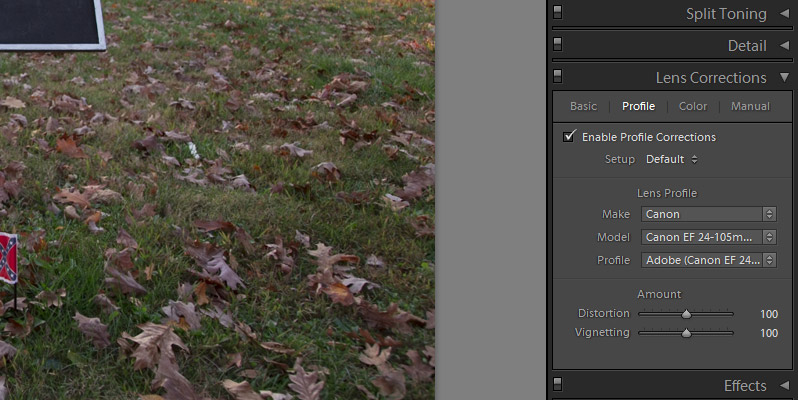
When you check that box to enable the profile correction you’ll probably notice a small change in the photo to correct any distortion from the lens. This is something that you’ll want to do with almost any photo because it will correct the distortion, and in some cases you may not have been able to notice that distortion until you enable to profile correction and see the difference.
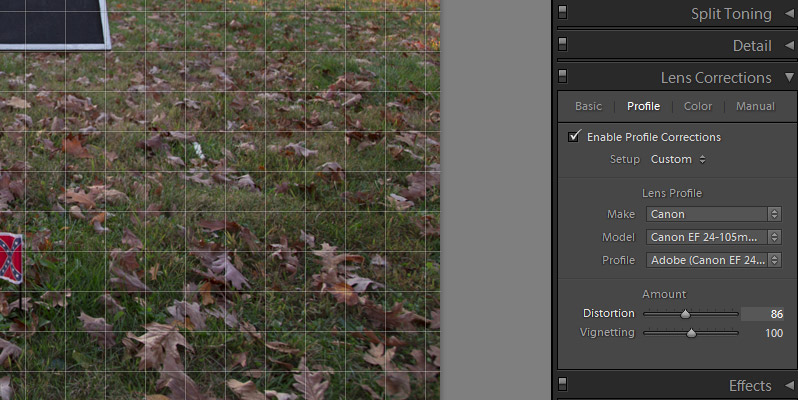
At the bottom of this area you also have sliders that allow you to manually control the distortion and vignetting caused by the lens. By default they are both set to 100. When you adjust the distortion slider you’ll see a grid overlay on the photo to help you see perfectly vertical and horizontal lines.
By moving the vignetting slider to the left it will darken the edges of the photo, and moving it to the right will lighten the edges. The purpose of this slider is to help you to remove any unwanted vignetting caused by the lens. If you want to add a vignette to a photo you can do that in the “effects” area of the develop module, which we’ll cover in an upcoming article.
In the “basic” section of the lens profile corrections you’ll also have the option to remove chromatic aberration. Chromatic aberration shows up as fringes of color, usually between dark and light areas of a photo. As an example, in the photo below if you look at the edge of the monument you’ll notice that there is some unwanted color showing up.
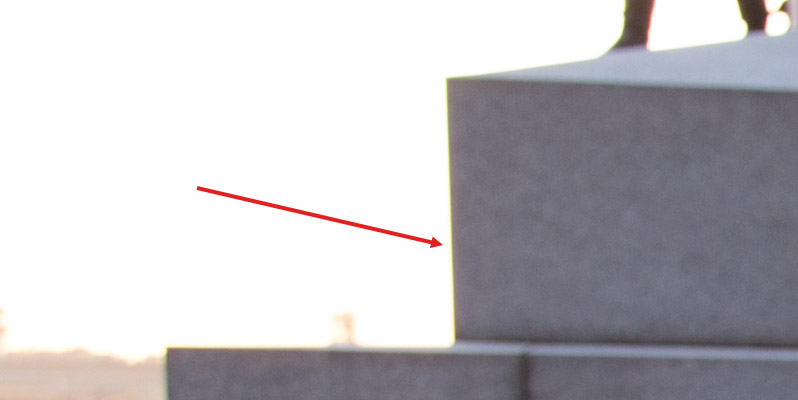
If I check the box to remove chromatic aberration that fringe of color goes away.
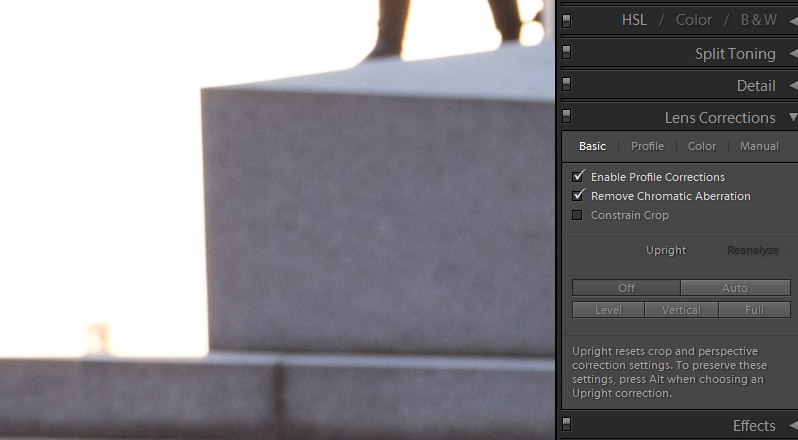
Not all of your photos will have issues with chromatic aberration, but checking that box will do no harm to photos that don’t have any chromatic aberration.
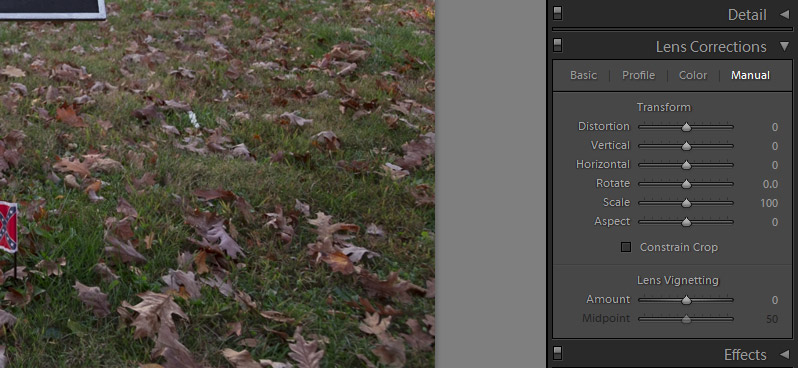
The settings in the “manual” section will give you even more control. If you’re using a lens that is not registered with Lightroom you can still correct issues with the lens, but you’ll have to do it using these manual settings rather than having Lightroom do it automatically.
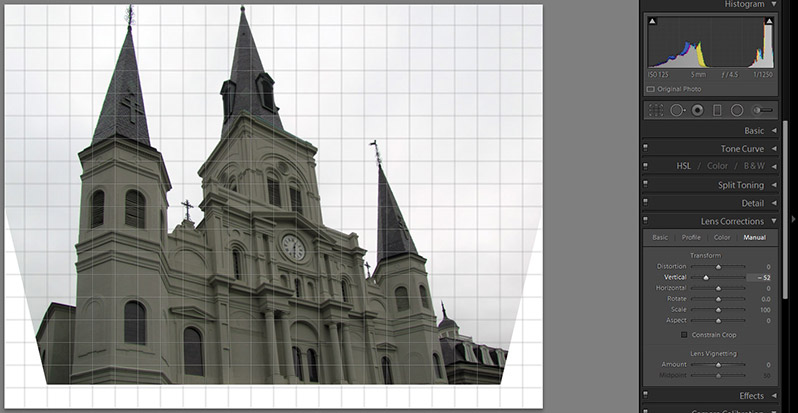
We already looked at the distortion slider. The vertical slider is one that you may find to be useful for photos of buildings and architecture. Sometime these shots look a little distorted, and this slider can help that. Let’s take a look at an example. The image below shows a photo with the default settings.
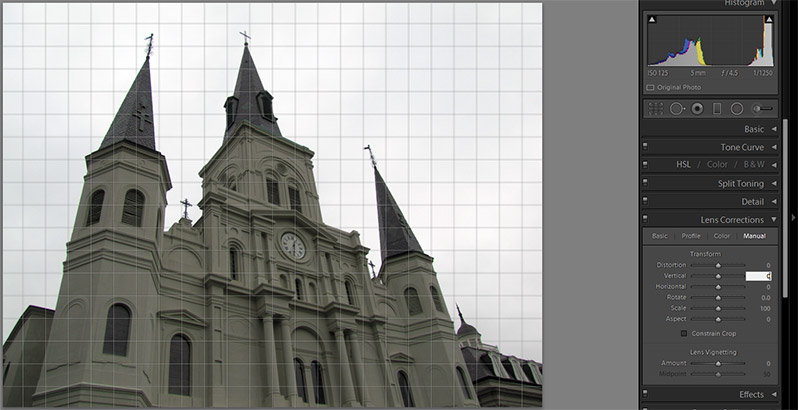
Now, I can adjust the vertical slider to make it look a little better. I have set the vertical slider to -52 and you’ll see that the building looks straighter and more upright. You’ll also notice that changing the vertical slider adds some white areas around the edges of your photo because of the distortion, so you will need to crop the photo accordingly.
The horizontal slider does the same thing, just horizontally instead of vertically.
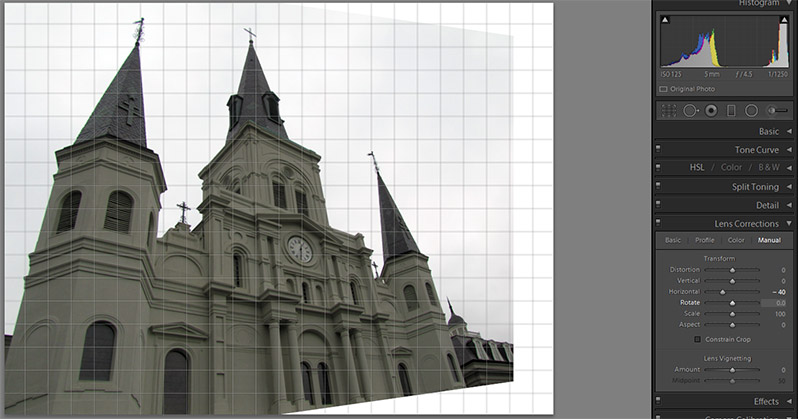
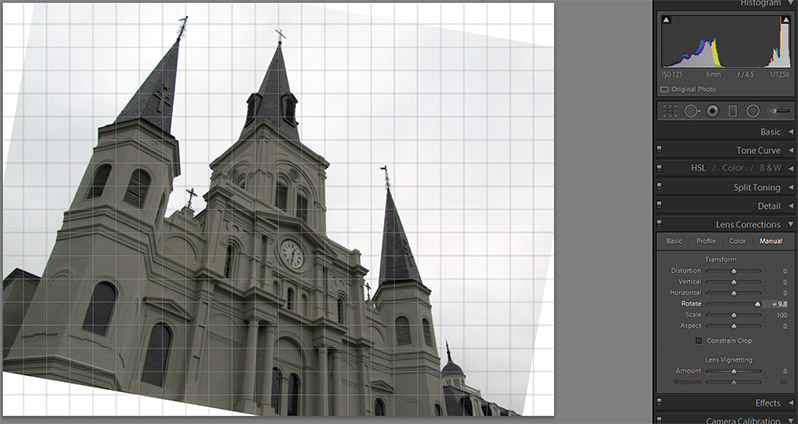
The screenshot below shows the result of using the rotate slider.
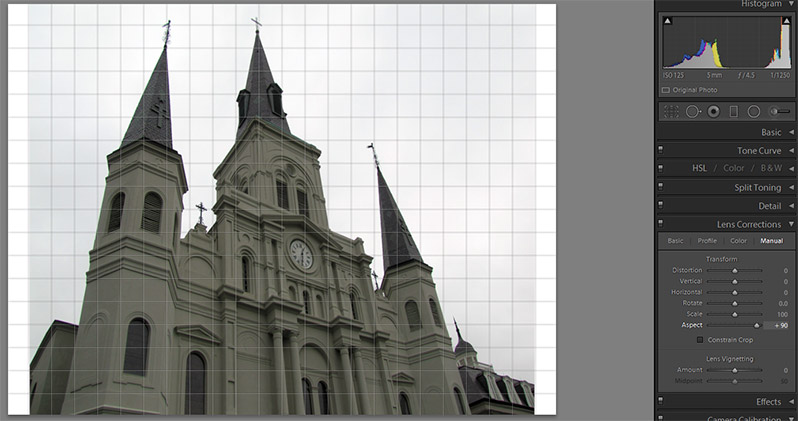
The scale slider will essentially zoom in or out a little bit. The results of the aspect slider are shown in the screenshot below.
Most likely you’re using a lens that is registered with Lightroom, and in that case you can simply check the box to enable profile corrections and it will be done automatically. There will be some cases where you may need or want to work with the manual corrections, but this will not be the case with the majority of your photos. Typically, checking the boxes for enabling profile corrections and removing chromatic aberration will be the most important things you’ll be doing in the lens correction settings.
If you don’t want to miss the other articles in this Photo Editing in Lightroom 101 series, please subscribe to our RSS feed or our email newsletter. As new articles are published they will be added to the series page, which will serve as an index for the entire series.

