Free Photography Bundle ($180 value): PS actions, LR presets, photo overlays, & print templates!
Get it here.
In this article, I’m going to introduce you to the Lens Correction filter in Photoshop and show you how you can use it to hide some of the weaknesses of lenses. Lower cost kit zoom lenses that are bundled with many DSLRs and mirrorless system cameras are particularly prone to such issues. Commonly, these tend to be vignetting around the corners of photos and also barrel and pin-cushion distortion.
It’s not unusual to be quite blind to these imperfections because they affect every photo and so become normal, but also because they may not be be particularly obvious with some subjects. However, for those occasions when an image does seem adversely affected, the Lens Correction filter in Photoshop can help to alleviate this problem.
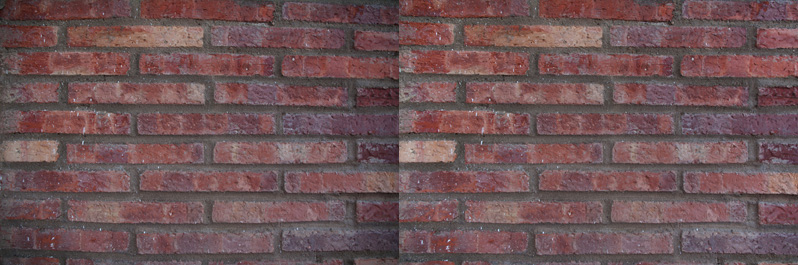
For the purposes of this article, I’m using two photos of brickwork shot at the wide end of an old 18-55mm, that shows the symptoms of barrel distortion, and another of the same subject shot at the long end of a 50-200mm lens, that suffers from pincushion distortion. Both lenses also show the issue of vignetting.
How Do You Use the Lens Correction Filter in a Non-Destructive Way?
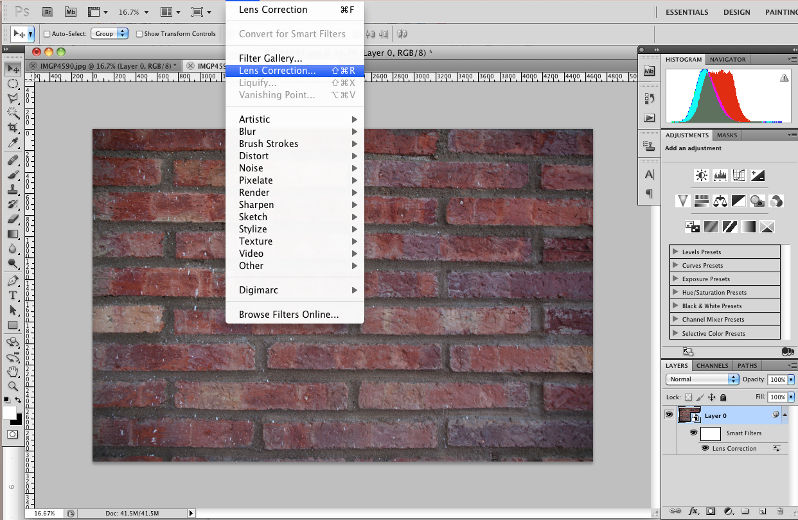
By default, Photoshop filters are destructive tools, in that once applied, you can’t later remove a filter effect. However, if you convert your photo to a Smart Object first, any filters that you apply, including the Lens Correction filter, can be edited or cancelled at any time. To do this, either right-click on the Background layer in the Layers palette and select Convert to Smart Object or go to Layer > Smart Objects > Convert to Smart Object.
Now, when you apply the Lens Correction Filter, by going to Filter > Lens Correction, you’ll see it listed under a Smart Filters list in the Layers palette and double-clicking on this entry at any time will reopen the filter dialog.
How Do You Correct Barrel and Pin Cushion Distortion?
You can use the Auto Correction tab to search for your camera model and lens online and have your chosen corrections applied for you. However, If you’re unable to find a matching profile for your camera and lens combination or are without an internet connection, you can make your corrections manually by first clicking on the Custom tab towards the top right of the dialog.
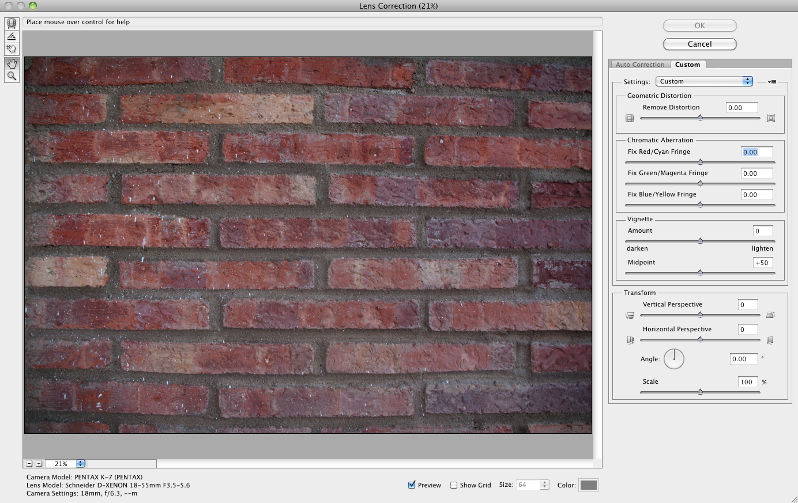
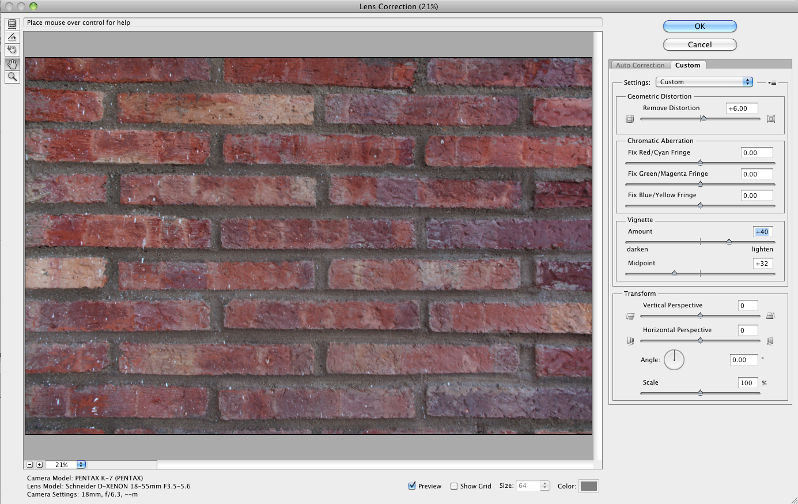
Above is the uncorrected shot from the 18-55mm lens shot at 18mm. You should see that the horizontal lines of the bricks bulge outwards at the top and bottom of the frame, a problem known as barrel distortion.
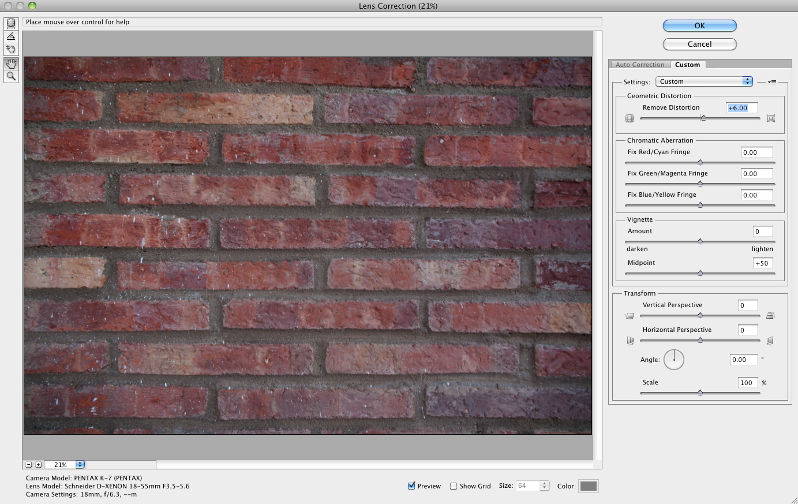
In this second screen shot (above), you should see that the Remove Distortion slider at the top right has been pushed to +6 and if you compare the bricks with the shot above, you will see that the horizontal lines are straighter with less pronounced bulging apparent.

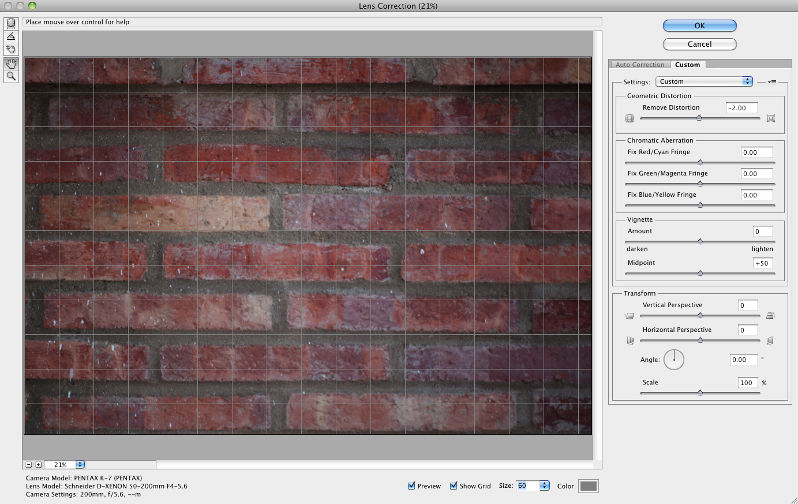
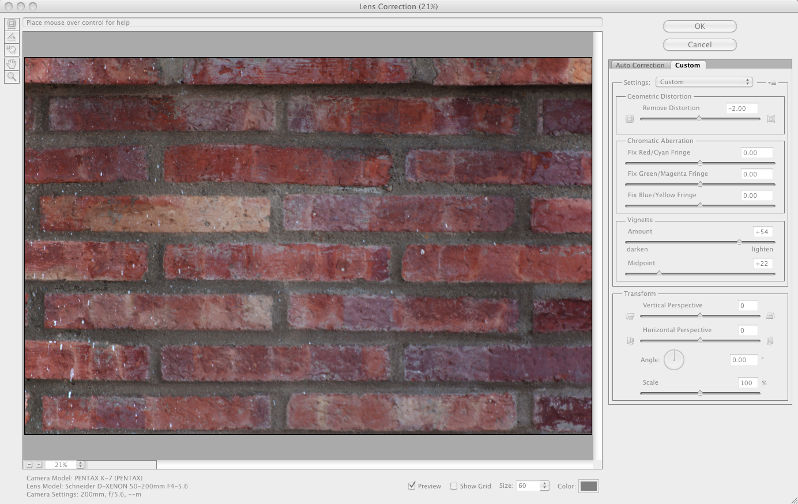
In this next screen shot above, you can see the uncorrected shot from the 50-200mm lens, shot at 200mm. In this case, you should be able to make out that the horizontal lines actually bulge inwards a little.

This screen shot (above) now shows the result of the Remove Distortion slider being slid to the left to a setting of -2. Again, you can see that the horizontal lines of the bricks are straighter than previously.
Incidentally, you may have noticed a check box at the bottom of the Lens Correction dialog labelled Show Grid. If you check this, you can see a grid overlaid on your image. You can adjust the size of the grid squares as required and you may find this useful in situations where your results are critical, but in the case of brick work, I’m happy to trust my eyes.
How Do You Reduce a Vignette?
You probably noticed in both photos that there was quite obvious vignetting that was darkening the corners and edges of the photos. There are two sliders in the Vignette section, with one adjusting the lightness and the other affecting how far into the image it should make adjustments. The amount that you need to apply these will vary, depending on both the subject and equipment used.
This shot above shows the settings that I applied to the 18-55mm image and the one below is the 50-200mm.
Of course it’s worth noting that sometimes a little vignetting can help to frame the subject and guide the eye, so you can also apply a vignette by dragging the amount slider to the left to darken it.
Conclusion
Lower cost zoom lenses are particularly prone to suffering these common problems and investing in better quality glass may be a better way to avoid many of these problems. However, even better quality lenses can exhibit such issues and when they are adversely affecting a photo, the Lens Correction filter can be a very useful tool to have available to you.

