Free Photography Bundle ($180 value): PS actions, LR presets, photo overlays, & print templates!
Get it here.
For a concept as fundamental as selective focus, it is a tool photographers will continue to improve throughout their entire careers and one in which no app or machine exists to tell us exactly how to do it.
Sure, it’s easy enough to look at a potential photo and say, I want the subject’s eyes to be the main point of interest in this photo, I have to make sure the eyes are in focus. But then more questions start surfacing. Questions like, what else should be in focus? And, how do I make everything else actually fall out of focus or stay in focus? Suddenly, what seemed so rudimentary at first, is actually kinda overwhelming.
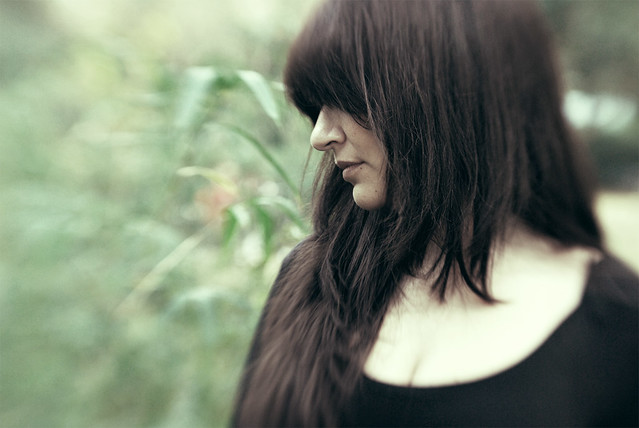
Quiet Allie by José Manuel Ríos Valiente
What Exactly Is Selective Focus Again?
Basically, every time you take a photograph you are (or should be) selecting which part of the image will be in focus and which parts of the image will be blurry, out of focus. But, selective focus is slightly more complicated than just our standard focusing instincts. Selective focus is slightly more edgy, more obvious, and when it’s done right, notably tasteful.
As a composition tool, we use selective focus to draw the viewer’s eye to a specific part of the image–the focal point. Some photographers see it as a rule, much like the rule of thirds, and while it can certainly be applied as a rule, it’s also very much an artistic preference, which can make it hard to teach and to learn.

Negotiations at the Fish Market by Lucas Jans
Using Selective Focus For More Compelling Portraits
For portraits the most common way to use selective focus is by having the only the subject’s face in focus. This is a tried and true method and a perfect starting point for those just learning about selective focus. This easiest way to do this is with a long lens that has as wide an aperture. An 85mm lens is considered the go-to lens for a lot of portrait photographers, but this isn’t a rule by any means, any long lens you happen to have will do.
- Location Is Everything – When posing your subject for a portrait, make sure they are not standing close to any background objects such as tall bushes or a wall. This will help provide the image with separation between the subject and the background, not to mention make it easier to keep it out of the focal range. The same can be said for where you are shooting from, too. One of the reasons a long lens is useful is because it will allow you to step back from your subject without compromising composition, again helping to isolate the subject from the surroundings.
- Open Up That Aperture – As you know, a wide aperture allows more light into the camera, but it also provides a naturally shallow depth of field. Try out a few apertures, starting with the smallest f-stop (e.g. f 1.8) and work your way up until you find one that doesn’t blur out too much, or too little. If you are still not using manual camera settings, you can set your camera to Aperture Priority Mode with a small aperture setting.
- Controlling The Bokeh – The out of focus area of your image, the bokeh, should serve as a compliment to your subject. The idea isn’t necessarily to blur completely beyond recognition. Instead, experiment with it so the silhouettes of the background objects are still somewhat recognizable.
- It’s All About The Eyes – This one is important. If you are taking a portrait of a person and their eyes will be included in the composition, they should almost always be in focus. In very few situations should they not be the most tack sharp point of the photo. If only one eye is going to be in focus, it should be the eye that is closest to the camera.
Get Shooting
There are also many varieties of dedicated lenses such as tilt shift lenses, but they can be costly additions to a kit and will not be used nearly as often as your other lenses. Of course, the standard focus techniques are completely adequate, and in many situations, still the best choice; however, selective focus, when it’s done just right, is a lot like hitting the sweet spot. It can make an image pop like nothing else. So why not open up that aperture and give it a shot?

