Free Photography Bundle ($180 value): PS actions, LR presets, photo overlays, & print templates!
Get it here.
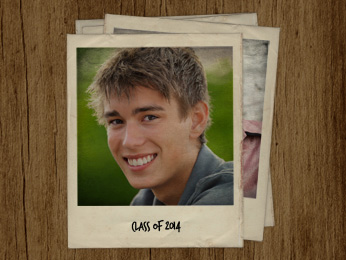
Adding a border frame to an image is very easy in Photoshop and can help to add a little interest to your photos. It’s also a quick way to give your images a nostalgic feel by presenting them rather like printed photos or Polaroids of yesteryear.
In this nice and easy tutorial, I’ll show you how easy it is to add a simple frame to a photo and even if you’re a complete newbie with Adobe Photoshop, you’ll have no trouble following along with this simple project.
I’m going to add a simple white border frame that is reminiscent of an instant print from a Polaroid camera, but the techniques can be easily adapted to produce a result more akin to a traditional 4×6 print.
Select Your Start Photo
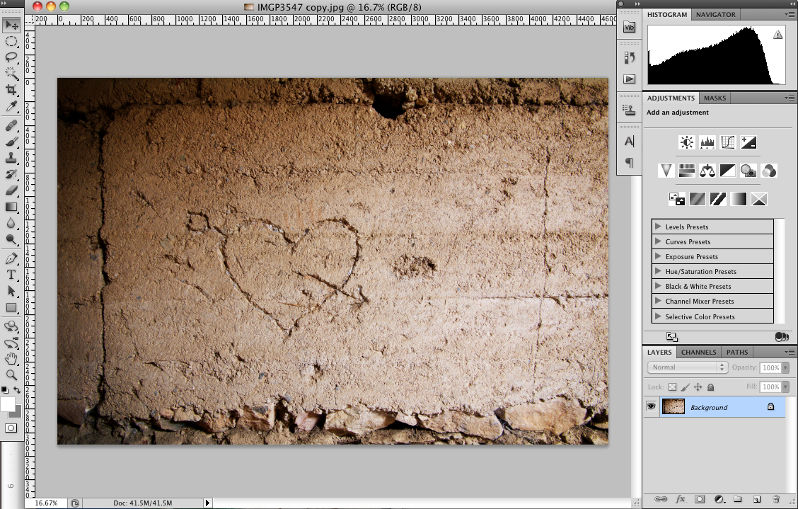
First up you’ll need to select a photo to work with and if you’re also going to produce a frame that looks like a Polaroid shot, you’ll need an image that is suitable for cropping to a square shape.
When you’ve decided on the photo that you’re going to use, go to File > Open and then navigate to the image file and click the OK button.
Crop Your Photo to a Square
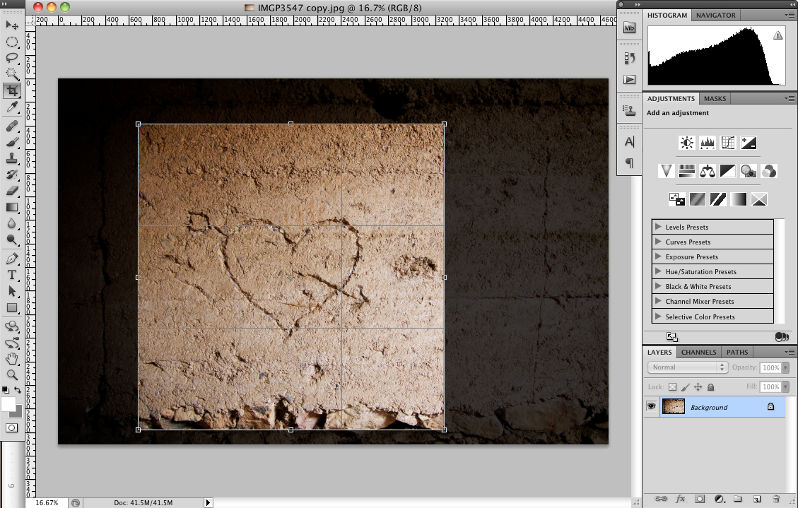
With your photo now open in Photoshop, click on the Crop Tool in the Tools palette to activate it. Now hold the Shift key on your keyboard and then click on the photo and, while holding the mouse button down, drag across your image to define the area that you want to crop. Note that holding down the Shift key ensures that you draw a perfect square.
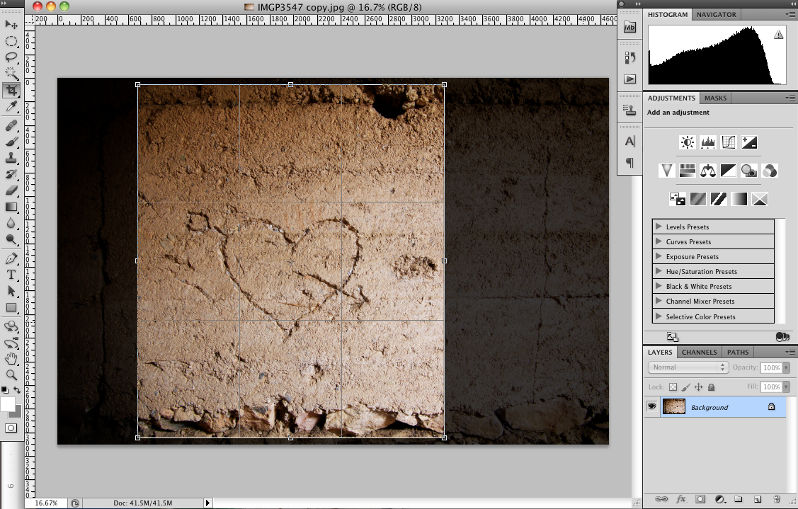
However, while the image area of a Polaroid shot is square, the print itself has a wider border at the bottom, so we need to adjust the shape of the crop box. You will either need to drag one of the central grab handles on the side of the crop box inwards or drag one of the central drag handles at the top or bottom outwards to make the crop selection slightly rectangular. In my case, I adjusted both the top and bottom drag handles. Finally, hit the Return key to crop the image.
Add a New Layer
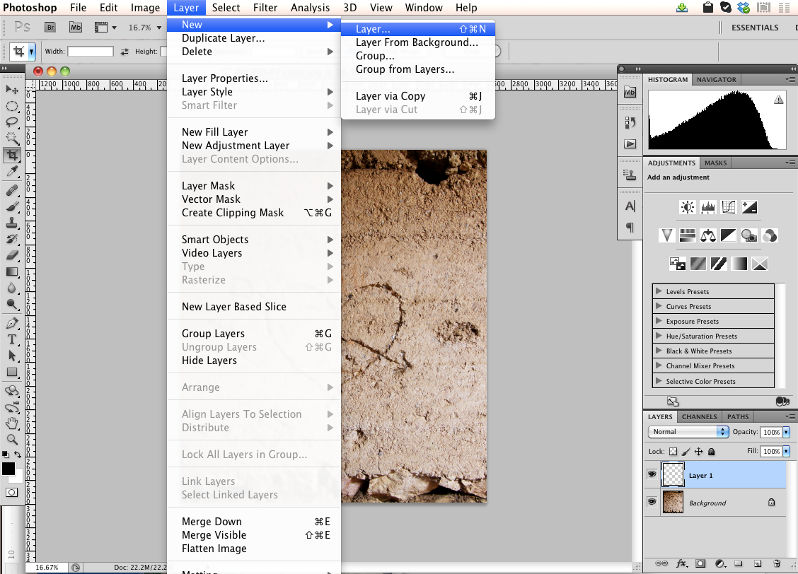
Now we can add a new layer that we will use to produce our Polaroid style border frame.
To add a layer, go to Layer > New > Layer and, if the Layers palette is open, you’ll see a new layer has been added above the Background.
Fill the New Layer with Solid White
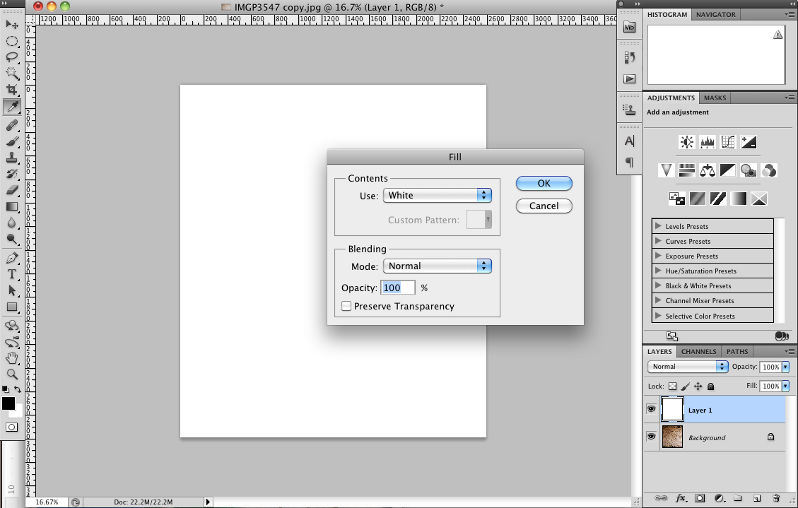
We need to fill this layer with a solid white as the first step of making the frame border, To do this, go to Edit > Fill and in the Fill dialog that opens, set the Use drop down menu to White and then click the OK button.
At this point the image looks as if it may have been rather heavily over-exposed, but we’re not finished with making our frame just yet.
Make a Square Selection to Make an Image Window
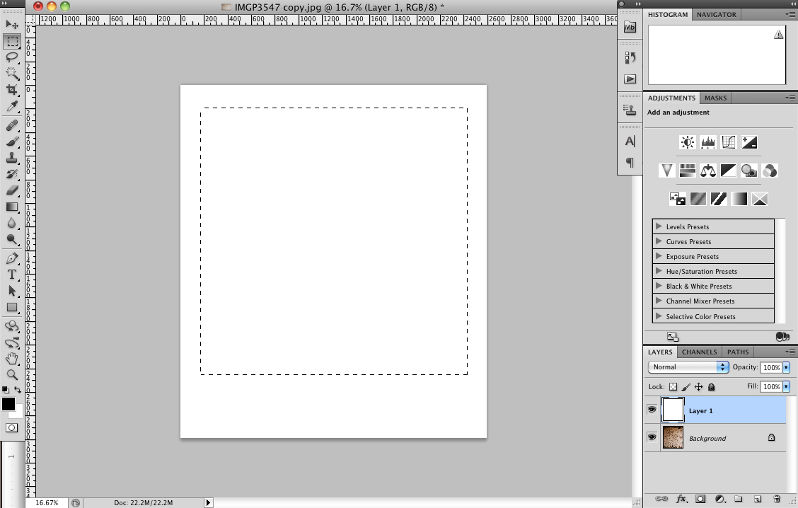
In the final step to make our Polaroid frame, we need to knock out a window through which the image on the background layer can be viewed.
Select the Rectangular Marquee Tool from the Tools palette – if you can’t see it, click and hold on the second icon in the Tools palette to open the fly out menu and you can select it from there.
Now place your cursor over the image somewhere towards the top left, hold down the Shift key and then click and drag to draw a square marquee. You want the side and top borders around the selection to appear equal, as near as possible, with a broader margin at the bottom. After releasing the mouse button, you can click inside the selection and click and drag to re-position it if necessary.
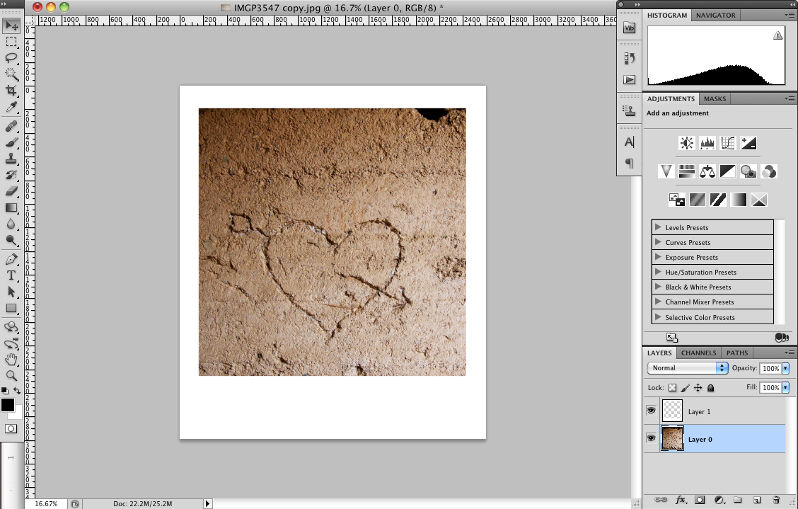
When you’re happy with the positioning, hit the Delete key on your keyboard or go to Edit > Clear to delete a window from the white layer. Go to Select > Deselect to kill the selection. If you need to re-position the Background layer to make the image better fit the border, double-click on the Background in the Layers palette and click the OK button in the New Layer dialog that opens. You can now select the Move Tool and click and drag on the image to re-position it. You can see in the image at the top of the page that I moved the image layer up a bit to center it better in the window.
Conclusion
This is a nice and easy way to add a simple photo frame border to your images to spice up their presentation. If you fancy some more advanced effects, check out our Polaroid PSDs pack for use with Photoshop.

