Free Photography Bundle ($180 value): PS actions, LR presets, photo overlays, & print templates!
Get it here.
Essentials for Photoshop and PSE is our set our actions that can be used to speed up your workflow in either Photoshop or Photoshop Elements (compatible with PSE 11+). You can get Essentials for free by subscribing to our newsletter. If you don’t already have Essentials you can get it by entering your email address into the form below.
Essentials includes a total of 33 Photoshop actions. There are 20 actions for creating different base effects, and then a total of 13 add-on actions for adding things like color filters, grain, and a vignette. You can use the add-on actions with any of the base actions to create your own effects with plenty of possibilities.
We’ll go through the process of using the Essentials actions with a few different sample photos to demonstrate how they can be used. If you’re not familiar with the process of installing Photoshop actions please see this page.
Here is the before version of the first photo that we’ll be working with:

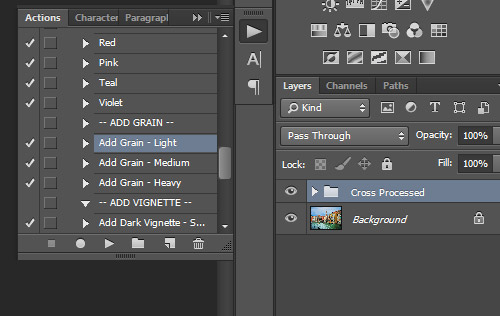
We’re going to give this photo a sort of vintage feel. The first step is to click to run the “Cross Processed” action.

After the cross processed action the photo looks like this:

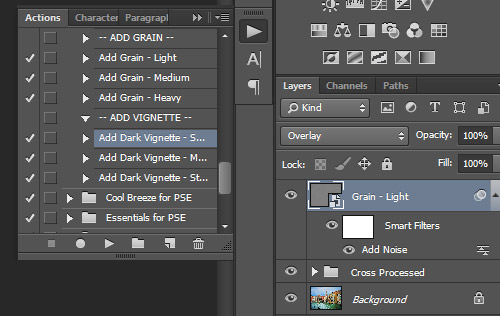
Next, I’ll click on the “Add Grain – Light” action to add a small amount of grain to go along with the aged look that I want.
And lastly, I’ll click on the “Add Dark Vignette – Soft” action to add a vignette to the edges of the photo.
And the final result is shown below:

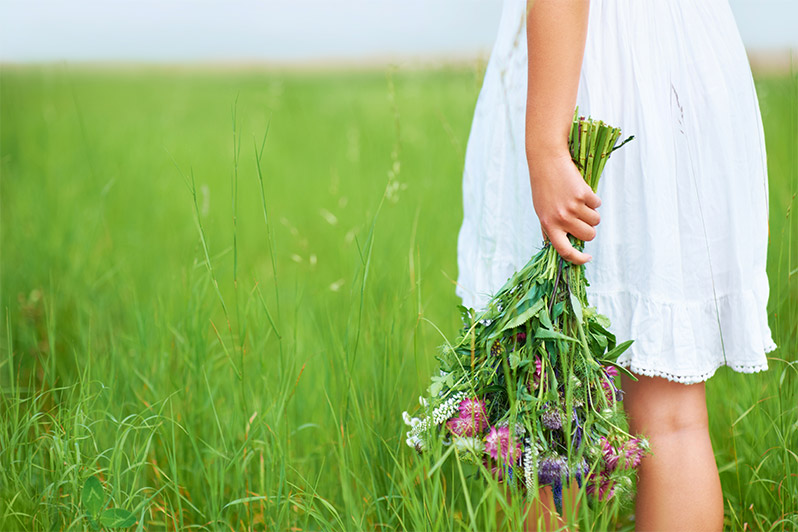
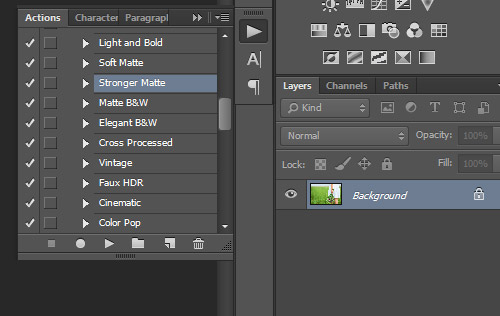
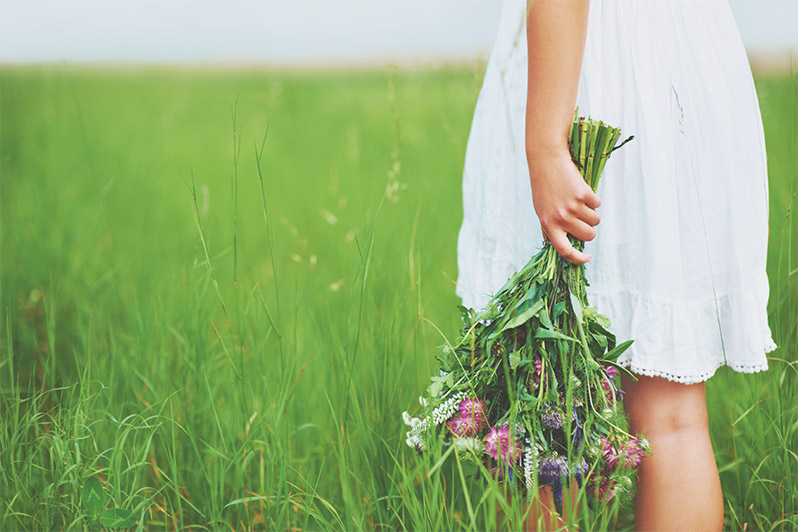
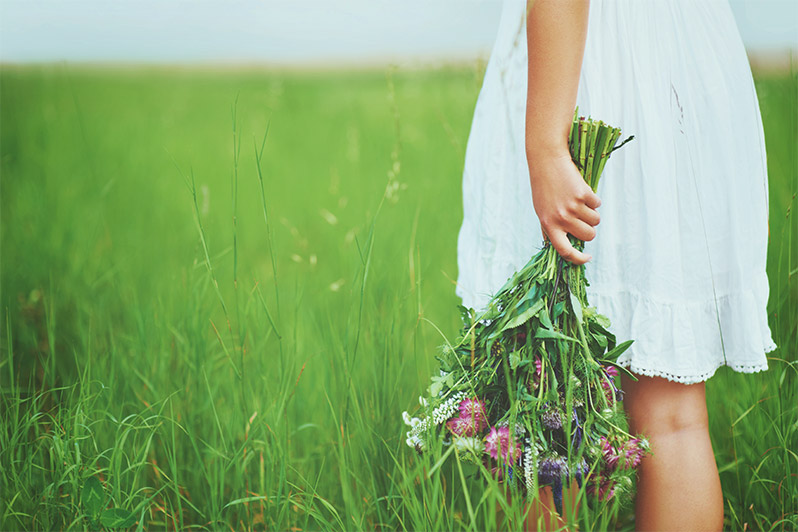
For our second example we’ll add a matte effect. Here is the before photo:
The first step is to run the “Stronger Matte” action.
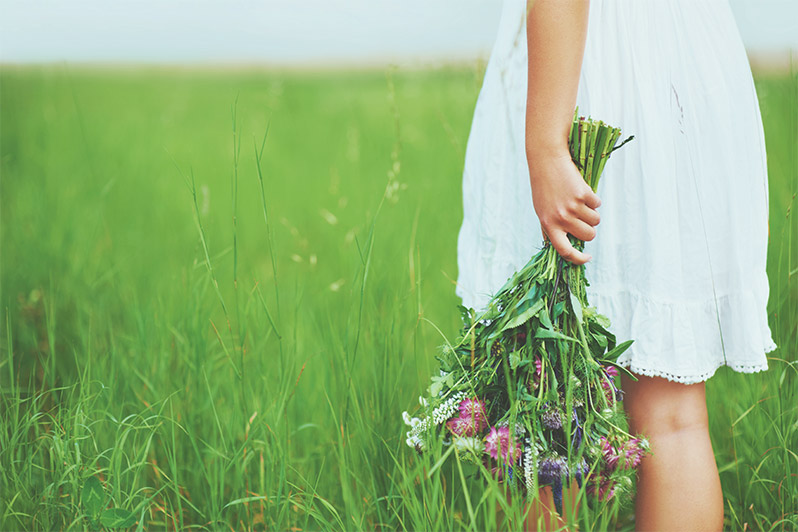
After the matte action the photo looks like this:
Next, I’ll click to run the “Teal” action under “Color Filters”.
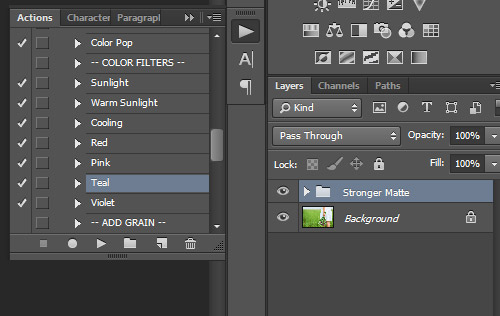
And after the teal action it looks like this:
And the last step I’ll take with this image is to run the “Add Dark Vignette – Medium” action to add a vignette of moderate strength.
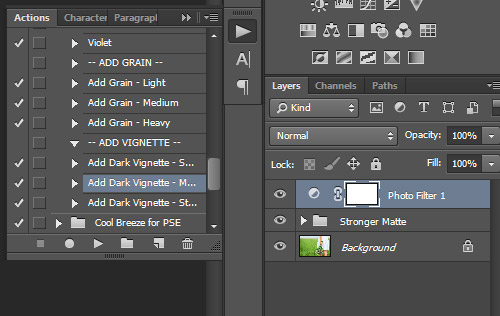
And the final result with this photo is shown below.
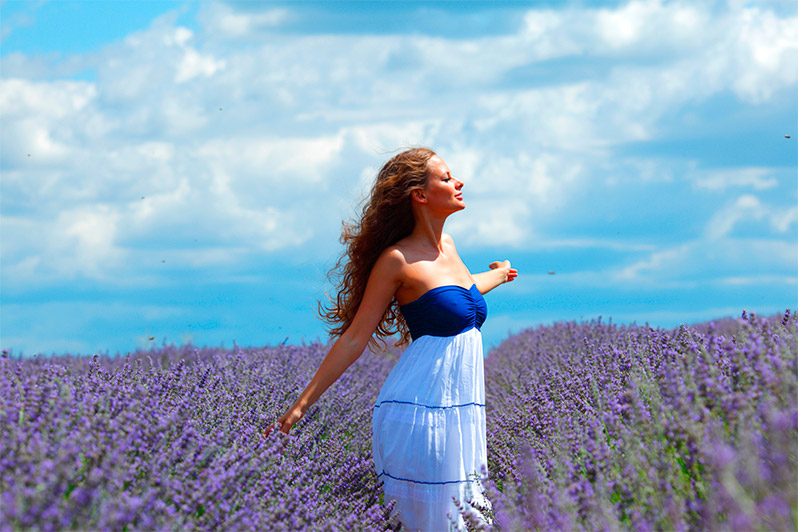
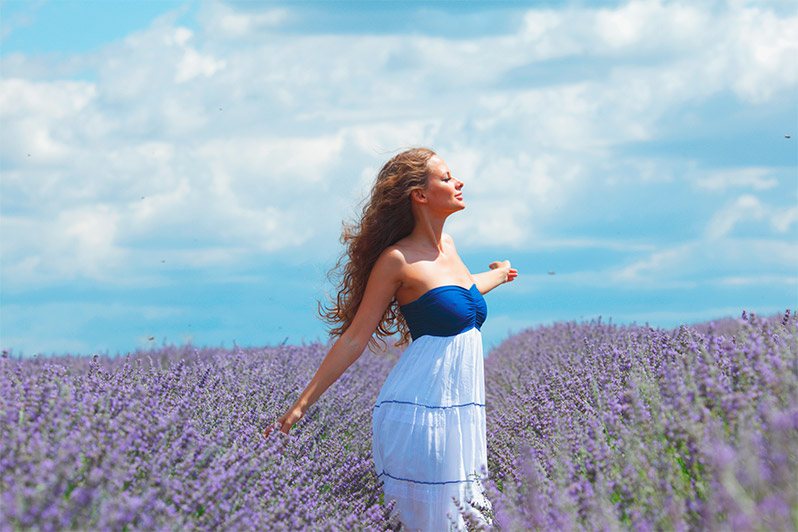
And our last example will involve adding a sunny haze effect. Here is the photo that we’ll be working with:
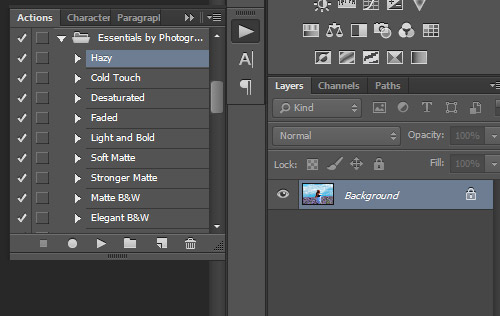
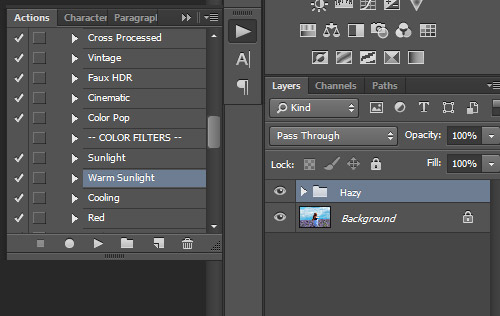
The first step is to run the “Hazy” action.
After the hazy action the sample photo looks like this:
The next, and last, step is to run the “Warm Sunlight” action under the “Color Filters”.
And the final result with this photo looks like this:

Hopefully these examples give you an idea of how Essentials can be used and how the different actions work together. Download the actions and try some different combinations of the actions with your own photos.

