Free Photography Bundle ($180 value): PS actions, LR presets, photo overlays, & print templates!
Get it here.
We’ve all seen those dreamy backlit portraits that wow us with the golden tones of natural light. If you’re familiar with the look, chances are you’re curious about shooting some similarly styled shots yourself. The good news is, it’s not as difficult as one might think shooting towards the sun would be. You just have to set yourself up for success with a little preparation. So read on to learn some helpful tips before you head out with your camera so you know what to expect.
Use The Right Tools
Being prepared with right tools for the job is an important part of any project. Luckily, since we’re shooting with just natural light, we won’t have to worry too much lugging around an entire lighting kit. Put the main focus of your gear checklist on your lens choice, but there are few handy extras that are always nice to have along….
- Lens – For portraits, an 85mm lens is considered standard because at that focal length (85mm), very little distortion is put on the subject, but if you don’t have a lens capable of shooting at 85mm, don’t panic–as long as you can get in that range, you’ll be fine. In fact, many of photographers prefer to shoot with something a little longer like a 105mm, whereas some are more comfortable shooting at something as wide as 50mm. A lot of it comes down to personal preference.
- Reflector – Reflectors are inexpensive enough and easy enough to carry that there’s really no reason to not have one if you plan on shooting portraits. (The collapsible 5-in-1 reflectors are great!) Use your reflector to bounce some of that natural back lighting onto the front of your subject to brighten up any shadows.
Some photographers also like use different types of filters like a polarizer or graduated neutral density. These can help enhance the colors in your image as well as balance out some of the contrast between the bright sky and the horizon.
Best Time To Shoot
As far as natural light is concerned, it’s hard to beat the quality of light during golden hours. Golden hour, the 30 minutes leading up to and 30 minutes following both sunrise and sunset, is well known for the warm golden tones that is cast over everything that’s in it’s path. It’s no wonder the combined warmth and softness of golden hour light is coveted by photographers of all styles. However, if you miss the golden hours, you can still get some nice backlit photos. Just try to avoid shooting around the middle of the day (noon) when the sun is directly overhead. 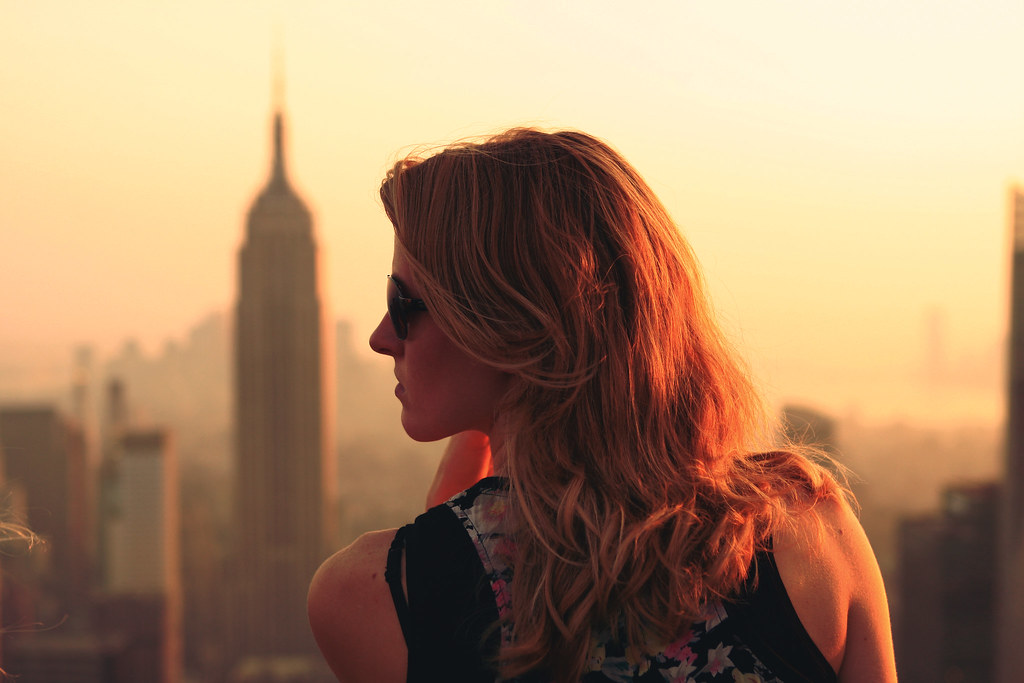
Subject And Camera Placement
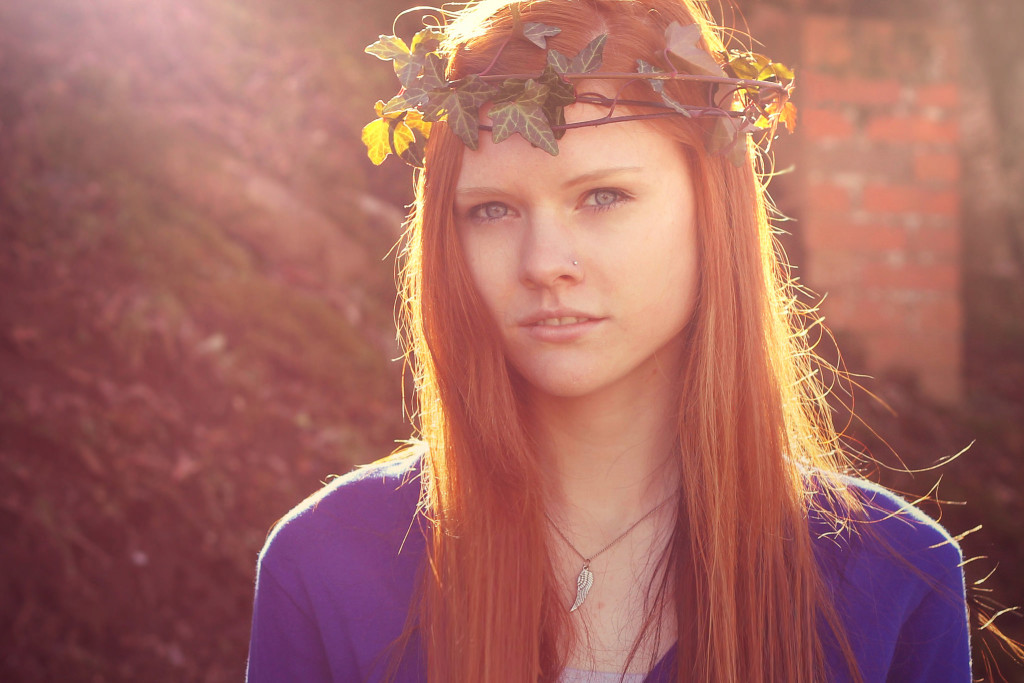
One of the keys to great looking backlit portraits is having the prefect background. When you’re deciding on the best place to have your subject stand and where you need to be standing with the camera, look for the best light. Since we know we want the sun to be behind our subject, see if you can find a location where the light is naturally filtered before it reaches the subject. Trees are wonderful light filters, as you can see in the photo below.  In this case, another great benefit the trees give is breaking up the background a bit–rather than having one bright blown out white sky behind the subject, having something in the background of the photo helps add depth to the image. When you have a background in your photo, try going for the dreamy bokeh look to keep the image soft and the focus on the subject.
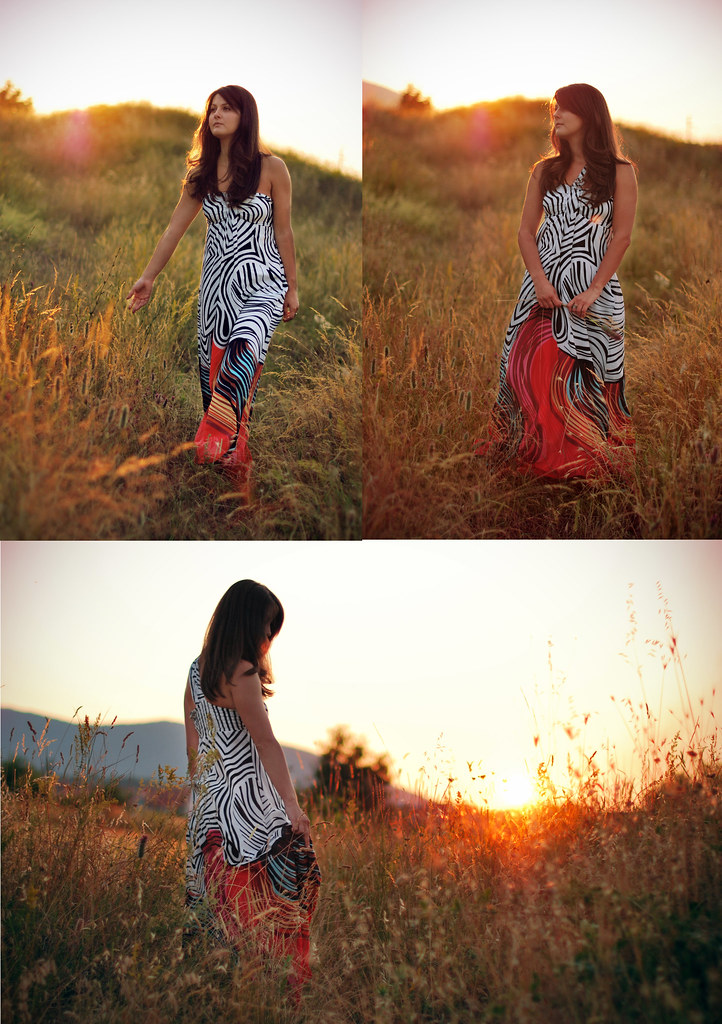
There are a number of ways this can be done, but rather than opening up your aperture all the way and risking parts of your model being out of focus due to a too shallow depth of field, try increasing the distance between your subject and the background. You can also decrease the distance between the camera and the subject to increase bokeh.
Expose For The Skin
Use the spot metering feature on your camera to expose for your subjects skin. Your subject is the most important part of the image, so your goal is make sure they are as perfectly exposed as possible. Because the light is coming from the back, most of what is in the background will most likely be overexposed–it’s up to you the photographer to discover how to use that to your advantage when composing the photo.
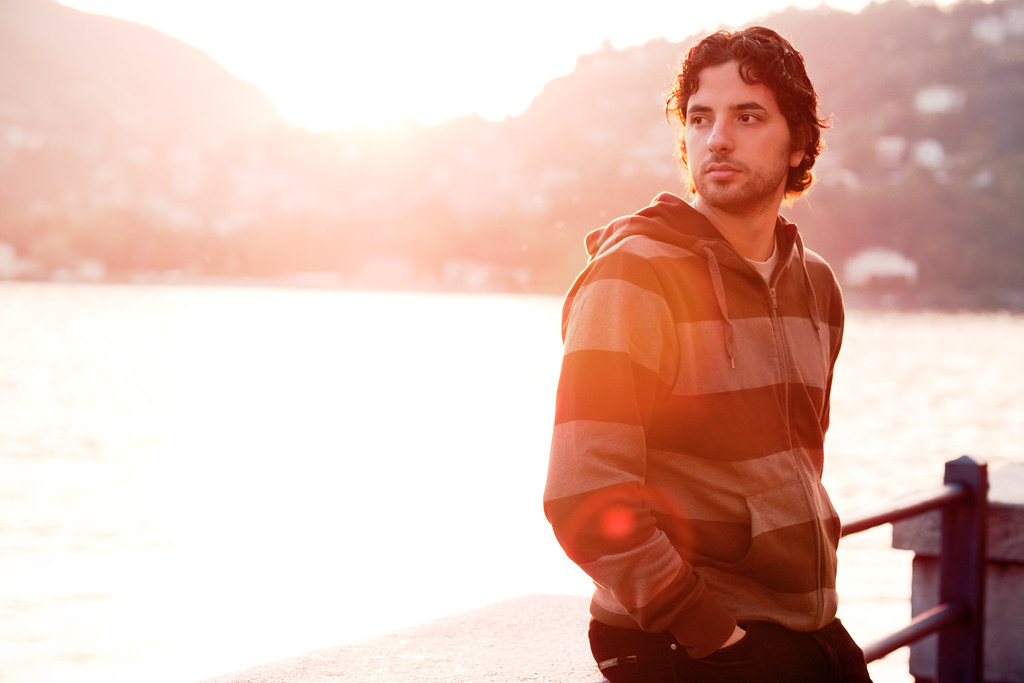
In some instances, the location may have something in the background you can use as a leading line to draw the eye away from the overblown background and to your subjects. In the sample image below, the photographer uses a guardrail to do this, but you can also do this by strategically placing your subject in front of mountains, treelines, etc to achieve the same compositional effect.

Finishing Touches
Once you’ve captured some backlit portraits you’re happy with, bring them into your favorite photo editing software and put some finishing touches on them. You may want to use Lightroom presets or Photoshop actions if you’re going for a specific look. If you have a lot of photos, presets make batch editing a breeze so you can spend a little extra time behind the camera instead of a computer screen!

