Free Photography Bundle ($180 value): PS actions, LR presets, photo overlays, & print templates!
Get it here.
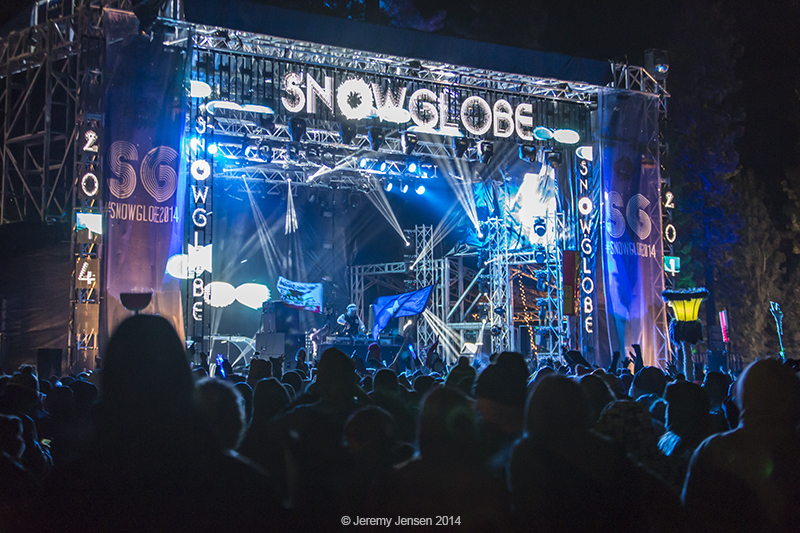
Music festivals are pretty much the pinnacle when it comes to concert photography. Festivals typically span the length of one to five days, and require a lot more energy and preparation than most new photographers realize. Between multiple stages, unpredictable weather conditions, and overlapping acts it can be very easy to get overwhelmed.
If you’ve been granted media access as a photographer (Or if you haven’t and would like to) these tips are incredibly useful for going into your first assignment feeling fully prepared.
Tip #1: Preparing Your Photo Bag and Equipment
Before you even leave your house you’re going to want to spend a few hours making sure you have everything you’ll need to capture the festival successfully. If you’re just beginning, this might mean renting the necessary equipment so you don’t feel empty handed.
In order to get all of the necessary angles, I would recommend bringing multiple lenses of varying focal length:
Lenses
- Telephoto- Even though you’re closer than anyone else in the crowd, most photo pits will still leave you far enough away where wide angle and mid range lenses can’t reach the intimate details happening on stage. Telephoto lenses bring your viewers up-close and personal with the artists, providing a perspective most audience members will not have gotten to see. I’ve found the focal length of 70-200mm to be perfect for getting close enough on practically any stage.
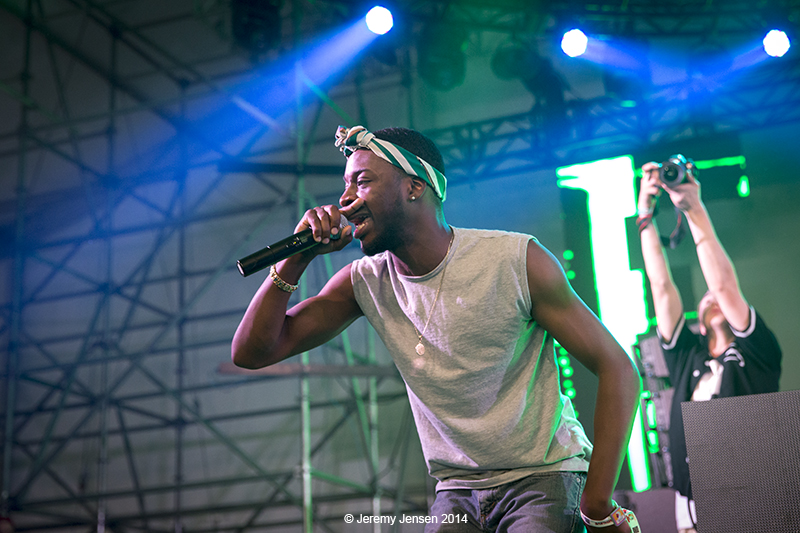
Goldlink shot on Canon’s 70-200mm f/2.8
- Mid-Range- Having a good mid-range will be incredibly helpful for capturing shots at stagefront and on smaller stages where the action is happening within arm’s reach. Many camera packages come equipped with lenses at 18-55mm, or 18-135mm, but if you can afford it I’d recommend aiming for Canon or Nikon’s 24-70mm 2.8. Having the wider aperture will greatly assist your exposures once the lights go out.
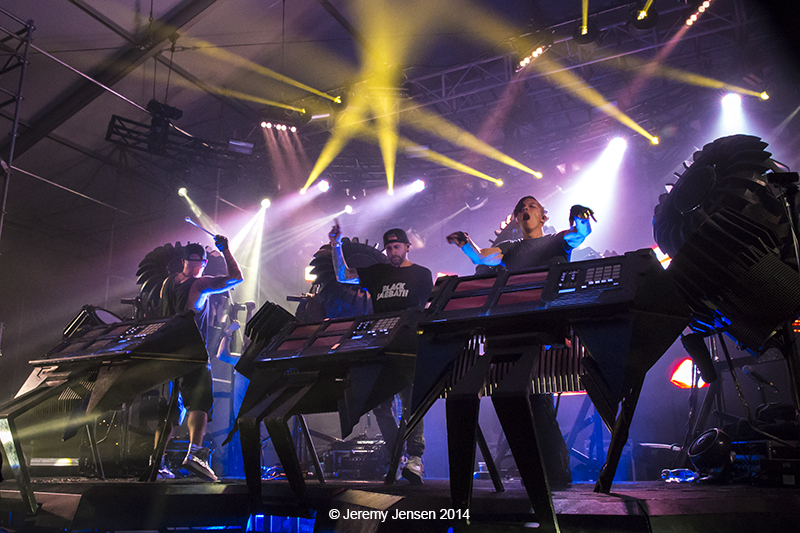
The Glitch Mob shot on Canon’s 24-70mm f/2.8
- Wide Angle and Prime- These two categories aren’t mandatory, but have incredible results for achieving particular shots.
- Wide Angle- In order to capture the entire stage from up close, many photographers will use an ultra-wide angle. Tokina’s 11-16mm 2.8 provides excellent image quality and can be purchased for under $400.
- Prime- Prime lenses are incredibly sharp and usually have excellent f/stop ratings. One of the most common I’ve seen in photo pits is Canon’s 85mm f/1.8 which can be purchased for around $300, and has excellent image quality. The downside here is if you’re in a crowded pit, it’s hard to move around to get a variety of shots.
Camera Bodies
Festival photography can be considered within the action genre because you have to be ready to shoot at a moment’s notice. It’s for this reason, many photographers will walk around with two camera bodies, with each using a lens of different focal lengths so they’ll always be ready to capture their shots appropriately.
If you’ll be attending with two camera bodies, look into buying a Dual-Camera Carrying System to make holding both feasible.
*Extra Tip- Having a camera body capable of shooting with high ISO will greatly reduce the amount of noise in your photographs for sets after dark.
Batteries and Cards
Shooting over multiple days means constantly changing batteries and dumping cards onto a laptop. There’s nothing worse than arriving at the headliner set only to realize your cards are full or your batteries are exhausted. I would bring at least two batteries, three ensures getting through a full day of heavy shooting.
For memory cards, try and bring at least three as well (If you can offload onto a computer), otherwise you’ll need at least five to get through a weekend.
Tip #2: Map Out The Venue With The Shows You Need To Shoot
Ordinarily your photo assignment will contain specific bands you need to capture, and rarely does a festival lineup make it easy to get from stage to stage with time to spare. Below is the map for Coachella 2015.
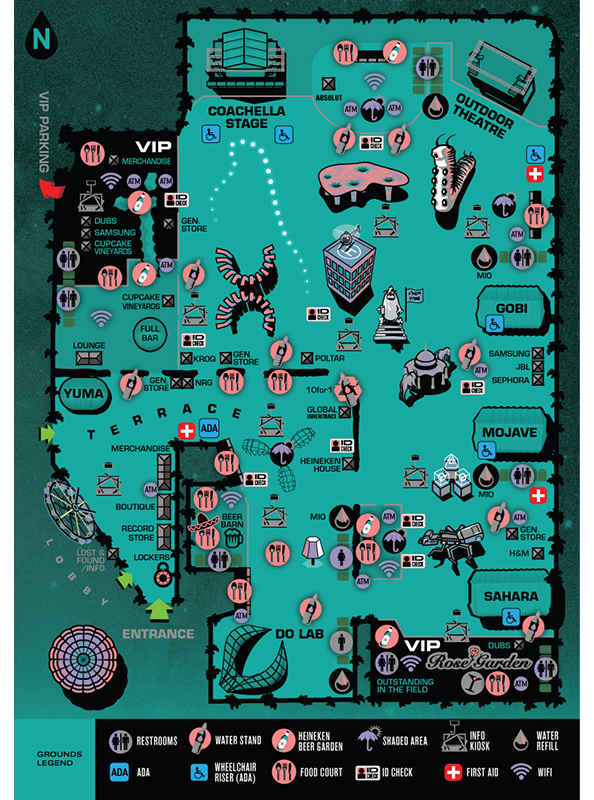 On paper it looks easy to get around, but the distance from the Sahara to the Coachella mainstage is easily 1/4 mile, in addition to navigating heavy crowds on the way there. In order to ensure you don’t miss any assigned shows, do the following:
- Write-down all of your assigned set times in order and determine if there’s any overlapping times. Most stages only give you the first three songs, so if two sets begin at the same time you may have to cut out early, make a sacrifice, or shoot the show from in the crowd
- Give yourself time to head to the media room to upload any photos and to charge your equipment.
- Get to the photo pit early to stake out a good vantage point. Sometimes photo pits can get really crowded, making your shots less appealing.
Tip#3: Camera Setting For Festival Photography
As with most action genres, you want to worry about as few camera settings as possible while you shoot. Naturally, you’ll be able to adjust your settings for certain purposes, but I’ve found giving the camera more control in most situations produces far better results.
Aperture
The depth of field you select is a matter of personal preference, however, the wider the aperture, the more attention you’ll draw to an individual subject. Opening your aperture will also help you in low lighting situations.
Mode
During daylight hours there’s no reason to shoot in Manual Mode. I’ll shoot in Aperture Priority to control Depth of Field, and allow the camera to choose the necessary shutter speed.
At night time you’re going to have to decide whether Manual will work better than shooting in Aperture priority. The lights on festival stages are constantly moving and changing. If you’re shooting in Manual you may capture the correct exposure initially, only to discover you over-exposed the next few shots. Shooting in aperture priority will prevent you from having to meter in these fast-changing situations.
If you notice your shutter speed is lagging, increase your ISO so the shutter speed is shooting at least 1/160th of a second. Any slower than this and the artists may begin to appear blurry.
Drive-Mode
Your subjects will be moving all over the stage making it nearly impossible to time all of their facial expressions. By shooting in high-speed continuous you’re ensuring multiple shots within the same moment so you can decide later on which photo came out the best.
White Balance
During the daytime sets, most artists rely primarily on the sun to light the stage. At night time however, there will be a blend of all different lights and temperatures flying around making it near impossible to lock in one perfect white balance setting. Post-Production makes it incredibly easy to adjust the White Balance after you shoot so just stick with AWB, and make sure to shoot in RAW!
Closing Thoughts
Above all remember to have fun and be courteous to the other the photographer’s who you’ll be running into all weekend. Music festivals feel a lot like a marathon sometimes so make sure to take time to relax, eat, drink some water, and most importantly listen to the music!

