Free Photography Bundle ($180 value): PS actions, LR presets, photo overlays, & print templates!
Get it here.
Adding texture to a photo can provide some extra character, grit, or help to give it an aged or vintage feel. Photoshop makes it easy to combine textures and photos, and in this tutorial we’ll work with two sample photos to show some of the possibilities. In the first example we’ll simply add texture to the entire photo and experiment with different blend modes and opacity. In the second example we’ll apply the texture and then mask out an area where we don’t want the texture to show. Both approaches can be used, it just depends on the photo that you are using. You’ll also be able to download a free texture that you can use with your own photos.
Applying Texture to a Photo
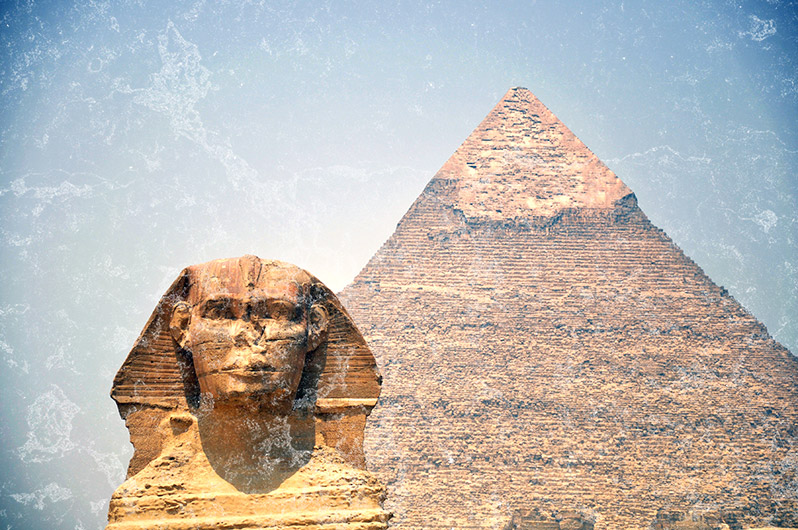
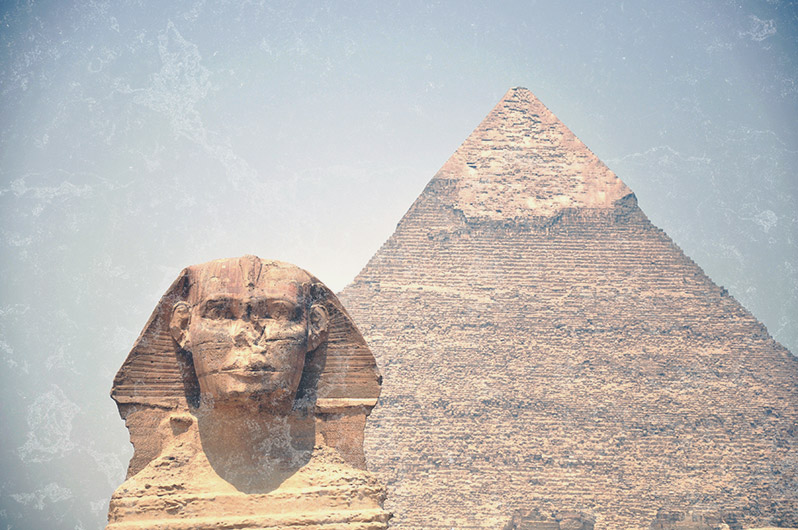
Here is the first sample photo that we will be working with.

And here is the sample texture that we will be using.
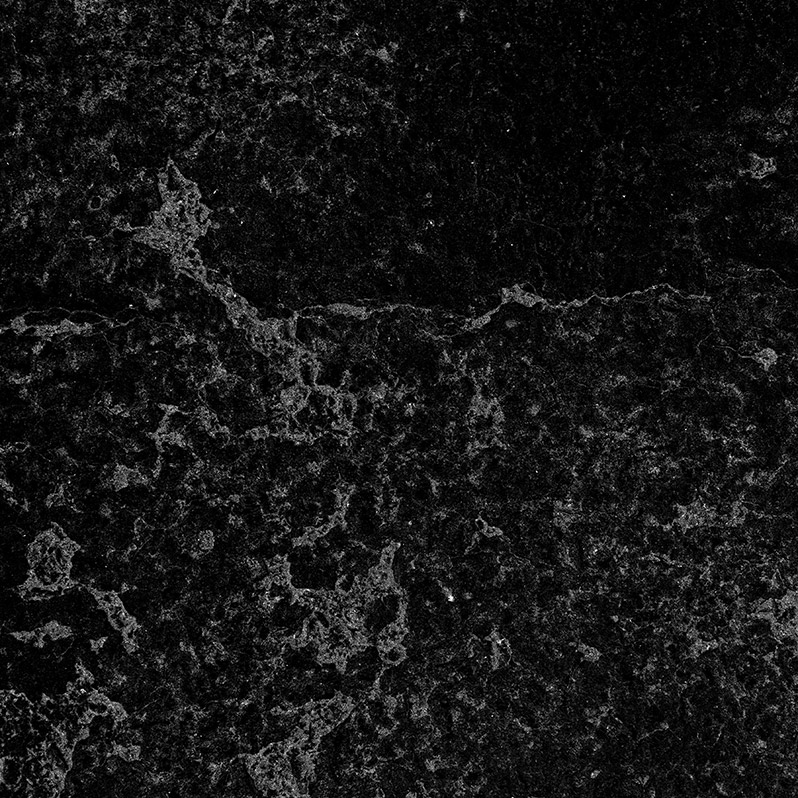
This is a sample texture from our larger set of Noise Texture Overlays and you can download a high-res version (3600 pixels by 3600 pixels) here.
Before adding the texture we’ll first need to re-size either the photo or the texture. The texture is 3600 pixels by 3600 pixels and the photo is wider, so I will re-size the photo to 3600 pixels in width. You could increase the size of the texture, but it would soften the details a little as the quality decreases.
Now that are photo is re-sized we simply copy and paste the texture on top of it. So open the texture file and go to Edit > Copy. Then in the photo file go to Edit > Paste and it will paste the texture as a new layer on top of your photo.
The next step is to experiment with some different blend modes for the texture layer. Photoshop offers all kinds of different possibilities here, but when working with textures I typically use one of the following options: overlay, soft light, multiply, or screen. You can certainly experiment with others as well. Below are previews of how the photo looks with the texture’s blend mode set to different options (please note the opacity is set to 100% in all of these previews, we’ll get to that in just a minute).
Screen
Soft Light

Overlay
Now, the effect of the texture is a little strong. Instead of leaving it at 100% opacity I’ll dial it back to 70%.
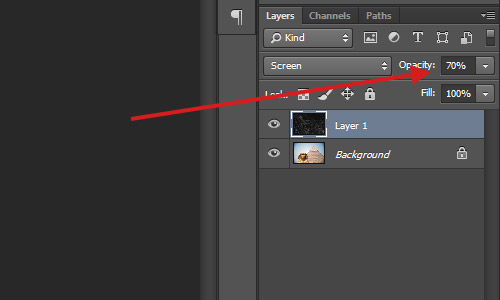
After changing the opacity here is how it looks with the different blend modes.
Screen
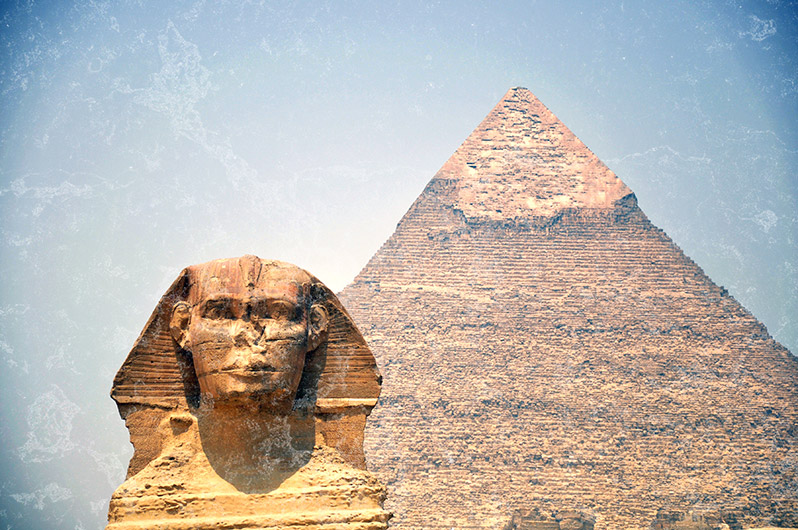
Soft Light
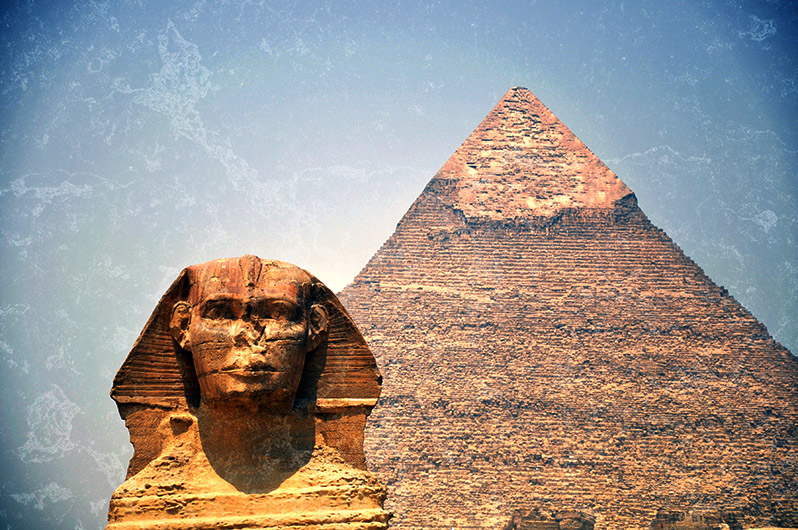
Overlay
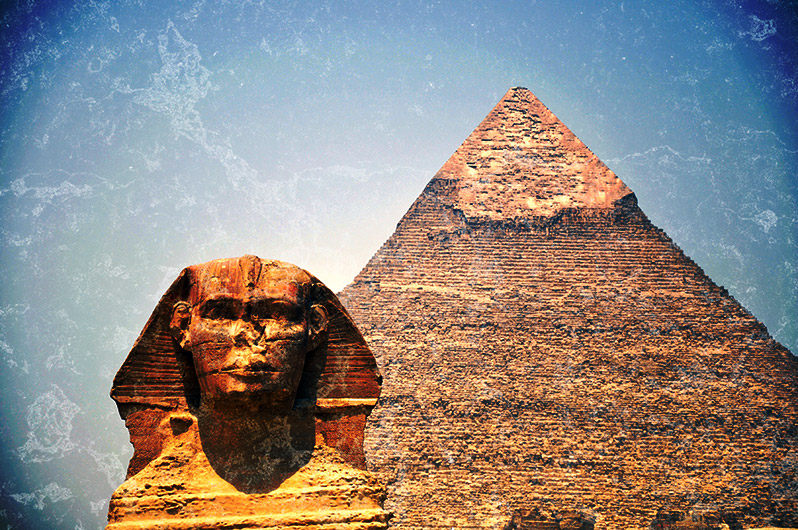
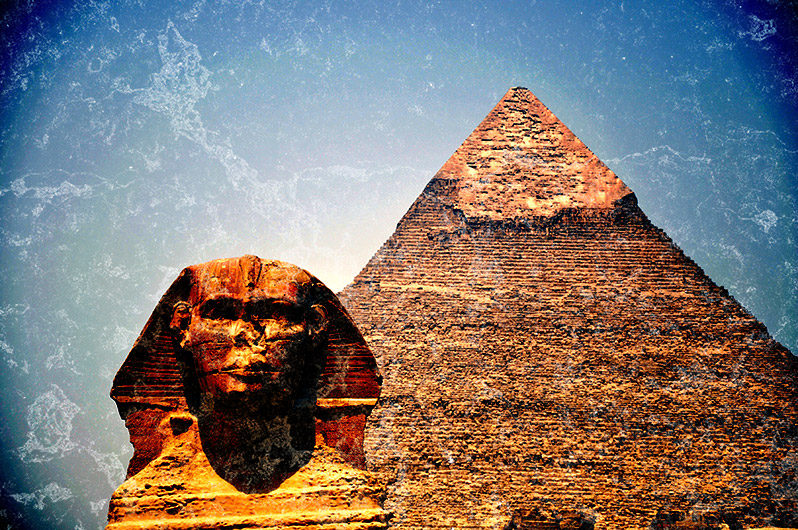
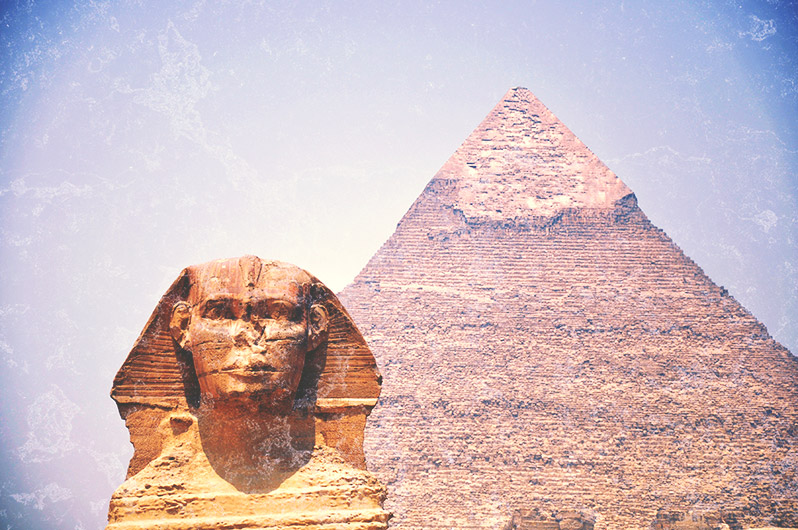
For this photo and this texture I like the combination of using the “screen” blend mode with an opacity of 70%. It’s not overpowering, but the texture is easily visible. In this case the texture gives the photo a bit of a vintage feel, and you could even enhance that if you wanted to by making other adjustments and edits if you wanted. You can also run a Photoshop action to apply some type of effect. Below you’ll see some preview images of how the photo looks with the combination of the texture and an action. The actions used here are from our set of Essentials for Photoshop, which you can get for free here.
Texture Plus “Faded” Action
Texture Plus “Cross Processed” Action

Texture Plus “Vintage Action
Texture Plus “Matte B&W” Action
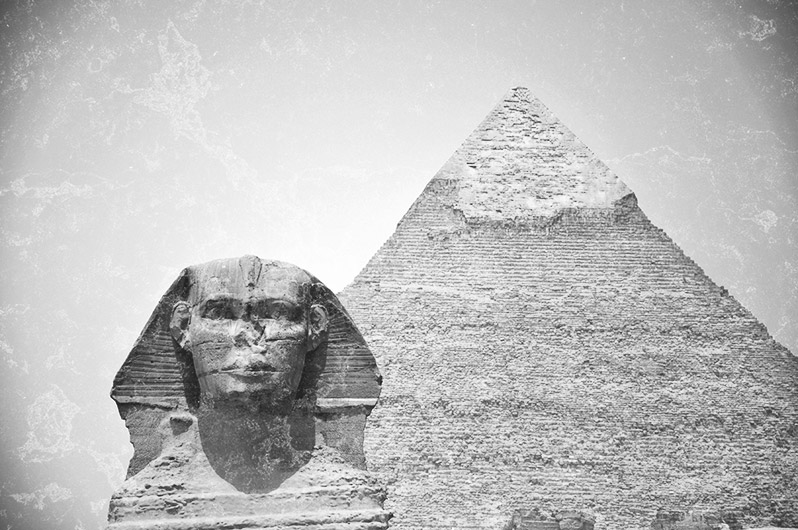
You can see that there are a number of different looks that you can achieve with the help of some texture.
How to Apply a Texture Selectively
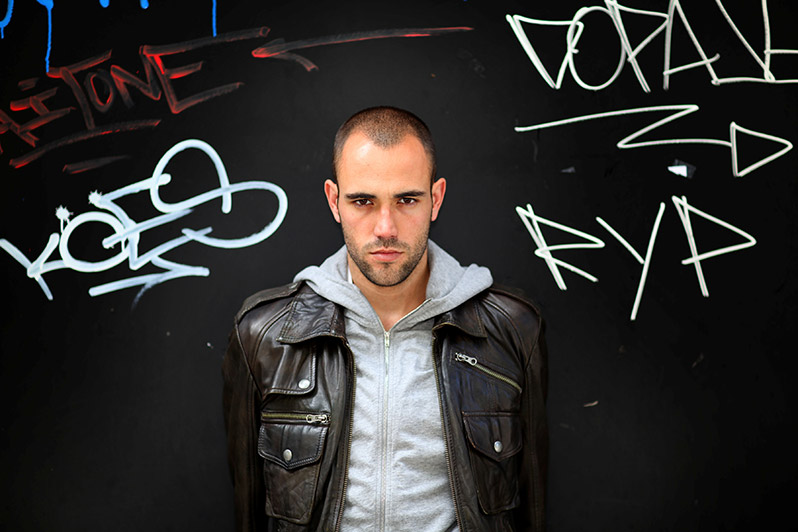
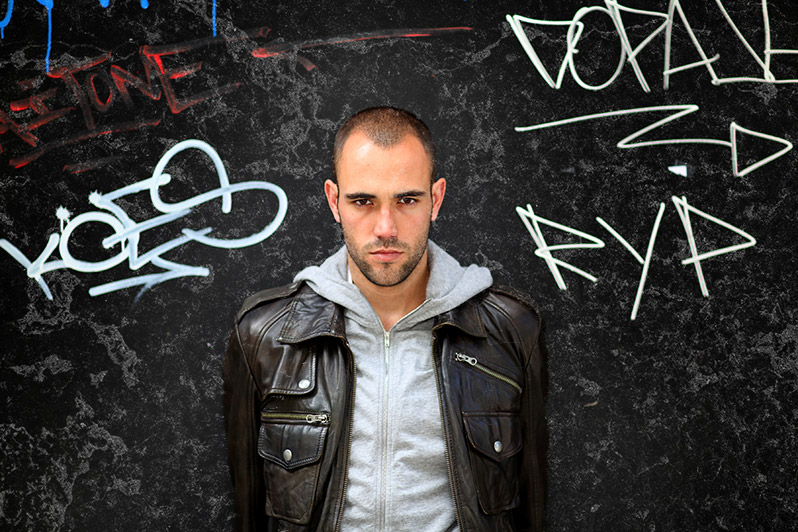
When there are people, especially faces, in your photos you most likely will not want the texture to be applied on certain areas of the photo, like their skin. This is a fairly simple task, and in our second sample we’ll use the photo below.
When we apply the same texture and set it to overlay at 100% screen it looks like this.
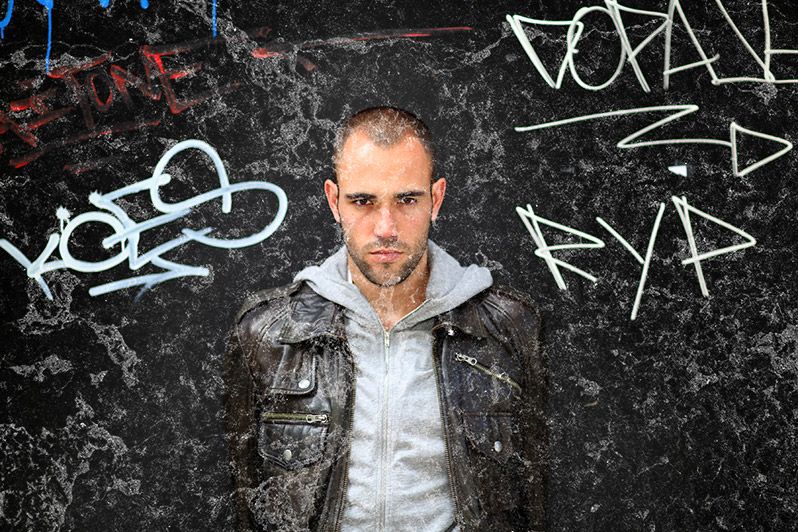
The first thing I’ll do is change the opacity to 70%, which makes the photo look like this.
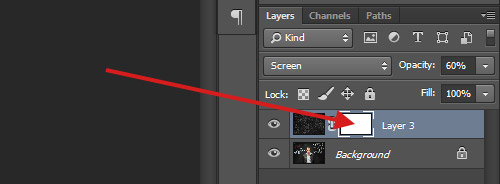
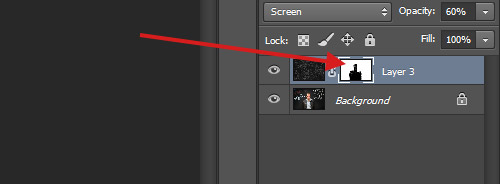
I want the texture for the background, but it obviously doesn’t look good on the man’s face. To change this we can apply a mask and brush over the areas where we want to hide the texture. To do this, make sure that the texture layer is selected in the layers palette and go to Layer > Layer Mask > Reveal All. This will add a white mask in the layer’s palette.
Set the foreground color to black (#000000) and click on the brush tool.
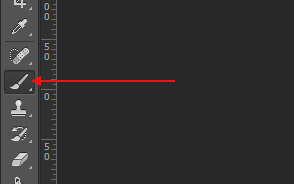
Select a brush tip with a soft edge and brush over the areas where you want to remove the texture. For small, detailed areas you will want a small brush tip. After brushing over the man you can see the areas of the brush showing up as black on the mask in the layers palette.
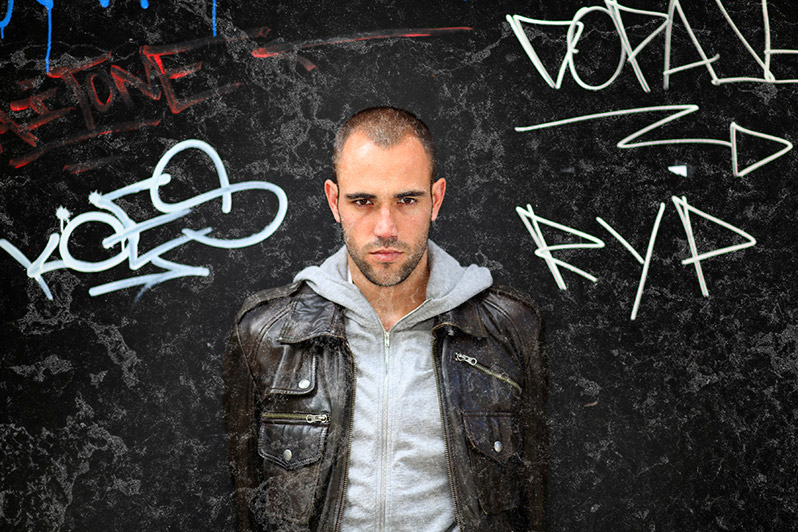
And with the texture removed from his face and his body the photo looks like this:
Textures are not difficult to work with, and they can add something extra to photos in the right situation. If you want to get started with textures you can download the sample texture used in this article for free, and you can also see more about our full set of Noise Texture Overlays Vol. 1 and Vol. 2.

