Free Photography Bundle ($180 value): PS actions, LR presets, photo overlays, & print templates!
Get it here.
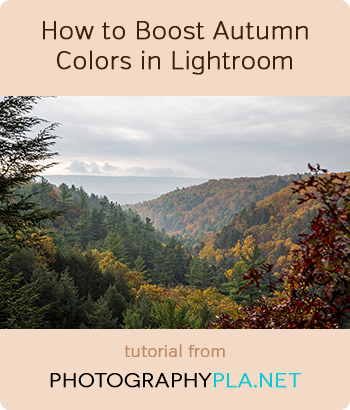
Autumn is a favorite season for many photographers because of the beautiful colors of the changing leaves and foliage. If you enjoy landscape and nature photography, autumn is a great time of year.
As you process your autumn photos, it’s possible to enhance the colors in Lightroom to get a better look. If you’re shooting in RAW files, your images are likely to look a little flat straight out of the camera, so some adjustments in Lightroom are likely to be needed.
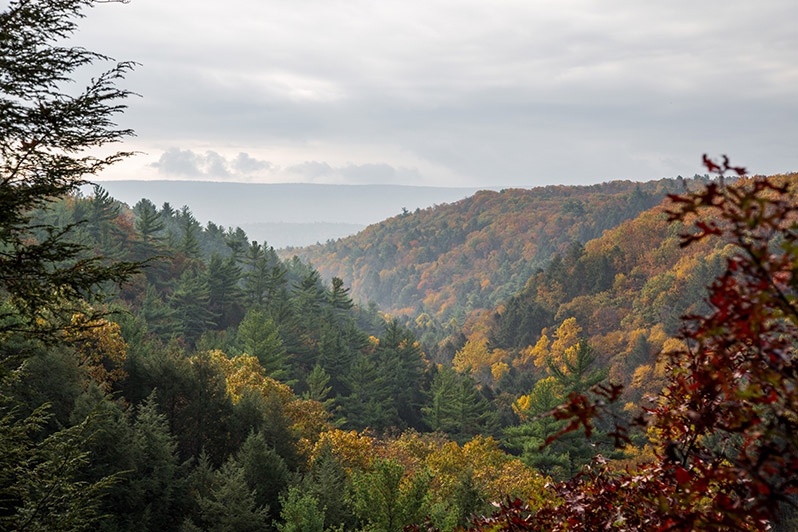
In this tutorial, we’ll walk through the process of editing a sample photo. I’ve chosen this particular photo because it includes the reds, oranges, and yellows that are common with autumn landscape photos, plus it includes plenty of green foliage as well. The end result is a photo has much more life as compared to the dull and flat photo that we started with.
Be sure to check out these Lightroom presets for nature photos:
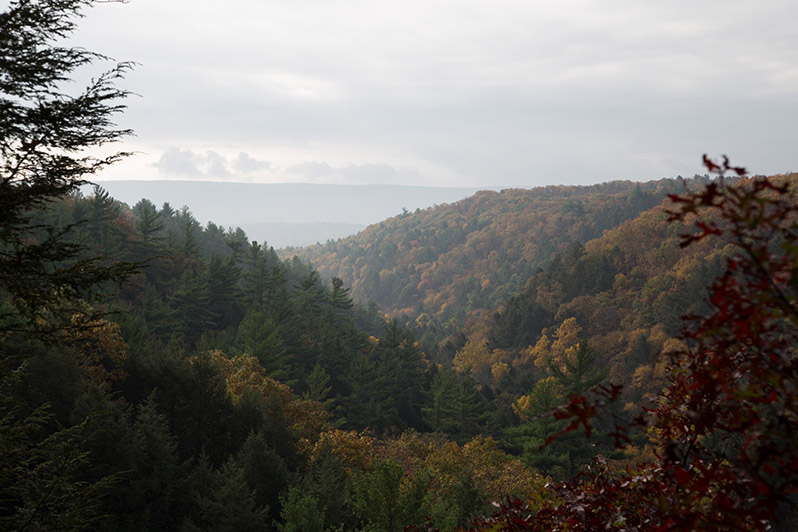
Here is a look at the before and after photos.
Before:
After:
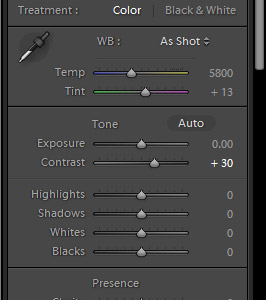
Step 1: Adjust Contrast
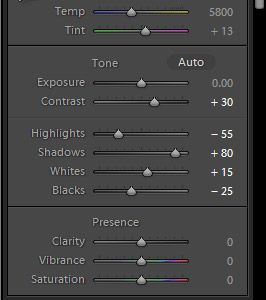
The first thing I’ll do to this photo is to boost the contrast.
Step 2: Adjust Highlights, Shadows, Whites, and Blacks
For the next step I’ll apply the following settings: highlights -55, shadows +80, whites +15, blacks -25.
Step 3: Adjust Clarity
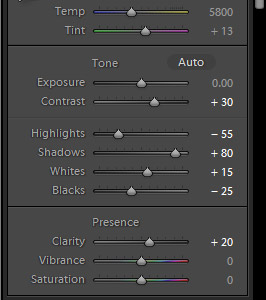
The third step is to increase clarity to +20.
Step 4: Boost Autumn Colors
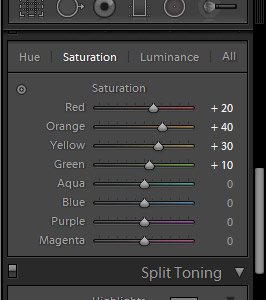
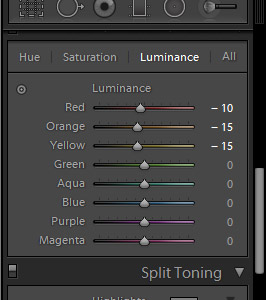
The last adjustment we’ll make to this sample photo is to give a small boost to the autumn colors in the HSL settings: red saturation +20, orange saturation +40, yellow saturation +30, green saturation +10, red luminance -10, orange luminance -15, and yellow luminance -15.
At this point my photo looks like this:

Depending on the photo that you are working with you may also need to adjust some other settings like exposure and possibly white balance.

