Free Photography Bundle ($180 value): PS actions, LR presets, photo overlays, & print templates!
Get it here.
This article is part of our series Photo Editing 101 by Ian Pullen. This series will cover all of the basics of using Photoshop for editing photos. If you’re just getting started with Photoshop or photo editing, or if you’re looking to improve your skills in this area, this series will provide an excellent foundation. If you want to make sure that you don’t miss future articles you can subscribe to our newsletter or follow us on Twitter, Google+, or Facebook. You can also find the articles that have already been published by visiting the Photo Editing 101 course page.
The Channel Mixer adjustment layer in Photoshop can be used to apply creative color effects to your images, convert them to black and white, and add color tints to mono images.
This tool is pretty straightforward and easy to understand and in this article I’ll run through the various options that are available when using the Channel Mixer.
How Do You Access the Channel Mixer?

If the Adjustments palette is open, then you just need to click the icon at the right hand side of the middle row of icons, represented by three overlapping circles. Otherwise, you can go to Layer > New Adjustment Layer > Channel Mixer.
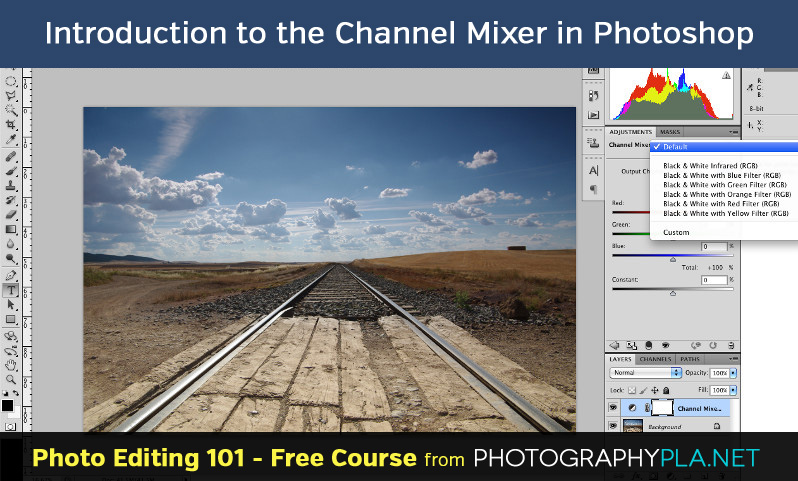
What Do the Presets Do?
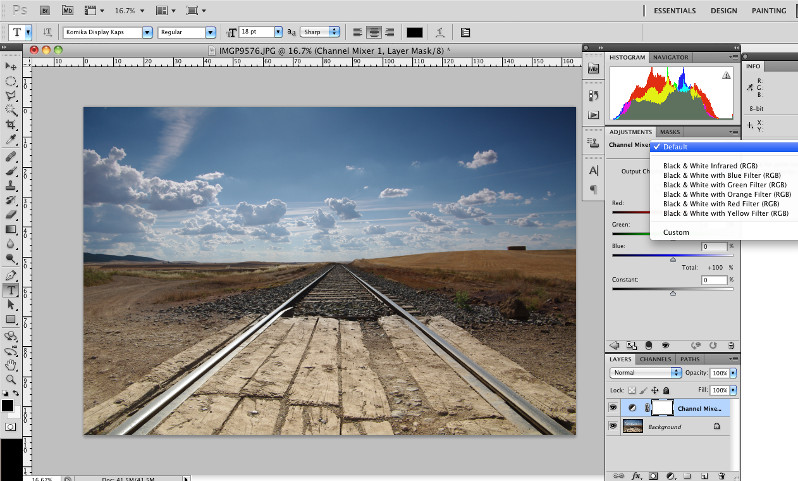
Once the Channel Mixer palette is open, the first thing that you’ll notice at the top is the drop down menu that will initially be set to Default. If you click on this, you’ll see a selection of options for converting your image to black and white. These presets are designed to mimic the effect of using colored filters with black and white film. While using the Channel Mixer remains a viable way to convert photos to mono, it has been rather superseded by the Black and White tool that offers greater flexibility for conversions, plus a wider range of preset options too.
How Do You Work With the Channel Mixer?
As I’ve said, working with the channel mixer isn’t too difficult and while its greatest use has always probably been for converting to black and white, it does offer an easy way to make creative color adjustments to your images.
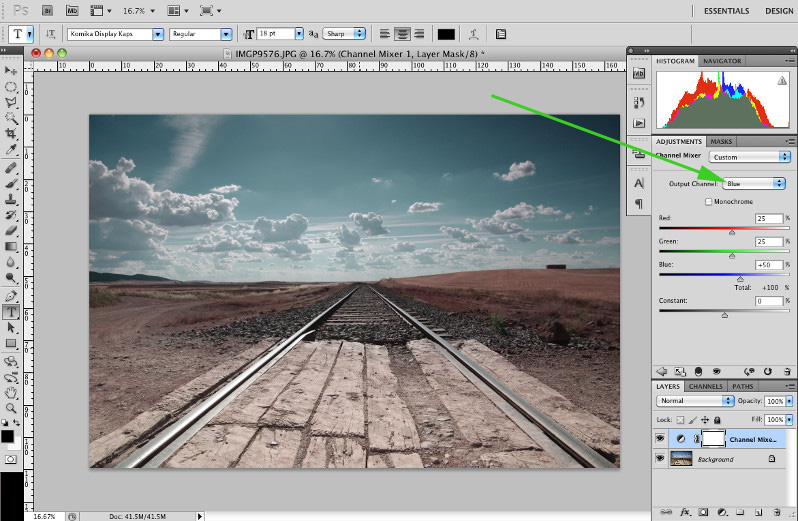
The first thing to do is to decide which output channel you want to work on out of red, green and blue and you can select this using the Output Channel drop down menu.
By default, each output channel consists of 100% of its own color and 0% of the other two colors. In the screen shot above, I selected the blue output channel and reduced the blue slider to 50% and increased the other two to 25%. This resulted in the sky becoming a less intense blue while neither red or green added a dominant tint as they remained evenly balanced. You’ll notice that the Total remains at +100% as the sum of the three sliders still adds up to 100. This means that the overall tonal balance of the image remains the same. A total below 100% will result in a darker image, while higher lightens the image. You will see a little warning triangle displayed in this case to highlight the imbalance.
What Does the Constant Slider Do?

The Constant slider affects the darkness or brightness of the selected output channel and while you may see some benefit from making minor changes here, take care with making larger changes to this slider. In the screen shot above, I dragged the slider all the way to the left and you can see in the Channels palette that this has darkened the whole channel to black – look at the image icon in the blue channel.
This has effectively removed any blue light from the image so it is now made up purely of red and green. Moving the slider all the way to the right would turn the icon pure white and introduce a distinctive blue tone to the image.
How Do You Convert a Photo to Black and White?

To convert a photo to black and white, just click the Monochrome check box and the output channel automatically sets to Gray. You can now adjust the sliders to produce different effects.
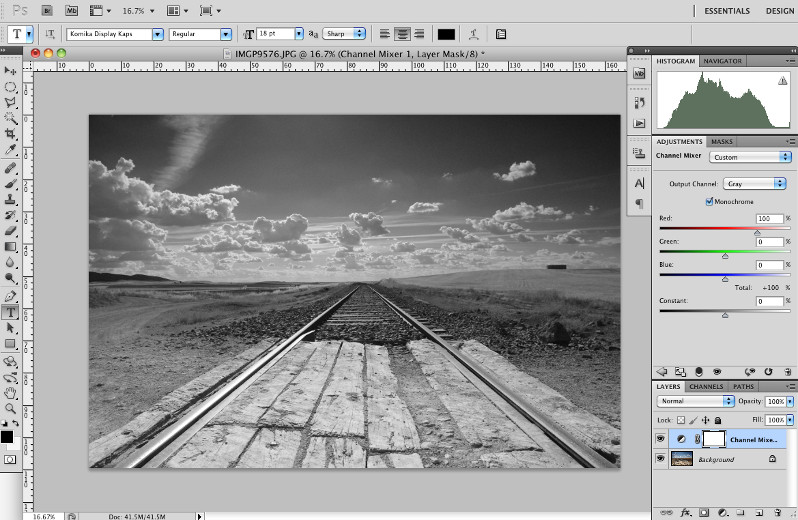
The first screen shot shows the default settings and the second (above) shows how the appearance of the image is changed by adjusting the sliders.
How Do You Add a Tint to a Black and White Photo?
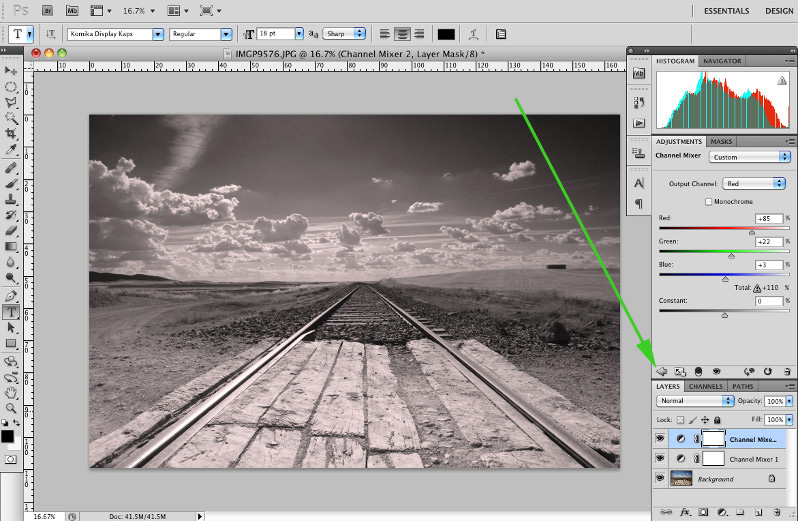
If you click the arrow icon at the bottom of the Adjustments palette, you can then add a second Channel Mixer adjustment layer and use this to add a color tint to your black and white photo. Just select an Output Channel and then adjust the sliders to produce different color tints.
Conclusion
While the Channel Mixer isn’t so useful in current versions of Photoshop that have the Black and White tool, it is still a useful feature that can help you produce creative color effects with your photos.
See more articles in the Photo Editing 101 series.

