Free Photography Bundle ($180 value): PS actions, LR presets, photo overlays, & print templates!
Get it here.
Images play a key role in web design, and they are generally essential for a design to be a success. When envisioning a website’s theme, the first thing that usually comes to mind is the imagery that will be involved.
Photos must be powerful and engaging. This usually means they will require a certain amount of editing; even the near-perfect ones. Photo editing with great software like this popular image editor for Mac, is, therefore, the second important thing to consider.
As far as the visual content itself; here’s how to go about choosing it:
Quality – Large, pixel perfect, high resolution images are almost always the most effective. Whatever your design concept may be, the images must be large enough to make an impact. Adequate size also suggests that a professional approach has been followed during the design work.
Brand Relevance – If an image isn’t brand relevant, why use it? If a premium product is being marketed, the images used should emphasize that product’s attributes.
Actionable – Actionable images play a tangible role. They persuade a visitor to take action.
Powerful – To be most effective, powerful images should be balanced by kick-ass content. One should not be allowed to overwhelm the other.
Here is how you can make an image powerful. Luminar photo effects enable taking this conceptual approach.
Using an Image to Replace Text – A block of text may be a good read, but not necessarily an enjoyable one. Replacing it with an image, gives you a Visual Hook that tells the same story.
Editing with Luminar – The Basics
Luminar is a photo editing software for Mac that has become quite popular over the past few years, due, in large part, to its ability to adapt to its user’s styles and skill levels. As a user, one of the first things you’ll come to appreciate is how easily you can adapt its workspace to your comfort level.
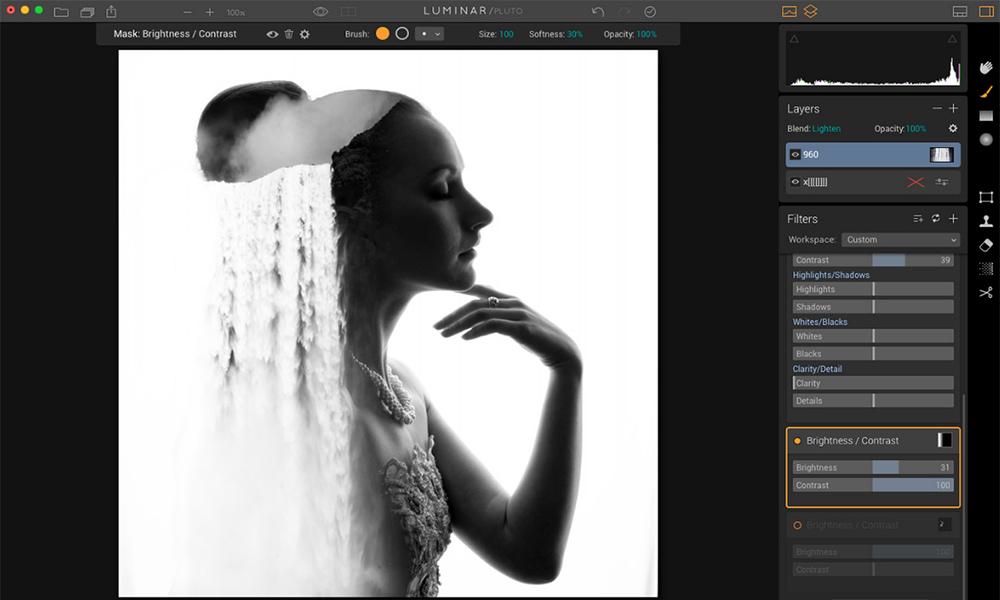
When you first start using Luminar, the bottom “presets” bar can give you access to all of this photo editor’s basic, easy to use features. As you progress, which does not take long, you can begin familiarizing yourself with, and using, filters, layers, sub-folders, masks, and more, to enhance only the necessary details.
Is Luminar right for you? This analysis, comparing Luminar with Aperture and Lightroom, should supply the answer.

Photo effects to the rescue! Notice how Luminar special effects can transform an image into something intense and dynamic.
Here are some basic, but powerful Luminar features you can start using right away:
The Clone Stamp Tool
The Clone Stamp tool is a powerful tool that you can use for a variety of purposes. As the name implies, you can use it to duplicate objects in an image. You can also remove objects, retouch surfaces such as skin in a portrait, or eliminate creases or blemishes in old photographs. Clone Stamp is easy and fun to use.
This brief tutorial shows you what you can do with Clone Stamp.
The Color Splash Tool
With the Color Splash tool, you can turn a nice photo into one that is visually amazing. It’s merely a matter of converting a color photo to grayscale or black and white, and restoring the color to a certain object or area. It may take some careful attention to get things just right, but it’s not difficult.
Resizing an Image
To resize a photo in Luminar, you first need to import it, and, if necessary, edit it. Luminar supports all the common image formats. Once that is done, launch the Export menu. You’ll be presented with an option to resize and/or sharpen the image. You can choose from several modes, and when you’re finished, simply click “Save”. Image quality will be optimized or preserved.
Cropping an Image
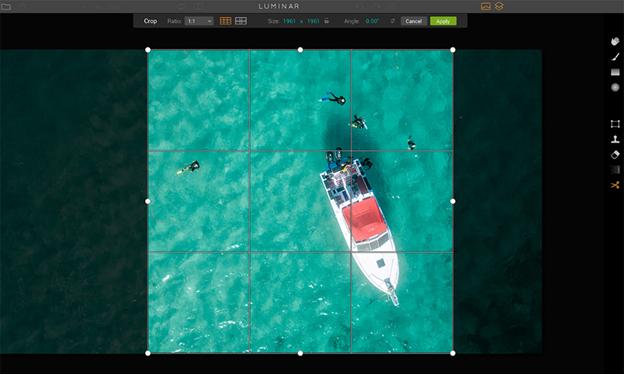
Cropping is the simplest of features. Doing so can help emphasize the main area of focus.
Crop photo the easiest Luminar tool to use; and often one of the most useful. Its main function is to allow you to focus on the main subject, perhaps by bringing it up close and personal, while eliminating unnecessary elements or distractions. Simply select your image, click on the crop tool, select the crop mode, crop, and apply.
Getting Started Using Photo Effects
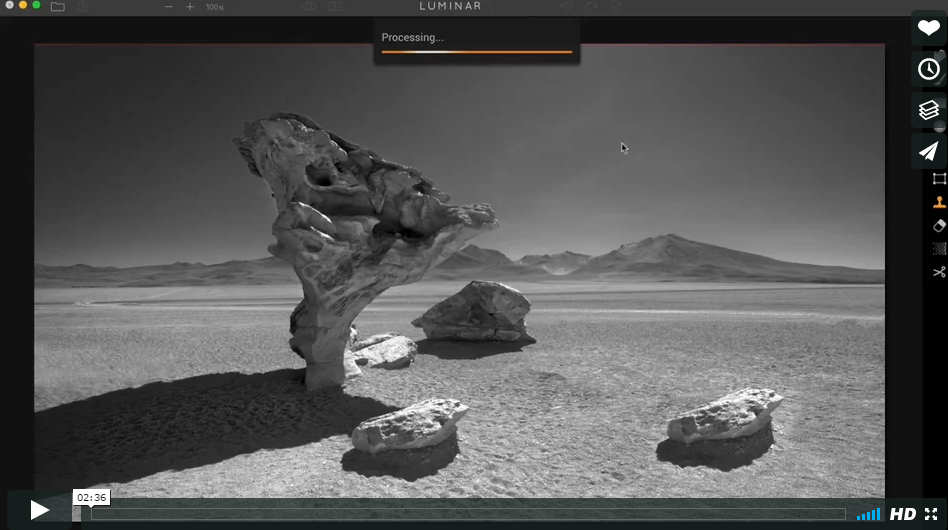
There’s a ton of impressive photo effects and enhancements you can make with Luminar, thanks to the multiplicity of features in this popular Mac photo editor that enable you to do so. You need to discover how to use them first. Take your time, be careful, and enjoy the benefits.
One-Click Presets give you maximum artistic freedom to achieve stunning results. A pair of examples: The 60’s Black and White preset adds vintage, classic and edgy look to a photo. The Portrait Glamour preset gives a shot an ethereal look.
Filters give you unlimited options. Use Grain to give a photo a vintage look, or use the HSL controls to adjust the contrast and colors to achieve an artsy, “lomo” look.
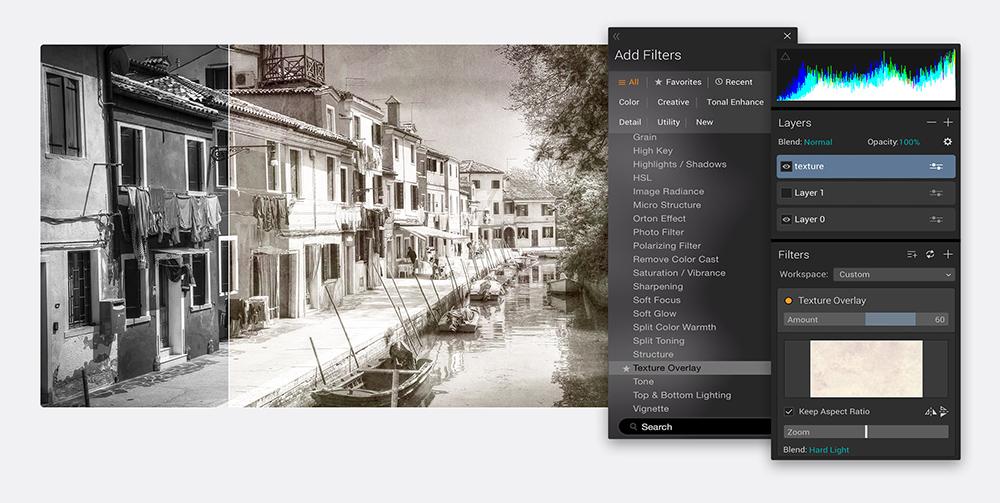
A smart application of layers and textures in Luminar.
Layers and Textures can be used to blend photos together, create composite images, and much more. Using layers and textures effectively, represents a step up to a new photo editing level, just as was the case when using filters. A smart use of texture can give your photos added depth and dimension, or produce a double exposure effect.

A sampling of the tons of cool features in this popular image editor for Mac.
If you’re using Photos for Mac, Lightroom, or Aperture, add Luminar as a plugin or extension, rather than seeking out and launching other apps.
Use the Batch Processing feature. Select your photos, start the process, and wait, or go about your business until the job is done. Make a photo noise free or black and white with a single click; experiment with bi-color toning; and much more.
Give Luminar, the popular Mac editing software, a try.

