Free Photography Bundle ($180 value): PS actions, LR presets, photo overlays, & print templates!
Get it here.
This article is part of our series Photo Editing 101 by Ian Pullen. This series will cover all of the basics of using Photoshop for editing photos. If you’re just getting started with Photoshop or photo editing, or if you’re looking to improve your skills in this area, this series will provide an excellent foundation. If you want to make sure that you don’t miss future articles you can subscribe to our newsletter or follow us on Twitter, Google+, or Facebook. You can also find the articles that have already been published by visiting the Photo Editing 101 course page.
The Gradient Map adjustment layer in Photoshop is an interesting creative tool that allows you to map different colors to different tones in a photo. The colors to be used are set in a gradient with one end of the gradient representing shadow tones and the other for highlights.
Photoshop comes with a range of gradients pre-loaded and you’ll probably recognize these if you’ve ever used the Gradient tool, but you can also create your own gradients to achieve specific results that you’re aiming for. One typical and common example would be for split toning an image, where different colors are applied to the shadows and highlights of a photo.
How Do You Add a Gradient Map Adjustment Layer?
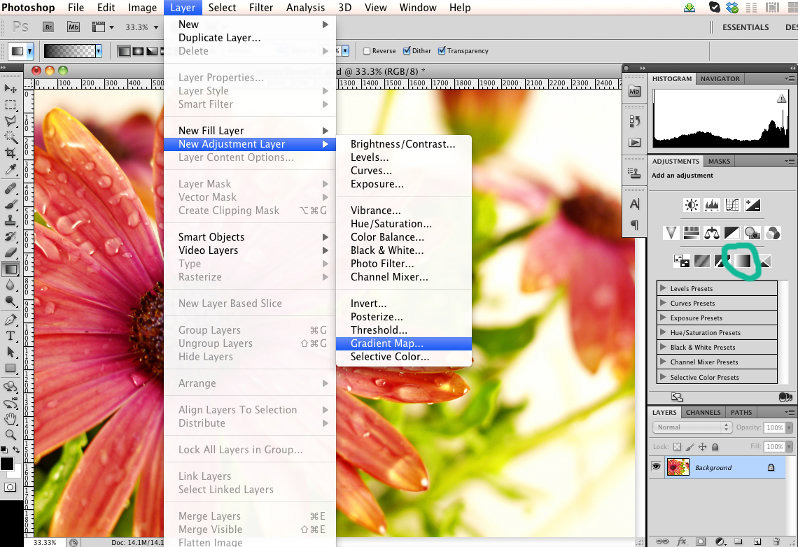
There are a couple of ways to add a gradient map layer. Firstly, go to Layer > New Adjustment Layer > Gradient Map and give the layer a name if desired. The second option, if the Adjustment palette is already open, is to click the gradient icon, which is the fourth from the left in the bottom row.
What Controls Are Available?
With a gradient map layer now added, you’ll see that the default black to white gradient has converted the photo to mono. Looking at the palette, you can see that there are few controls in this view. The top one is a visual representation of the gradient with a down arrow button to the right of it. Below that are two check boxes, one for dither and the other to reverse. We’ll look more closely at all of these as I describe using the Gradient Map adjustment layer.
How Do You Apply a Preset Gradient?
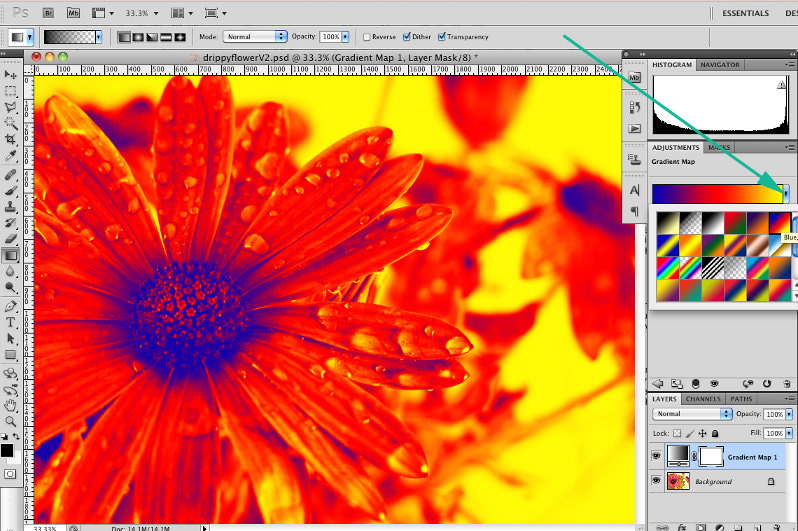
Using the presets is as easy as clicking on the down arrow button by the gradient graphic and then just clicking on one of the gradients from the list of gradient icons. When you’re happy with your selected gradient, just click anywhere away from the palette of gradients to close it.
What Does the Reverse Checkbox Do?
Unsurprisingly, if you click the Reverse checkbox, the gradient is reversed with the shadow colors moved to the highlights end and vice versa.
What Does the Dither Checkbox Do?
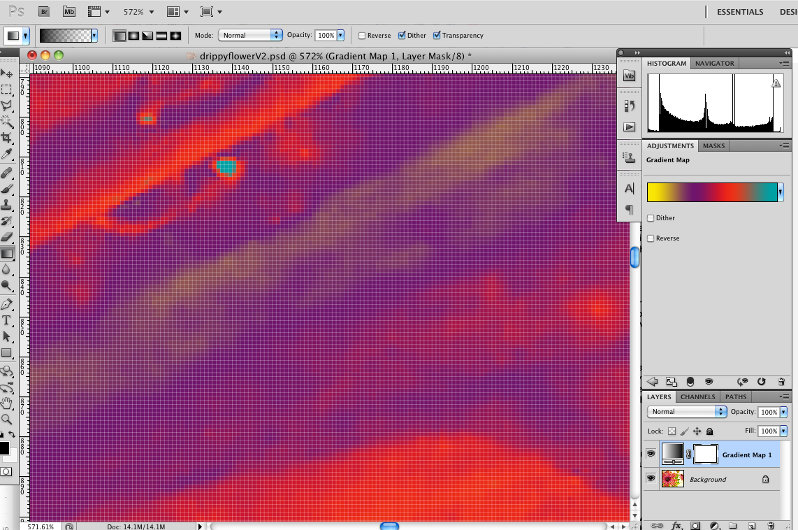
Dither is designed to add random noise to a gradient to counter the possibility of banding between different shades.
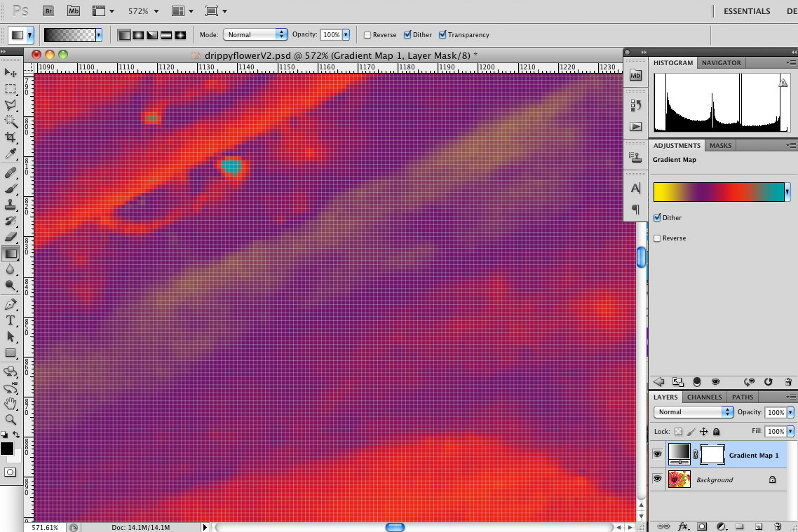
The effect is very subtle, as you can see from the screenshots. Even at this close in zoom, you will struggle to see the differences.
How Do You Make Your Own Gradients?
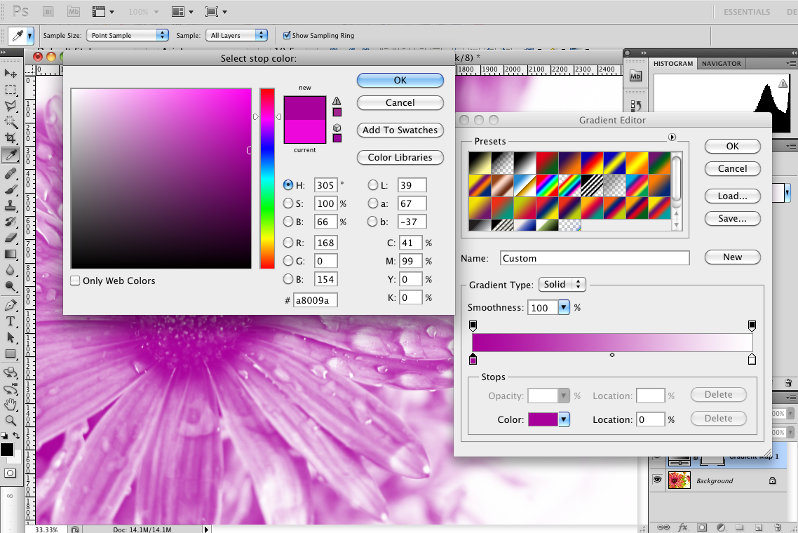
If you want to make your own gradients, just click on the gradient graphic to open the Gradient Editor. Now select a gradient from the list to use as the basis for your new gradient.
To change the color of one of the stops, double click on one of the slider icons under the gradient and then select a new color for that stop. You can do the same for the stop at the other end of the gradient and you’ll see how the two colors blend together on your main image.
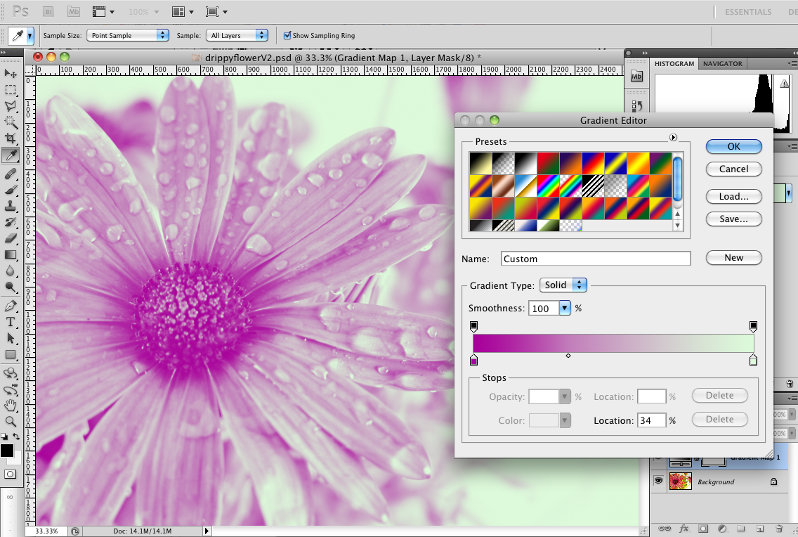
If you want to increase the amount of one color in relation to the other, click and drag on the small black outlined handle that sits between the two stops and drag it towards the other color.
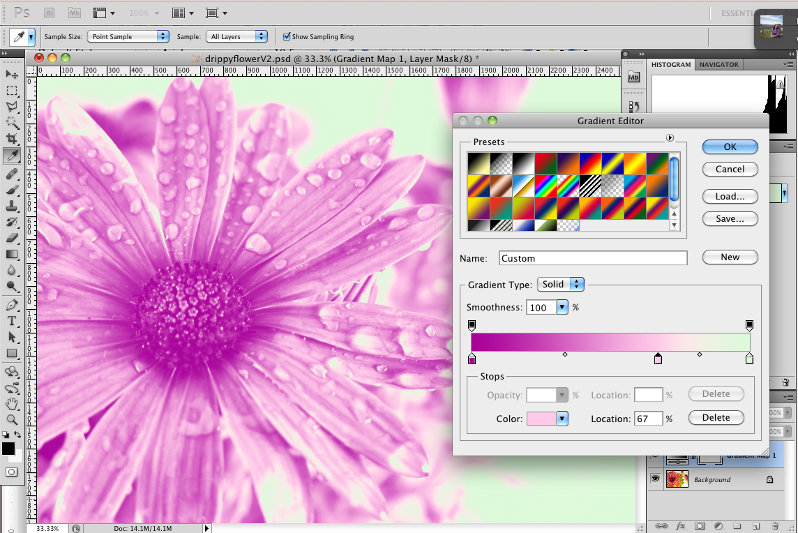
You can easily introduce a new color to your gradient by clicking anywhere underneath the gradient, but away from any existing stops. You’ll see a new color stop is added and you can change the color of this in the same way as before. If you want the transition between colors to be less smooth, just click on the Smoothness control and reduce the value of the setting.
If you ever want to remove a stop from your gradient, just click and drag it downwards and it will be deleted.
Conclusion
The Gradient Map adjustment layer is a great tool for those occasions when you’re feeling a bit arty and want to get creative with your photos.
See more articles in the Photo Editing 101 series.

