Free Photography Bundle ($180 value): PS actions, LR presets, photo overlays, & print templates!
Get it here.
Lightroom’s Develop Module gives us plenty of tools and settings to work with the colors of a photo, and none may be more powerful than the HSL settings. Although the HSL sliders allow for plenty of potential, they are often overlooked. If you’re new to Lightroom make it a priority to get familiar with using the HSL sliders, as they can be key to maximizing your results in Lightroom.
HSL stands for Hue, Saturation, and Luminance. You will find the HSL settings at the right side of the screen below the tone curve settings. Unlike global settings (like contrast, clarity, or tone curves) that will impact the entire photo, the HSL sliders will only impact a specific color. You can use things for all kinds of different purposes like making a specific color pop, desaturated skin tones, boosting a blue sky, enhance fall colors, or changing the shade of a specific color.
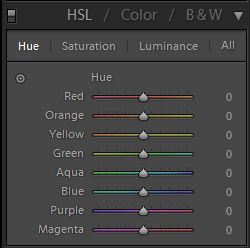
You can click on the words “hue”, “saturation”, or “luminance” to see the associated sliders, or by clicking on “all” you can see all three sliders for each color.
To sum up what each does, hue will change the color, saturation will change the strength or intensity of the color, and luminance will change the brightness of the color.
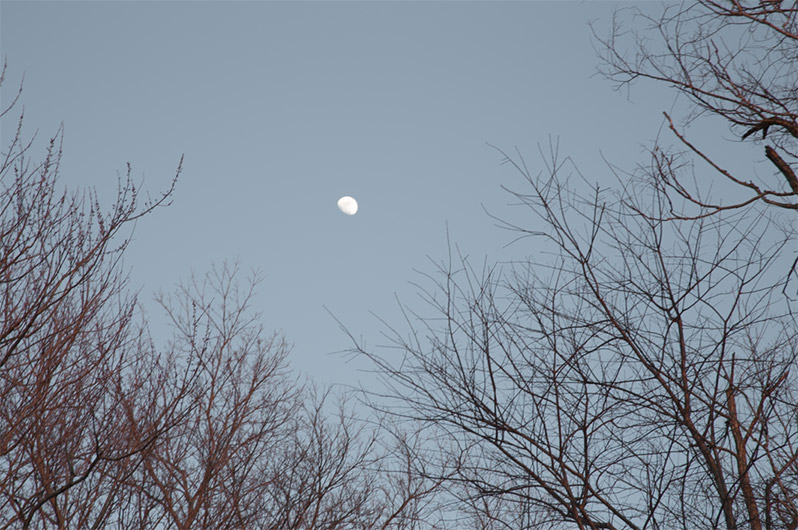
Let’s take a look at these settings in action with a simple photo to demonstrate. The photo below mostly consists of a blue sky, so we’ll use this photo to see how the HSL sliders work.
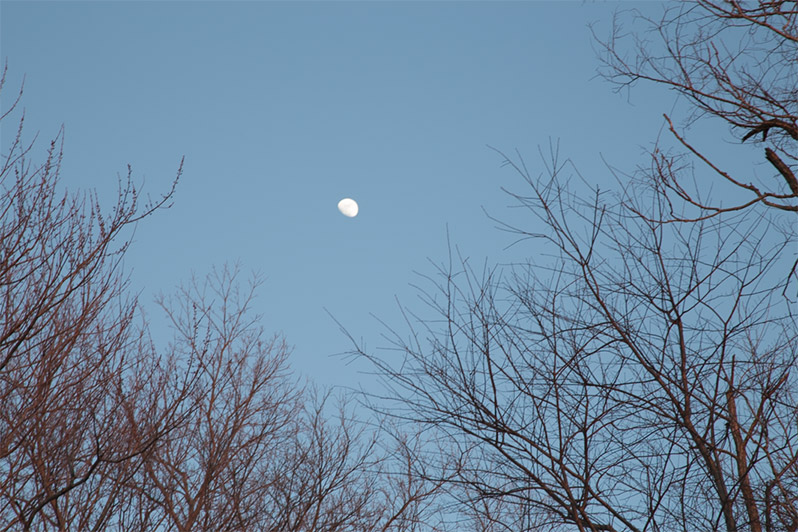
We’ll start with hue. By changing the blue hue slider to -50 it gives the blue a greenish look.
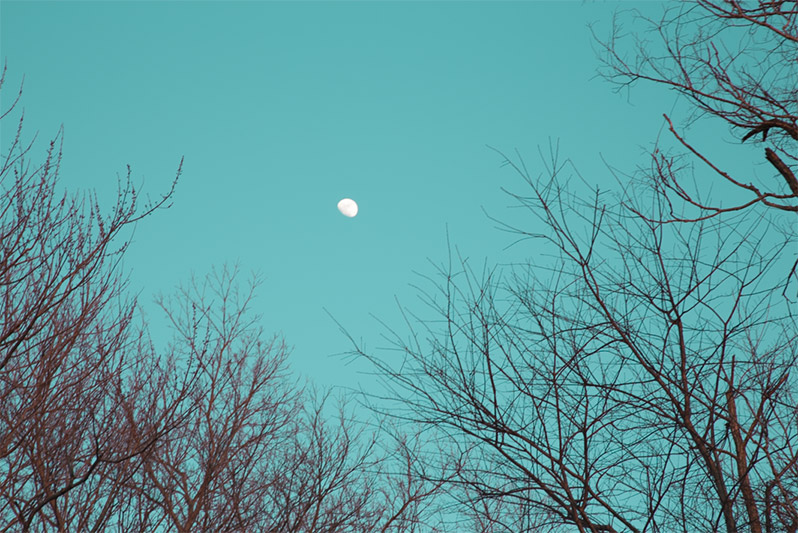
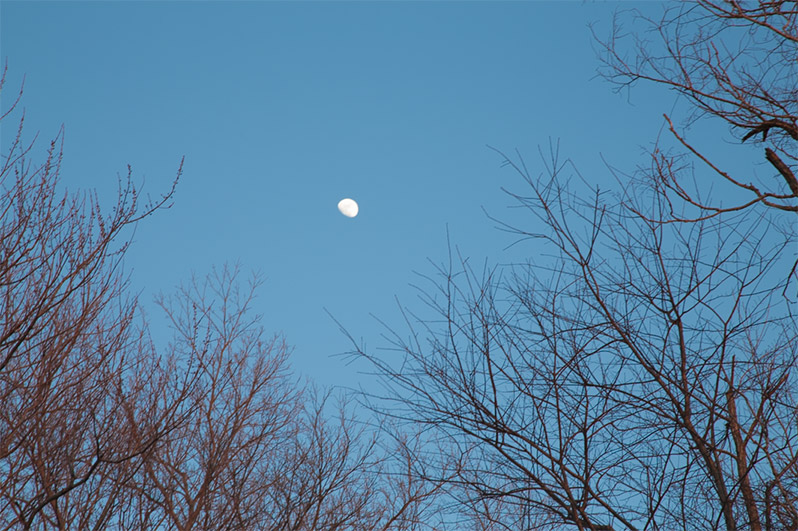
And if I take it the other direction to +80 it turns purple.
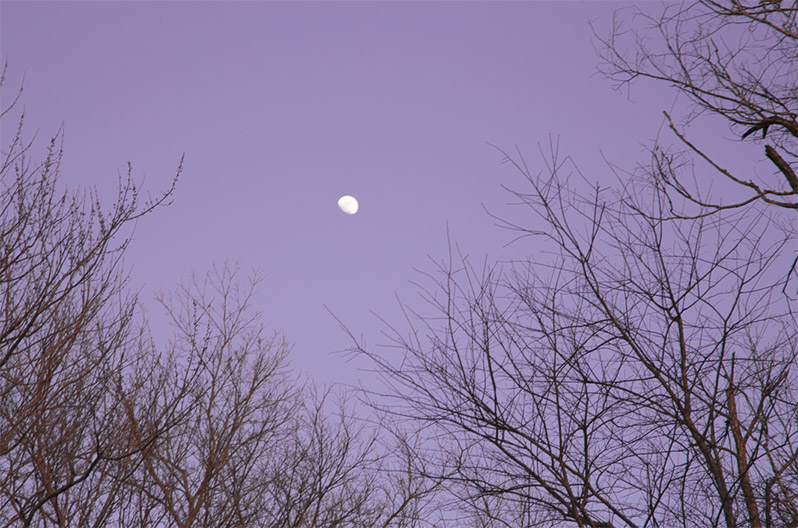
So with that example it is very easy to see how the hue slider can change the color. Keep in mind that it only impacts the blues in the photo, other colors will not be impacted.
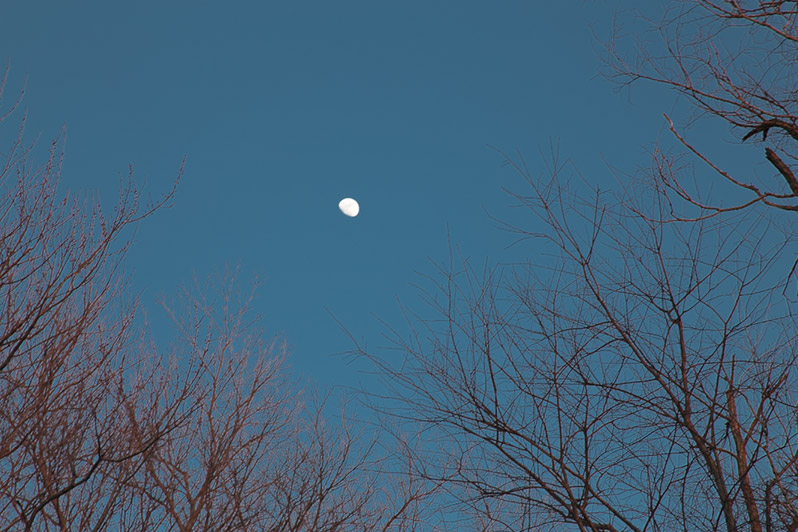
Now, if I reset the hue to 0 and move over to saturation we can see how that slider works. If I reduce the blue saturation to -50 it takes out much of the color in the sky.
And if I bump up the blue saturation to +50 it gives a more intense blue.
The saturation sliders in HSL in the settings are especially helpful because when you adjust the saturation globally (with the regular saturation slider in the Basic section of Lightroom’s Develop Module) the colors can become too strong and unrealistic very quickly. In many cases you won’t actually need to bump up the saturation of all of the colors in the photo, you may only need to selectively increase the saturation of one or two colors. With the HSL settings you can boost just the colors that need it, which is really helpful for getting natural, pleasing looks without going overboard on the saturation.
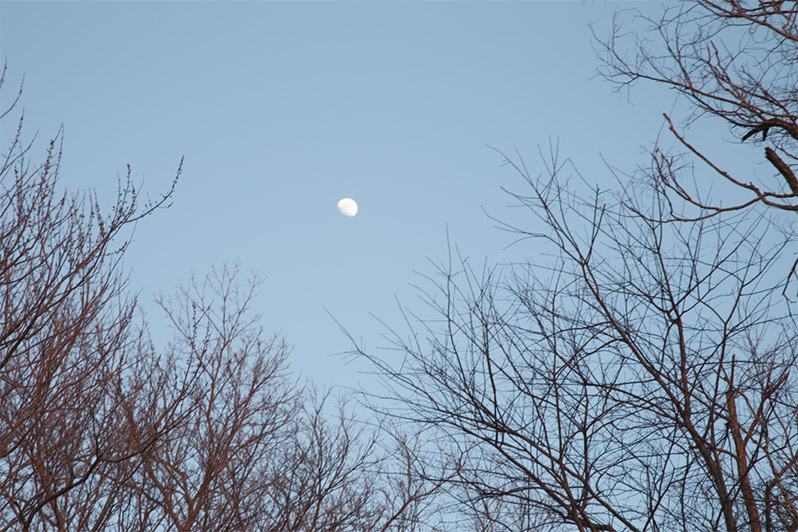
Moving on to luminance. if I change the blue luminance slider to -70 the sky becomes a very dark blue.
And if I change the blue luminance slider to +50 the sky becomes very light.
Ok, so now we have taken a look at what the HSL sliders do, now lets look at some practical uses.
Using HSL to Boost a Blue Sky
With the sample photo below I want to boost the blues in the sky, but I don’t want to over-saturate any of the other colors.
I will change the blue saturation to +50 and the blue luminance to -50, which gives this look:
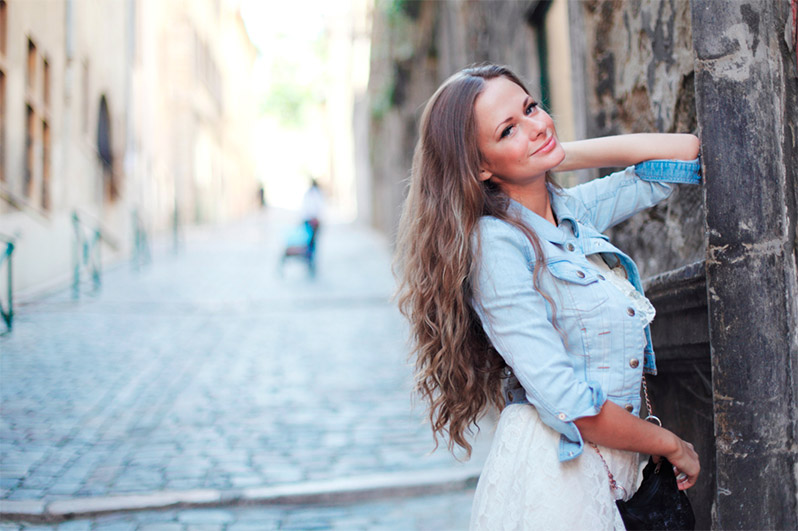
Fixing Over-Saturated Skin with HSL
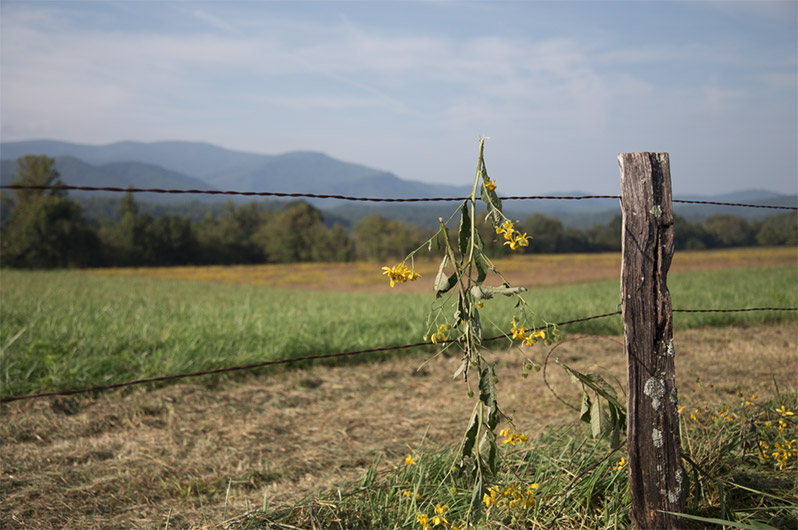
Another really practical way to use HSL is to improve skin tones. In the photo below the models skin is very saturated. If I were to decrease the global saturation setting I could improve the skin tone, but the rest of the colors in the photo would be too desaturated.

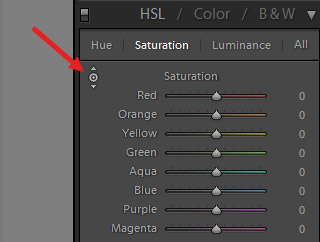
In this situation I think I want to work with the orange saturation slider, but her skin obviously isn’t exactly orange, so there may be some other colors in there as well. Fortunately, Lightroom has a solution. Click on the target icon next to “saturation”.
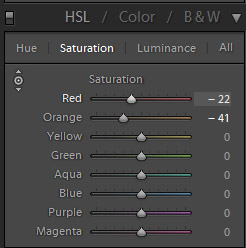
Then hover your mouse over the skin that you want to correct and scroll your mouse wheel down to reduce the saturation. Lightroom will automatically impact the colors of the area that you selected. Any time you use the target adjustment method you will probably be impacting multiple color sliders. In this case I scrolled down to reduce the saturation until it looked right to me, and Lightroom made these changes to the settings:
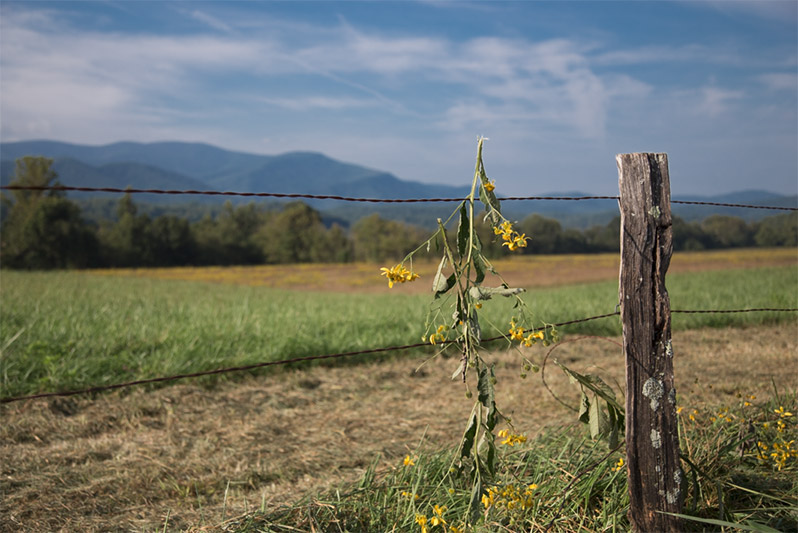
And this is how the photo looks after the change to red and orange saturation.
So, experiment with the HSL sliders and see how you can use them to impact your photos. Once you get comfortable with the HSL settings you can use the sliders to really enhance your photos with a great deal of control.

