Free Photography Bundle ($180 value): PS actions, LR presets, photo overlays, & print templates!
Get it here.
It has capture the imaginations of people for generations. Inspiring and fueling creativity of all almost every genre. As photographers, it’s fascination within our class of artistry comes from the sheer majesty of its beauty!
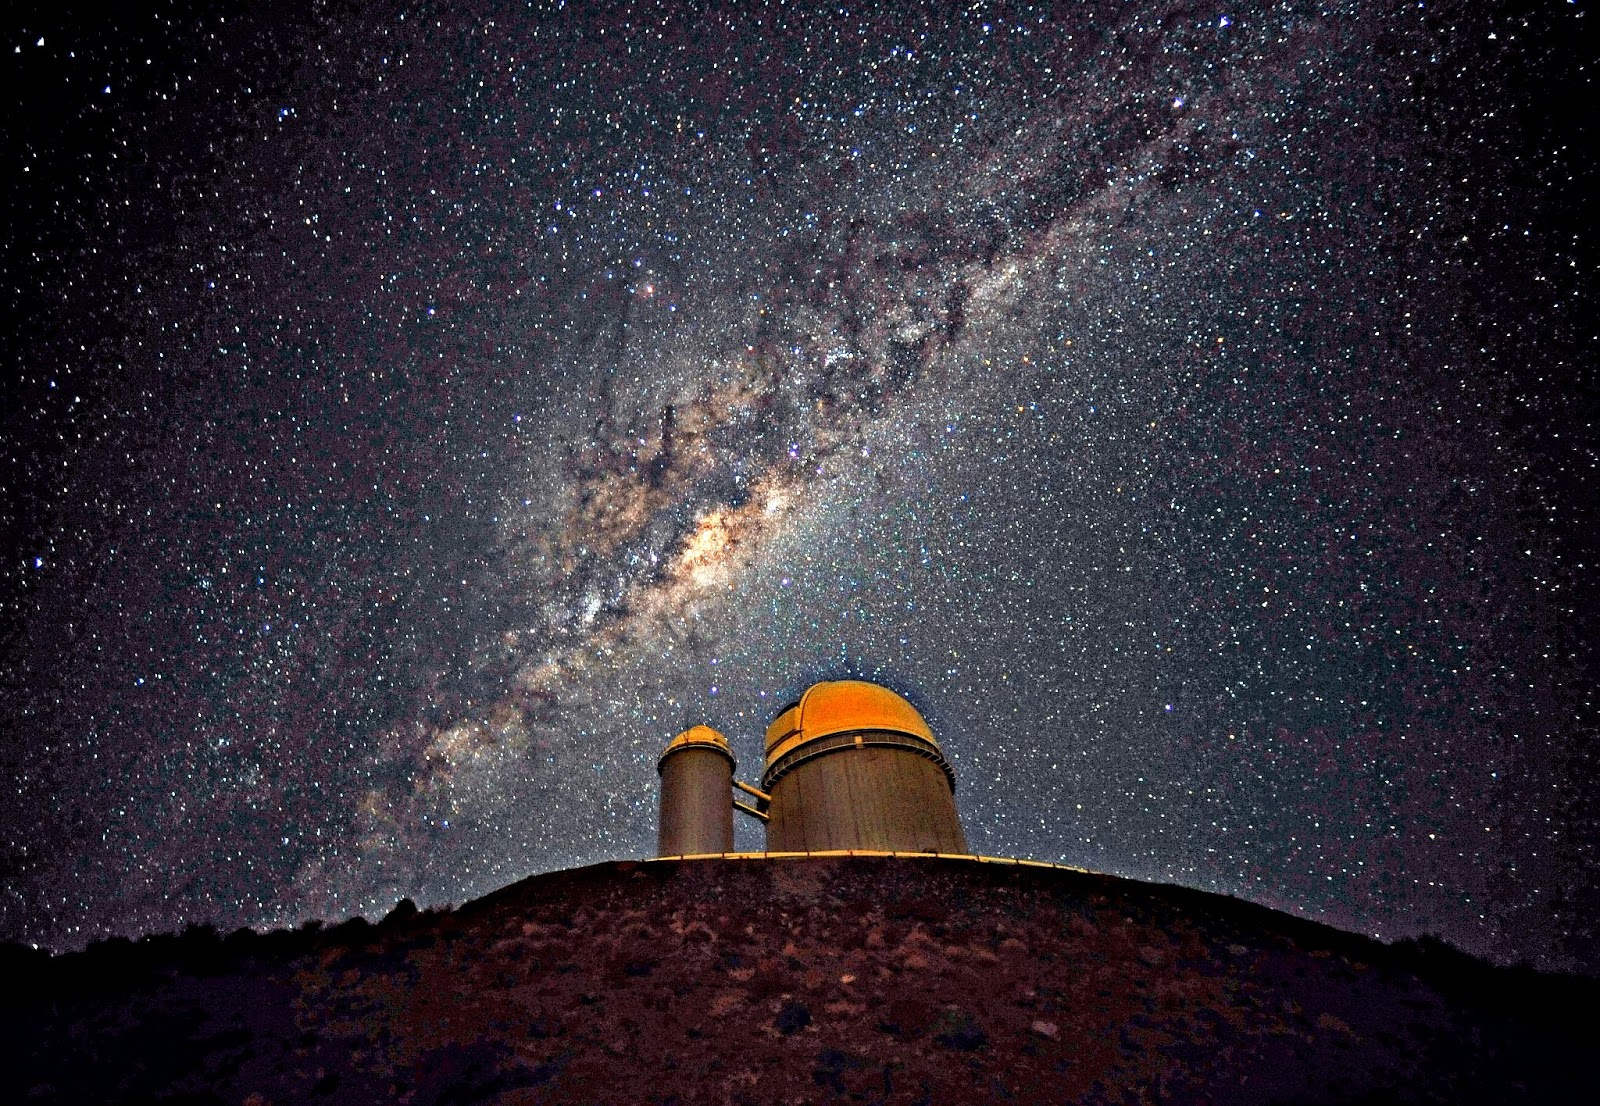
Photograph by Ivy Burner
Taking pictures of the heavens can be tricky. Not only do you need a fast camera but you also need a clear night sky. This can be a tough situation to achieve as not only are you up against the weather but you also have light pollution and a number of other factors that can all contribute to making your night time photography session fail.
But let’s not worry about those too much, in this article I am going to teach you the skills and techniques all needed for any kind of late night photo session, from the stars, to the moon and even our own galaxy!
But before I do that, you need to make sure that your kit bag has the following:
- Sturdy metal or heavy graphite tripod
- Camera release
- Stopwatch
- Wide angle lens
- Compass
You’ll need a good heavy tripod, because in order to shoot in complete darkness you’ll need to set your camera at a very long exposure, such as 30 secs or even more depending on how dark the night is. You’ll need a camera release to ensure that no unwanted pressure is set upon the camera when pressing the cameras trigger, ideally you want one where the trigger can be fixed. You’ll also need the stopwatch to work out your exposure time if you need the camera’s shutter to be open beyond 30 secs; taking photos at night can be a long played out process so ensure you also pack lots of warm clothing so that you don’t catch a chill. A wide angle lens, much like when shooting a landscape is a great bit of kit that will give the sky shot the breath it needs to bring the image to life, however avoid straight on shoots of the moon with a wide angle lens as it can make the moon appear warped. Lastly a compass is needed so that you can locate the positions of certain consolations at the different times of year and the north star.
When to Shoot
It is a common misconception that shooting during the summer months will give you a clearer night. This actually couldn’t be further from the truth. A clear winters evening is far clearer than the summer because you have less particles in the air such as dust and pollen that can make a haze or even further intensify light pollution. The sky varies in its levels of darkness throughout the year, with this in mind, the best times to shoot for each month are as follows:
March 3 am
April 2 am
May 1 am
June Midnight
July 10 pm
August 9 pm
September/October 11 pm
Shooting late in November, December, January and February, well if your living in the northern hemisphere, I’d advise that you wait a few months until the weather gets warmer, unless of course you can’t wait to shoot during these months and have a very thick coat, in which case…
November/December 1 am
January/February 3 am
So How Do I Photograph It?
Location, location, location, location… what’s next? that’s right! Location.
You need to find a location that has little or no light pollution in the direction of your shot. This can be extremely hard to find, but in a way is half the fun! A rural area is by far the most desirable but make sure the Milky Way is not in the direction of a town or city, otherwise the light pollution will get in the way making your image orange and ultimately….. ugly.
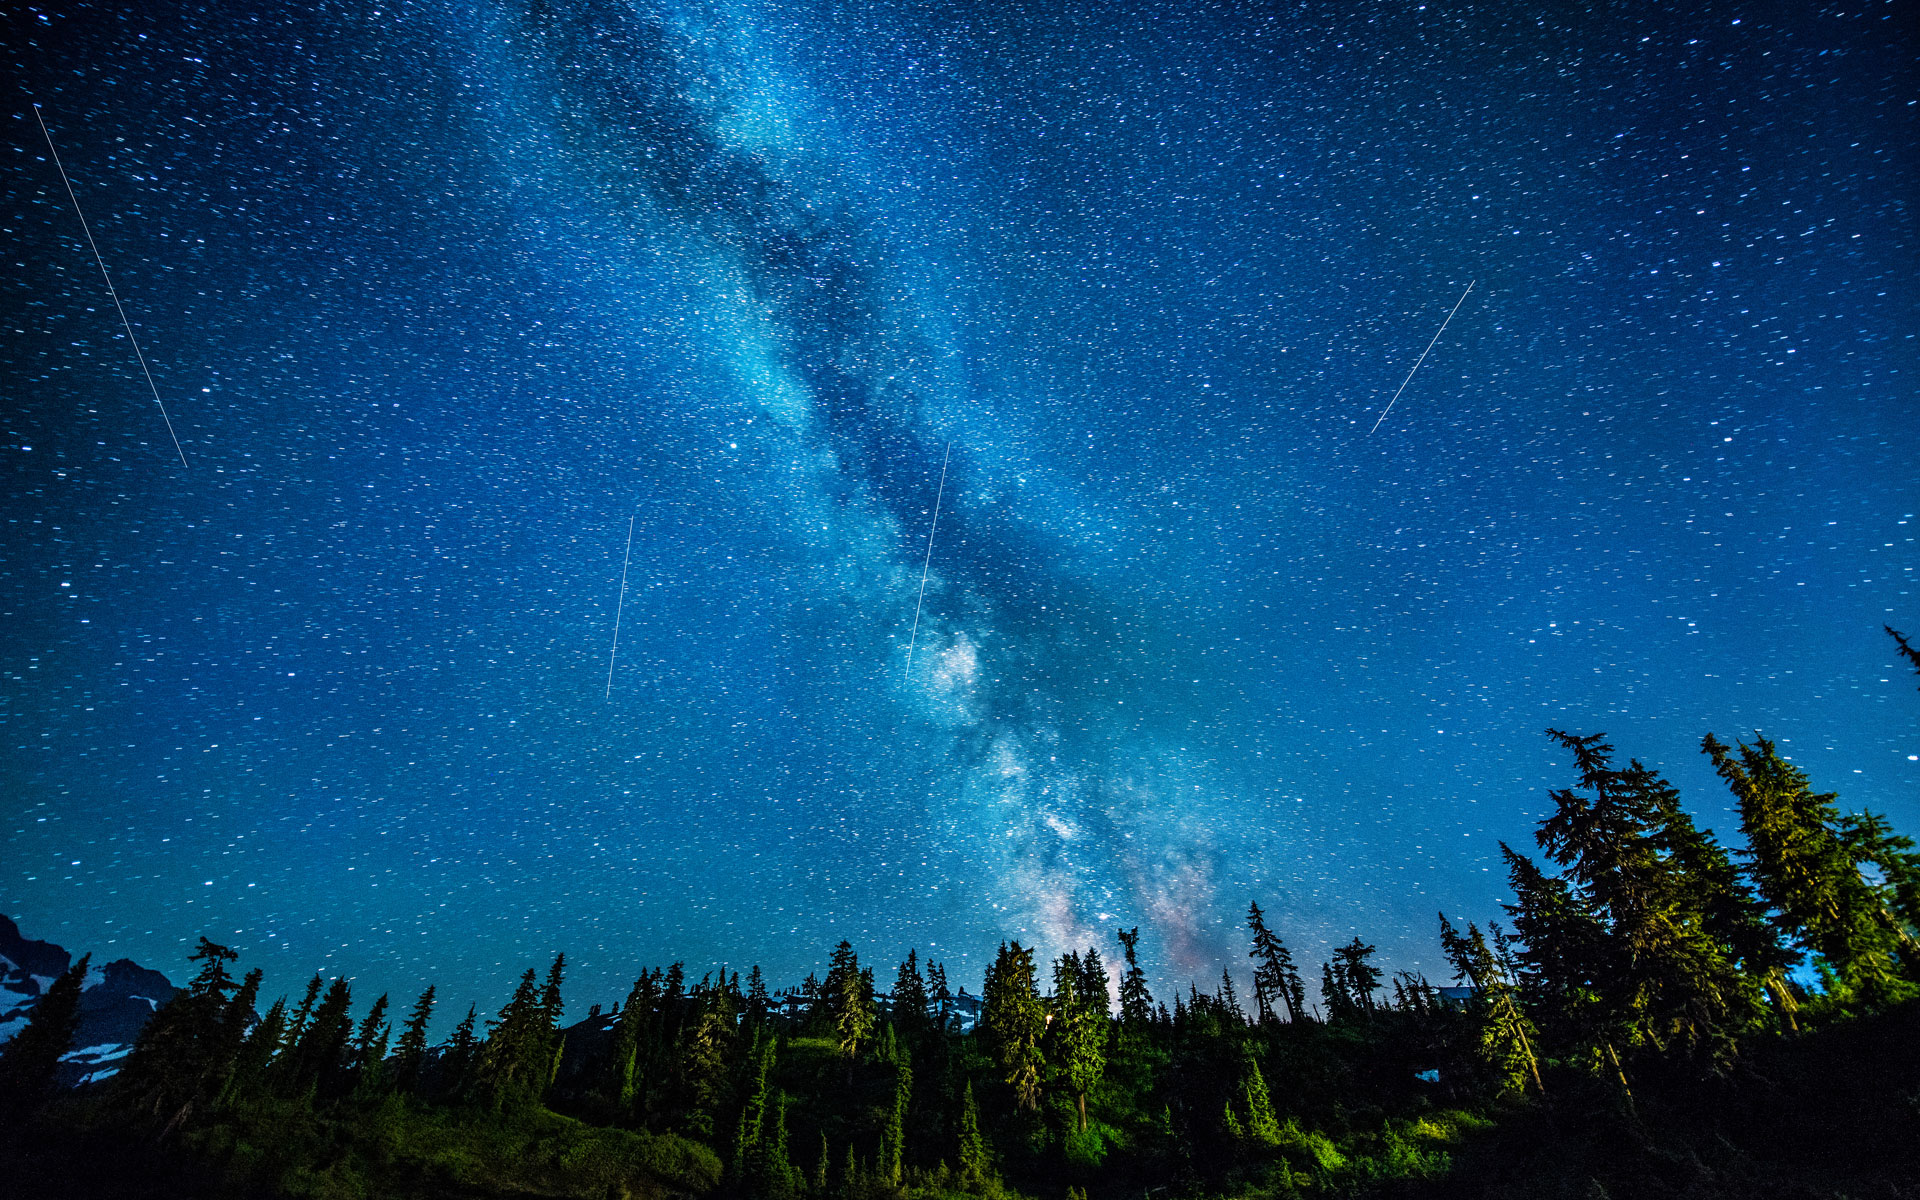
By Oliver Crock
You need to avoid star trails unless you actually want some, or are lucky enough to get some that work well with your composition, which in all fairness, you have as much chance as being hit by said meteorite . Use a very wide lens, a fast one if you have it and a solid tripod with a good ball head.
The is the best procedure to follow in getting that awesome shot:
First Stage: Framing
– lens wide open
– ridiculous ISO (12800,25600 etc)
– 2 or 4 second exposures
Use this short exposures moving the camera around to find the framing you like. The photos are useless but we are using the camera as an extra pair of eyes, eyes that are far more sensible to the light than ours.
Once the framing is found we move to stage 2, the exposure.

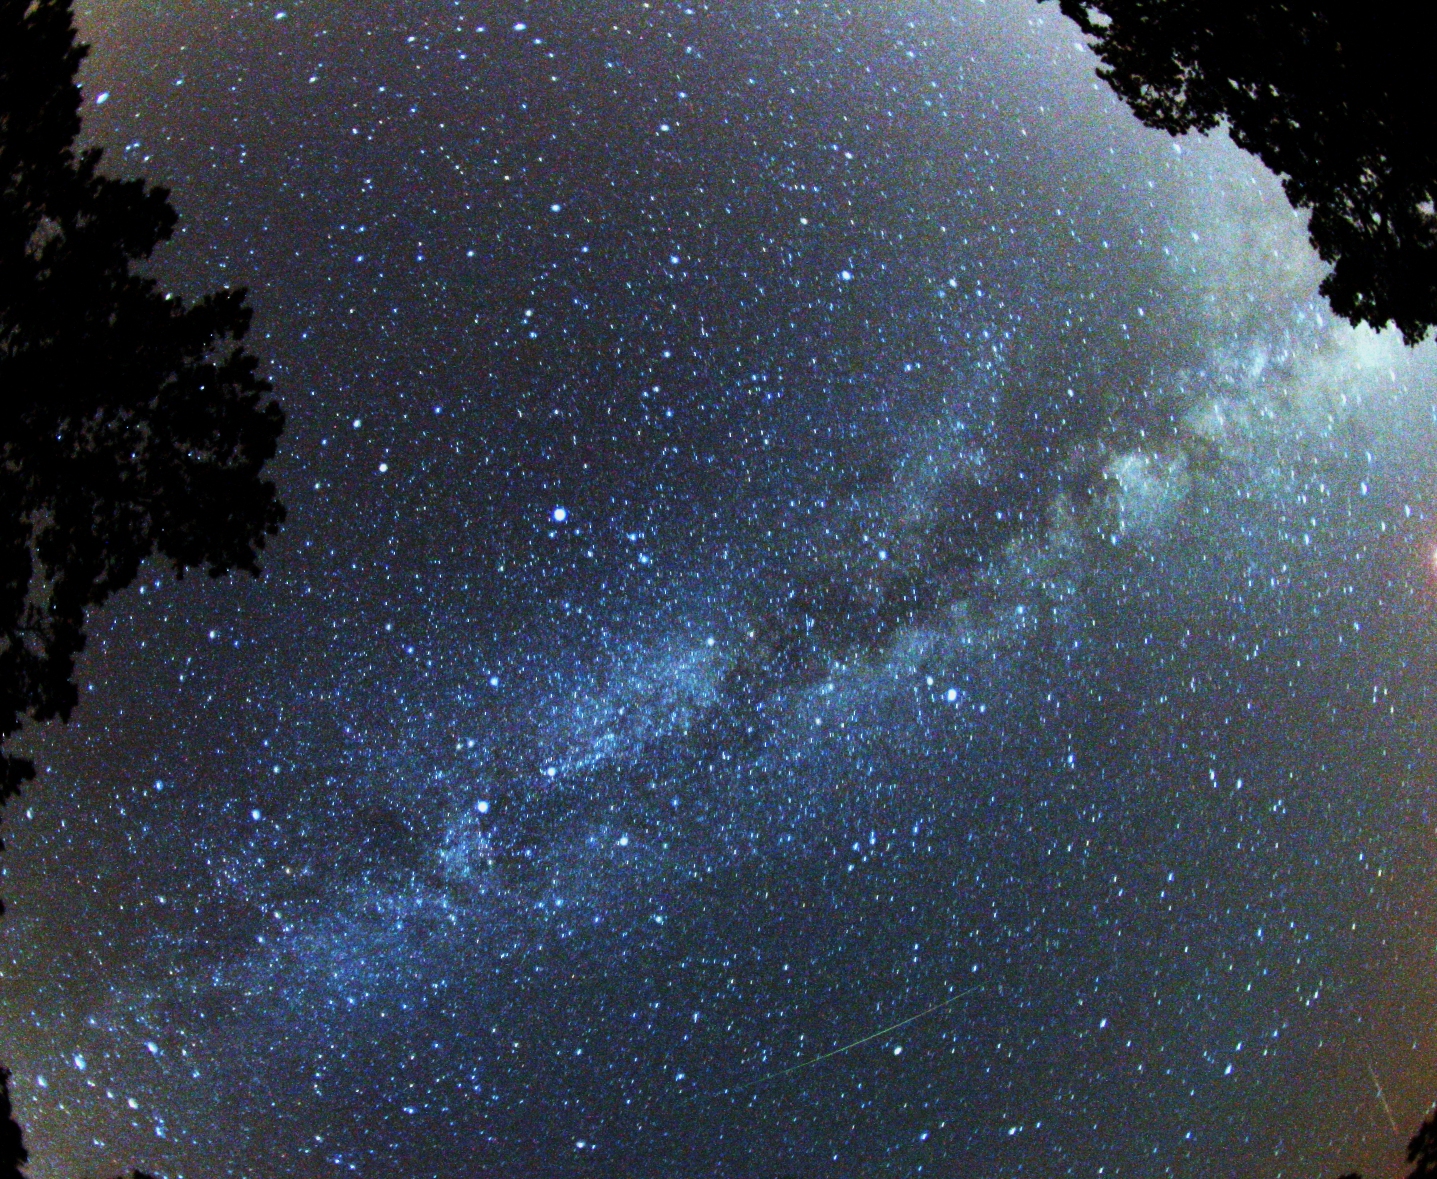
By Richard Turner
Second Stage: Exposure
– lens wide open
– ISO800 or 1600
– 20 seconds exposure
Take a shot and in the camera LCD examine the stars near the borders of the frame (not the center) if you see trails, then repeat with a shorter exposure. If you don’t see trails repeat with a longer exposure. Do this until you find the longest exposure you can afford without trails.
Top Tip: when you check the stars for trails you might see the stars at the borders display a strange triangular shape. That’s called “comma” and is an optical defect on the lens. To solve that close the aperture 1 step (for example move from F2 to F2.8). Some lenses are good at F2.8 others at F4 and others around F5 for night time photography.
Following these steps you will get a shot with a framing you like and the longest possible exposure time without trails or optical defects.
The Milky Way will move in the sky following Earth’s rotation as the stars move, this means you will have different compositions at different times of the night. You can get the band of our galaxy in vertical or horizontal orientation and in the middle you will have a diagonal.
By Susan Goddard
The Milky Way is huge, you can attempt a panorama to get the whole band of the Milky Way in the sky. Just make sure to allow a gentle 40% overlap between shots to make things easier to your stitching software. Besides that, it’s like any other panorama.
If you’ve taken any shots yourself or happen to have any questions please do leave them in the comments below along with links to your work, as myself and all the other fellow photography netters would love to see your work!

