Free Photography Bundle ($180 value): PS actions, LR presets, photo overlays, & print templates!
Get it here.
Photographing water is a great challenge for the new photographer and is a good exercise to flex your knowledge of shutter speeds. Especially if you want to get some truly creative shots! Here are a few essential tips for you to consider before you head out!
1. Consider Your Shutter Speed
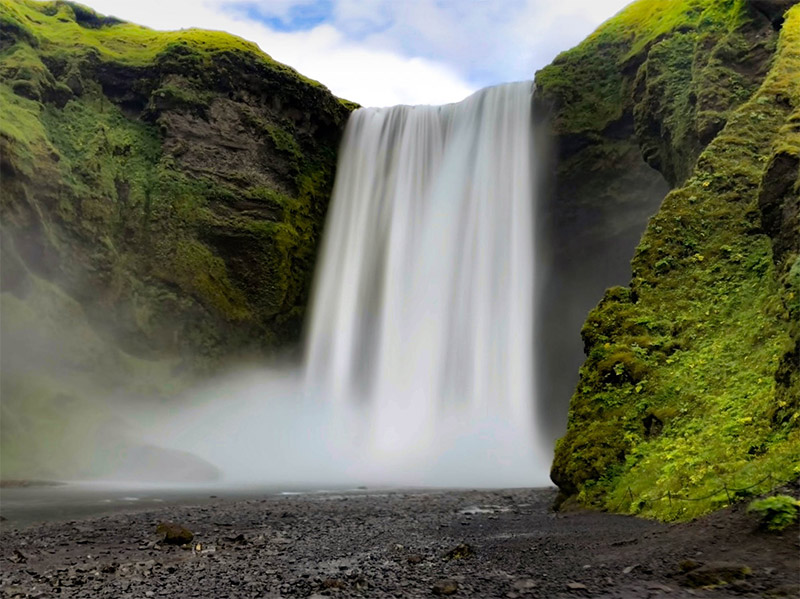
Photo by nextvoyage / Pexels license
You’ll want to put a little extra thought into what shutter speed you are shooting with, especially if the water is moving.
- Slow shutter speeds are just what you’ll need to capture those milky, almost surreal looking photos of moving water that are very popular right now. This is a great way to show motion in your water shots, and many people enjoy the aesthetic look of the long exposures as well.
- Fast shutter speeds use faster shutter speeds if you prefer the water to be tack sharp, without any motion blur. In some instances, you may even need to bring in some artificial lighting to help you get quick enough shutter speeds. For example, if you’re photographing drops of water and want to freeze the action.
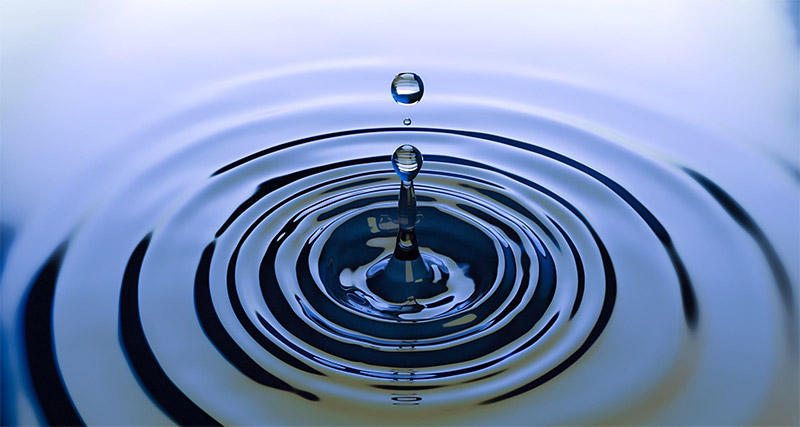
Photo by Pixabay \ Pexels license
Because shutter speed is so important to the end result, switch your cameras out of AUTO mode if you haven’t already. If you’re not comfortable shooting in full manual, stick with shutter priority mode to give you control over shutter speed.
Use a Filter
Photographing water lends itself to using filters. While there are many different filters available, there are two types of filters that are predominantly used when photographing water. They are:
- Neutral density filters block set levels of light from entering your camera. You can buy them in different intensities, for example, a 10-stop ND filter will stop out 10 stops of light–that’s a lot! Use ND filters when you want to use a slow shutter speed. ND filters will let you achieve very long exposure times even in bright daylight. You can stack ND filters as well, to add intensity.
- Circular polarizer this is one of the most useful filters for photographing water (and a number of other shooting situations). Polarizers work by blocking out certain rays of light, thus eliminating reflections and glares from surfaces like water and glass. You can adjust the intensity of the filter by rotating it, so be sure to spin the filter around to find the best position.
Both of the filters mentioned above are great additions to any photographer’s gear bag. I use these two filters on a regular basis, even when I’m not photographing water.
Daring Perspectives
Don’t forget to pack a pair of waders, because you may very well discover the best perspective and composition is going to require you to wade into a pond or creekbed. This is when it’s useful to have a good quality tripod. And by good, I mean one that’s sturdy enough to support your camera while standing in water. It’s always a good idea to weigh down your tripod and not leave it unattended for obvious safety reasons. If you have a waterproof case, break it out!
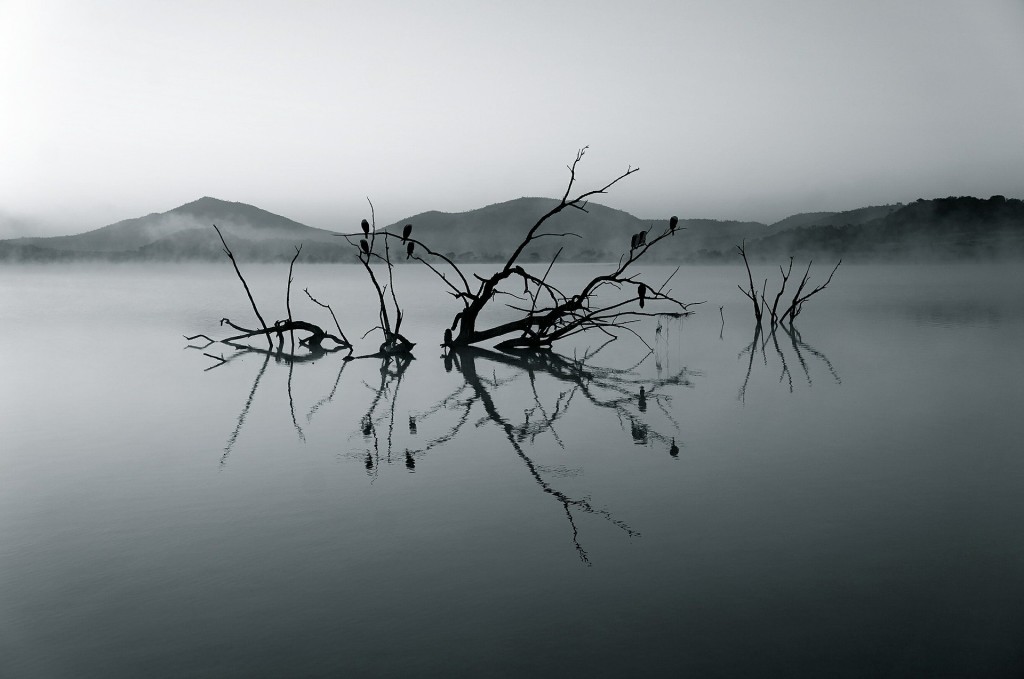
Photo by Ludi / Pixabay license
Stay Safe
Of course, evaluate the situation thoroughly before you go into any body of water, regardless of how deep. Make sure it is entirely safe to do so before going in, including doing research on the potential of flash flooding if that is a concern in your location.
Capturing new and unique perspectives is awesome, but safety always comes first!
Photos used on this page are licensed under the Pexels license or Pixabay license.

