Free Photography Bundle ($180 value): PS actions, LR presets, photo overlays, & print templates!
Get it here.
Photographers go for a great shot right out of the camera to cut back on time spent editing. However, to get the perfect image, most images need some tweaking. Here are pro photography tips for adjusting your color, sharpness, and lighting to achieve true beauty. Take your photos from good to great in a few simple steps.
Utilizing Adjustment Layers
https://www.instagram.com/p/Bkuxk9Sl__c/?hl=en&taken-by=kayleigh_june
When you are editing a picture, you don’t want to compromise the quality of your image. Kayleigh June explains that adjustment layers retain quality better than edits made directly to the image layer.
Adjustment layers allow you to edit many things in the image without changing the image itself. Simply select the “Adjustments” tab in the right side menu to choose the kind of adjustment layer you are making. Changes appear as individual layers. This allows you to hide, remove or alter the edit at any point.
Selectively Altering Saturation
https://www.instagram.com/p/BTKSNXeFscC/?taken-by=jrfromptc
You want bright and beautiful photography, so edit your colors in a controlled way. Jesus Ramirez uses a selection tool in the Hue/Saturation adjustment layer to achieve perfection.
First, increase the overall vibrance with a Vibrance adjustment layer. Saturation increases the color intensity of every pixel in the picture. Vibrance increases pixels with duller colors to increase the color intensity of the image more gradually and evenly. Once you’ve adjusted the image as a whole, you can select individual colors to alter separately. First, choose a Hue/Saturation adjustment layer. Next, click on the small image of the pointing finger that will appear above the sliders. Finally, select specific colors on your image to adjust separately.
Adjusting for Skin
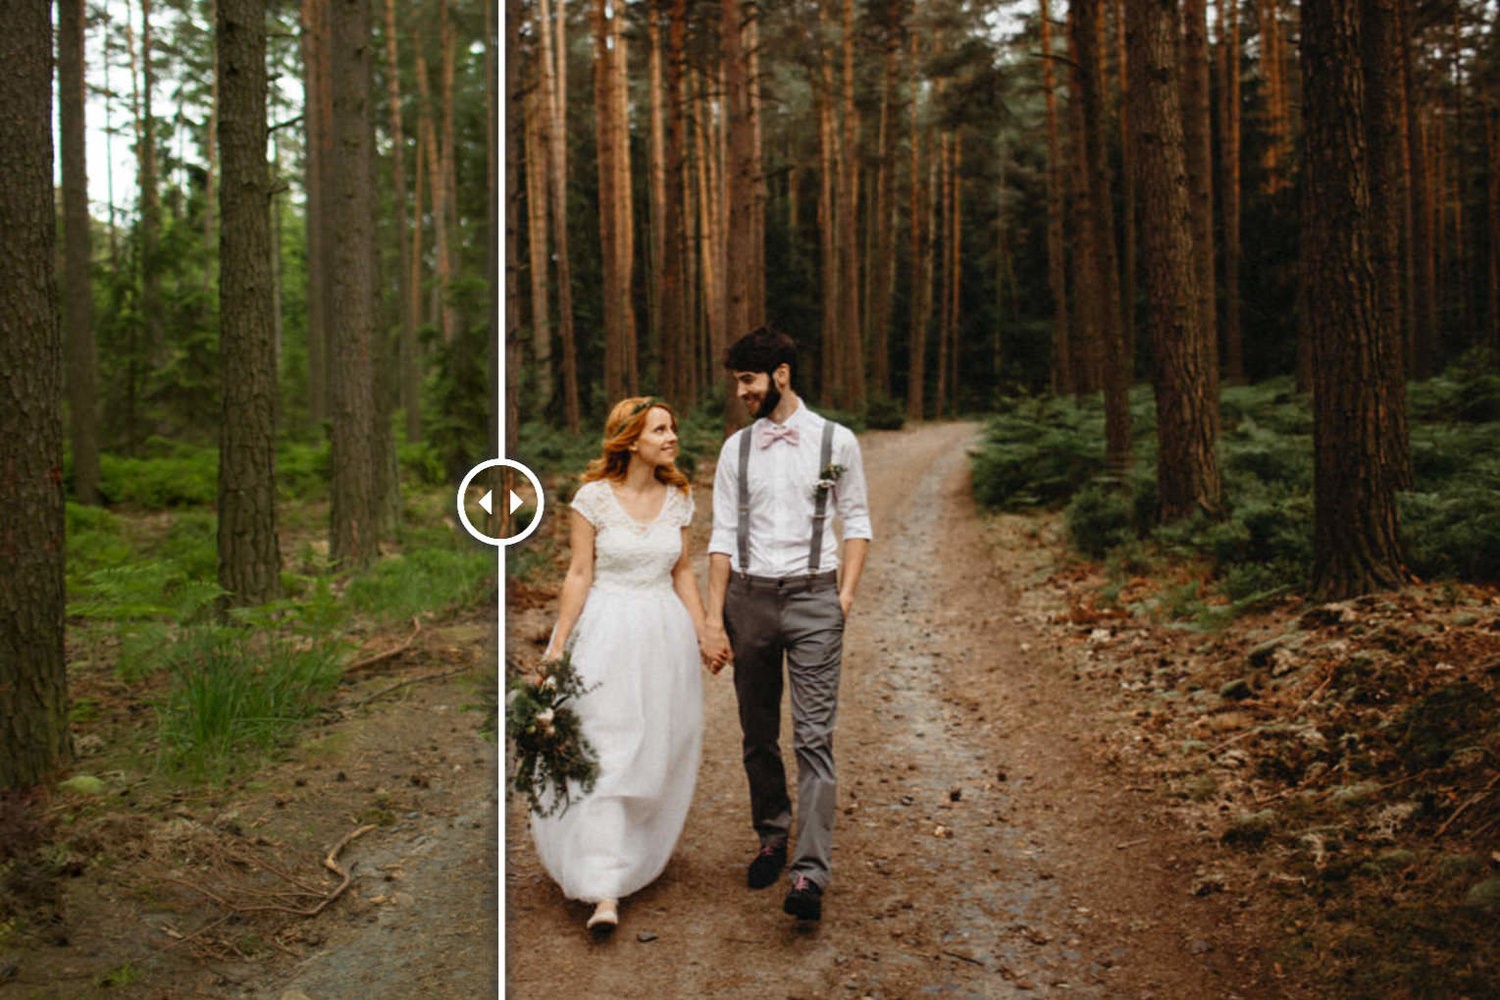 Wedding photographer Lukas Korynta says he focuses on skin tips above all else for his subjects. Greens and yellows in the backdrop tend to steal the show on sunny days, so he uses the selector tool on the Hue/Saturation layer to reduce the saturation of those colors. This gives the image an earthy look that allows the people to pop. Auto white on most cameras is set fairly cool, so warm images up by choosing the Filter adjustment layer and using the Warming Filter. Reduce blemishes, soften skin and brighten eyes just enough to flatter the subjects without making them look fake.
Sharpening Your Image
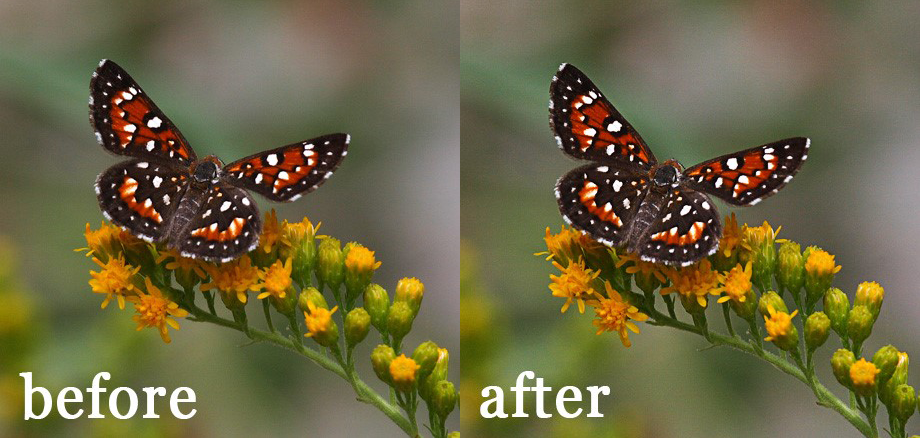
Many photographers use the sharpening filter while others like the unsharp mask to improve a photo’s crispness. However, photographer Steve Berardi of Photo Naturalist recommends utilizing the High Pass filter with an Overlay blending mode. First, flatten your completed image. Next, duplicate that layer. Select the top layer and then go to Filter->Other->High Pass. Pick a value between four and 10 that isn’t hard to see or overly intense. Next, choose Overlay as the blending mode and lower the opacity to around 30% for a crisp image.
Editing Dark Photography
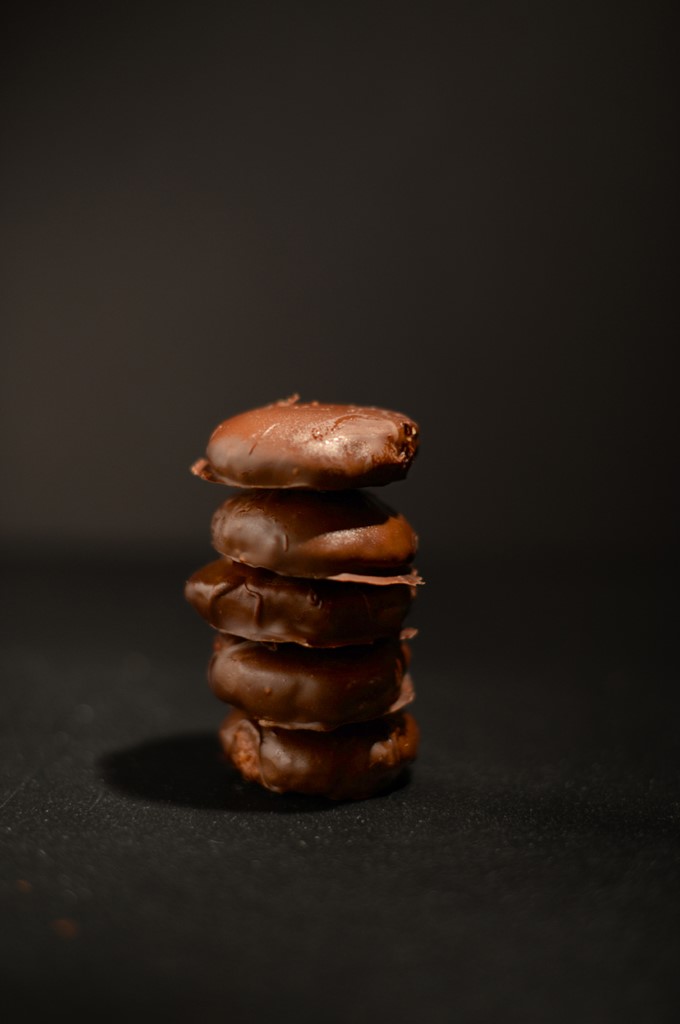
While many of your images would benefit from a lightened subject, it’s not worth washing out the background. Dana from Minimalist Baker suggests using the Layers adjustment layer to brighten the midtones of your image. When the subject looks correctly lit (don’t worry about the surrounding areas), click ctrl+i to invert the layer and return the colors back to the previous state. Select the brush tool and choose white with the opacity at 100%. Use that brush on the adjustment layer you just created to highlight the food (it will take your brushed area to the Levels setting you chose). To “erase,” change your brush color to black and color over the area you want to go back to the original settings.

