Free Photography Bundle ($180 value): PS actions, LR presets, photo overlays, & print templates!
Get it here.

Pinhole cameras can be fun to experiment with, and you can even make one yourself. Another option is to create a pinhole-like effect in Lightroom, and in this tutorial we will be doing just that. The settings we will be using in this tutorial come from one of the presets in our set of Pinhole Lightroom Presets, so if you like the look be sure to check out those presets.
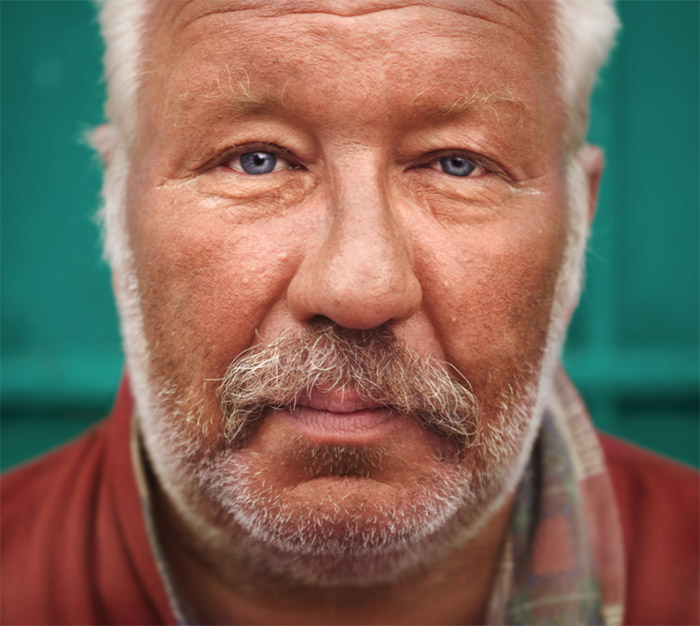
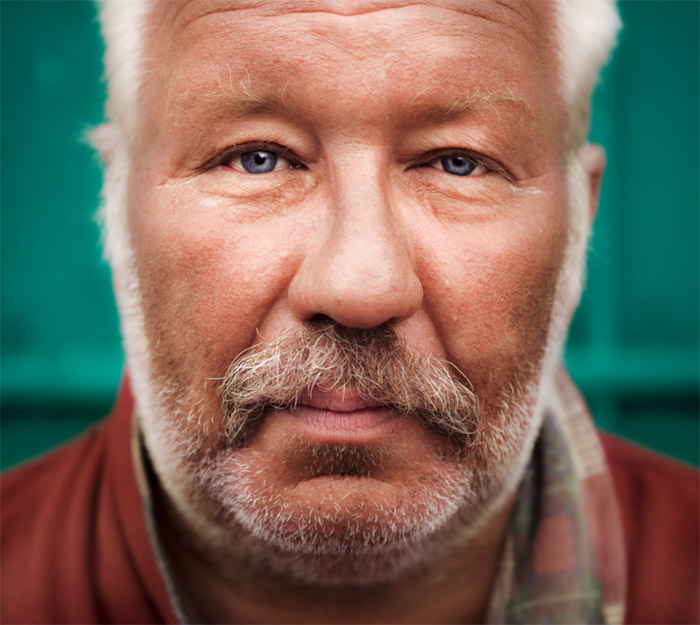
Here is a before version of the photo that I will be working with for this tutorial.
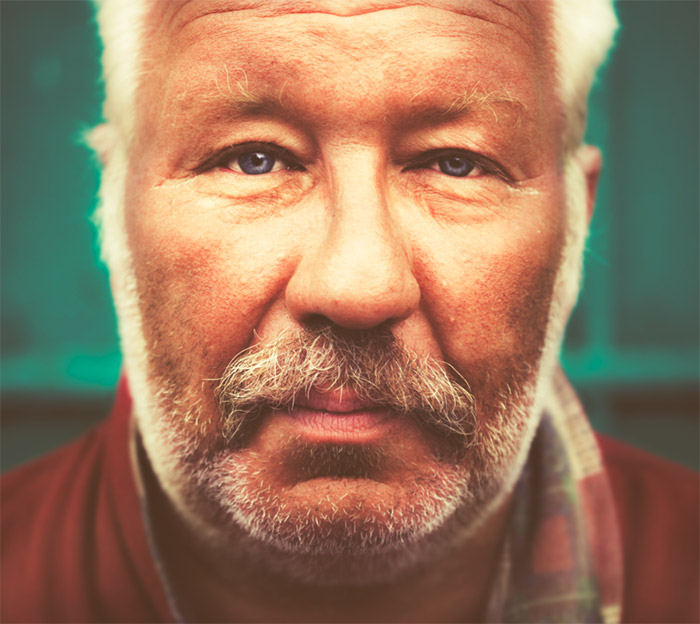
And here is a preview of how it will look at the end of the tutorial.
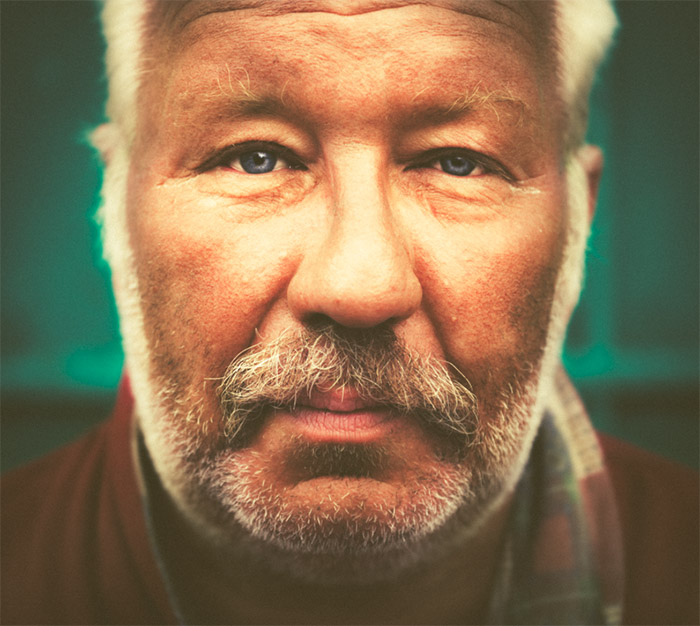
When you are looking for a fun vintage effect, this is a good option.
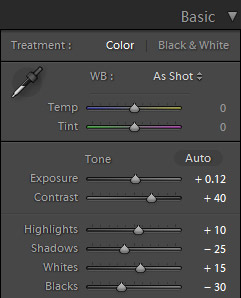
To get started let’s make some changes in the Basic settings. We’ll increase exposure just a bit (+0.12) and increase contrast a lot (+40). Then we’ll change highlights to +10 to slightly brighten the highlights, darken the shadows by setting it to -25, brighten the whites at +15, and darken the blacks at -30.
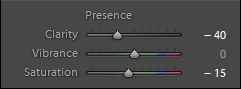
Next, we’ll move below to the Presence settings. We’ll set clarity at -40 to really soften the photo, and we’ll set saturation at -15 to remove some of the color from the photo.
At this stage after the changes above our photo looks like this.
Next, we’ll work on the tone curve. For the RGB curve, apply a curve like the one shown below. This will give it a bit of a matte effect.

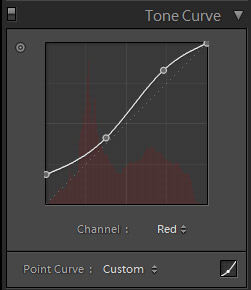
For red, apply a curve like the one shown below.
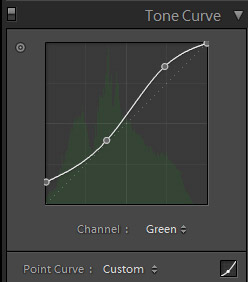
For green we want a similar curve.
And you can leave the blue curve untouched.
Now our photo looks like this.
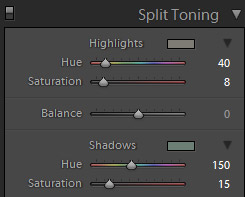
For the next step we’ll apply some split toning. We’ll give the highlights a little bit of warmth with a hue of 40 and saturation of 8, and we’ll give the shadows a little green tone with a hue of 150 and saturation of 15.
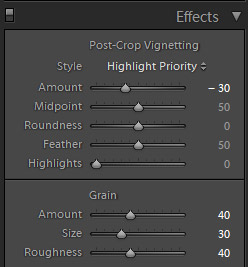
For the last step we’ll move on to the Effects section and work on the vignette and grain. For the vignette, simply change the “amount” setting to -30, which will apply a dark vignette around the edges of the photo. For grain, change the settings as follows:
- Amount: 40
- Size: 30
- Roughness: 40
All settings can vary a little bit from one photo to the next, and this is definitely the case with grain. If the grain is too much on your photo scale back, especially on the “amount” slider.
And here is our finished photo.
If you like this effect be sure to check out our set of 12 Pinhole Lightroom Presets. The set includes 9 different color effects and three black & white effects.

