Free Photography Bundle ($180 value): PS actions, LR presets, photo overlays, & print templates!
Get it here.
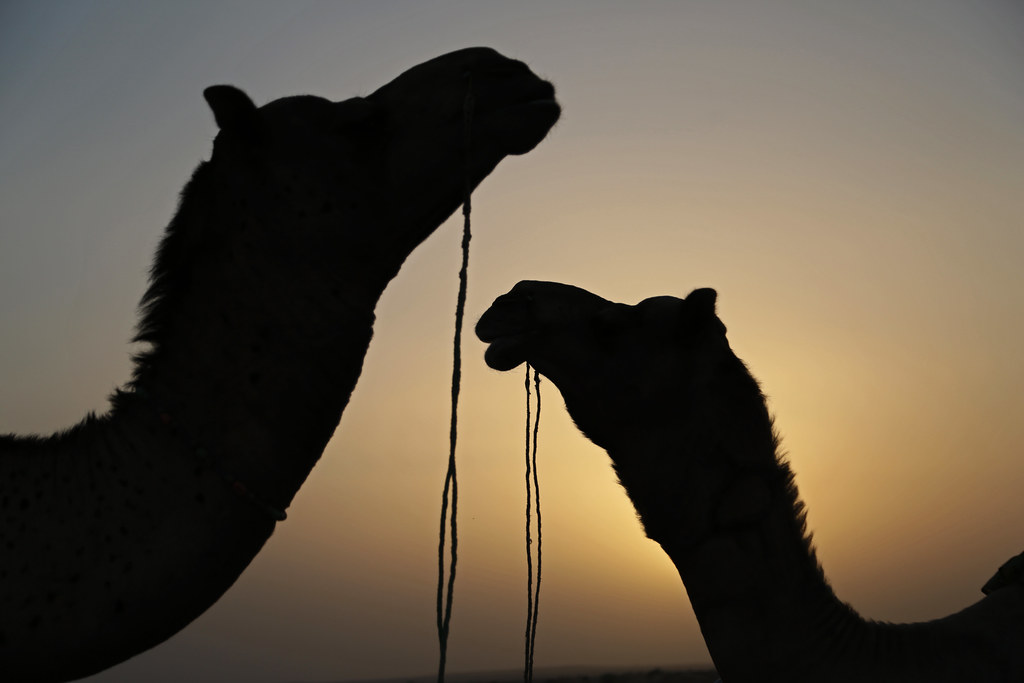
Shooting silhouettes are great exercise for photographers because it requires them to take a slightly different approach to photographing and lighting a subject. It’s also handy for teaching composition rules and helping photographers understand the impact shape and form can make on a photo when given an adequate amount of attention to detail. Not to mention, silhouettes can make for visually stunning images!
Choosing A Subject
When deciding on what the subject of your silhouette should be there are couple things you’ll want to keep in mind. First, it’s essential your subject is backlit. We’ll delve into the details of lighting in one of the next steps, but for now we need to make sure backlighting is possible. Either your subject will need to be something you can move to a backlit location or, if it’s impossible to move, it will obviously need to be in a location that is already backlit.
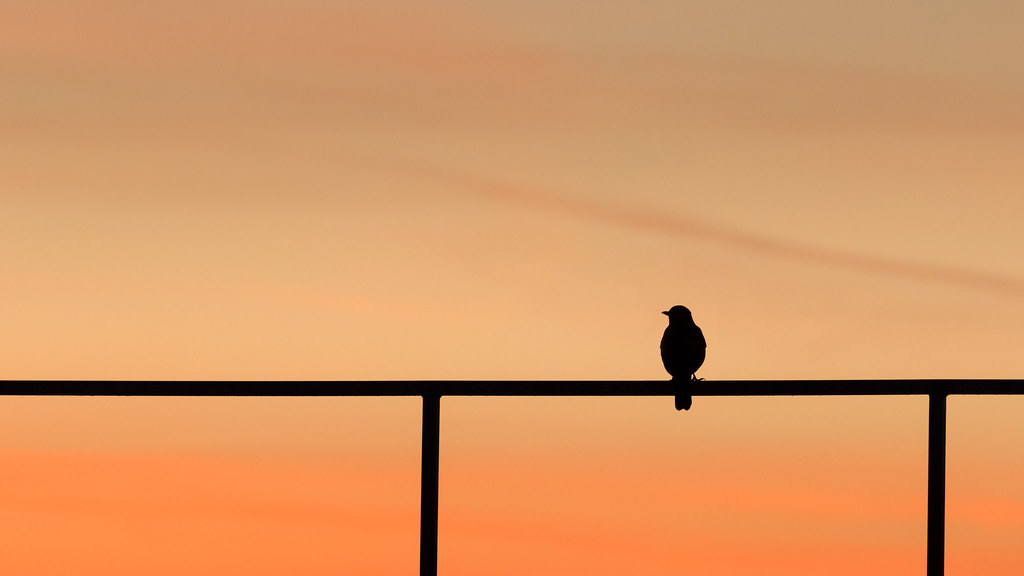
The other thing you’re going to want to keep in mind during this time is the shape of your subject. Generally speaking, objects with a strong, recognizable, and eye catching shapes make the best silhouettes. People make great subjects and you can oftentimes ask your subject to try out specific poses if you have a vision in mind as to what you want your photo to be. Candid silhouette shots are also possible, but you may need to move around and try different shooting perspectives to find the best angle.
That being said, you can make a silhouette out of just about any object with a neat looking shape such as a figurines, buildings, trees, and animals.

Kill The Flash
When shooting against a backlit subject, our first instinct might be to break out a flash to fill in our subjects with light and prevent them from being lost to shadows. Since we’re shooting silhouettes, we’re going to forget all about using a flash since we actually want the subject to be a shadow. if you’re not shooting in manual mode, it may be necessary to disable the on camera flash.
Getting The Focus Right
If you still have your camera set up so it focuses when the shutter button is pressed halfway down, now is the perfect time to make the switch to back button focusing. In doing so, you’re assigning the autofocus feature to be triggered by a button on the back of your camera, separating it entirely from the shutter release button. The benefits of using back button focusing are plentiful and once you make the switch, you’ll never want to go back to the old way–learn more about it here.

If you shoot in an auto or priority mode, you’re going to need the shutter release button dedicated to triggering only the auto exposure settings and actually firing the shutter. You’ll see why in the next step, but it has to do with tricking your camera into thinking the background is the subject. We need to be able to focus independently from everything else or autofocus will assume the background is what should be in focus, when in reality, we want our subjects silhouette to be nice and sharp.
So, once you have back button focusing set up on your camera, compose your image then lock your focus in and proceed to the next step to figure out exposure settings. If you prefer not to use back button focus, turn off auto focus and use manual focus to dial in a nice sharp subject.
Expose For The Background
If photography were easy, I’d be able to tell you exactly which exposure settings to use–unfortunately, exposure settings are something that are specific to the situation. If you are shooting in a priority mode or AUTO mode, your camera will most likely want to meter it’s exposure settings on the subject of your photo. Meaning it’s going to want to let in (or use the flash) to lighten everything up and prevent the subject from being too dark. Since we want the subject to be dark, we need to trick our cameras into thinking the bright background is the subject.

To do this, you’ll need to point your camera to the backlit and press your shutter release button down halfway so the camera knows to meter it’s exposure settings on what will ultimately be the background. While still holding down the shutter button halfway (don’t let it go just yet!), recompose your image with the subject where you want them to be in the frame, then press the button down the rest of the way to snap the photo.
Practice Makes Perfect
All in all, it’s not too difficult of a process and one that’s a lot of fun to play around with. Once you get out there and start shooting your own silhouettes, be sure to share some of your creations with us in the comments!