Free Photography Bundle ($180 value): PS actions, LR presets, photo overlays, & print templates!
Get it here.
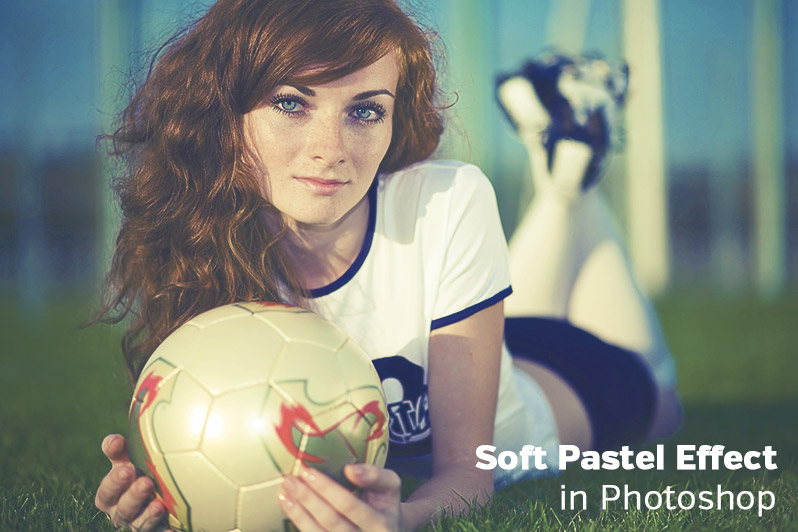
One of the more popular tutorials on our blog is How to Create a Soft Pastel Effect in Lightroom. After publishing that tutorial we received some requests to write a tutorial for a similar effect in Photoshop, so that is what we will be looking at today. The effect that we will be creating is not exactly the same as the one in Lightroom, but it is a similar soft color effect with a pastel tone.
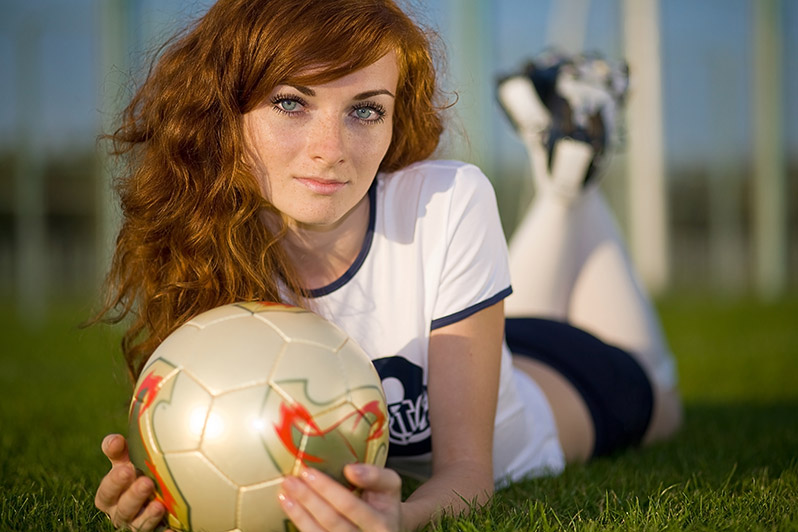
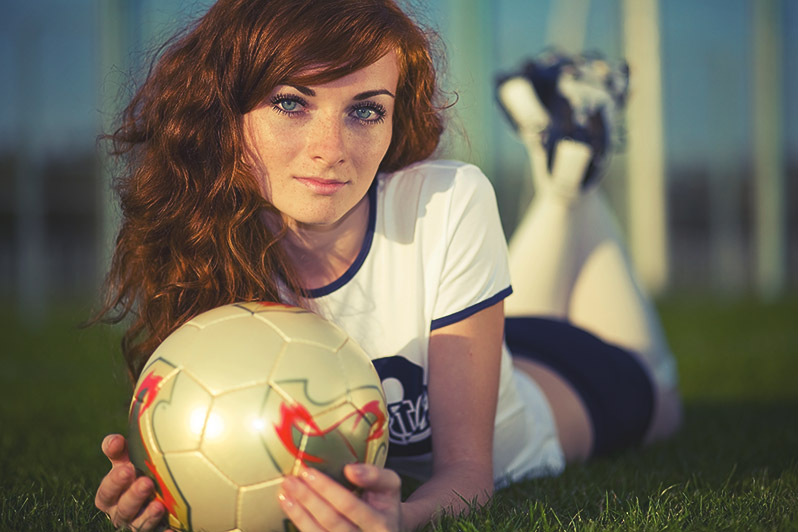
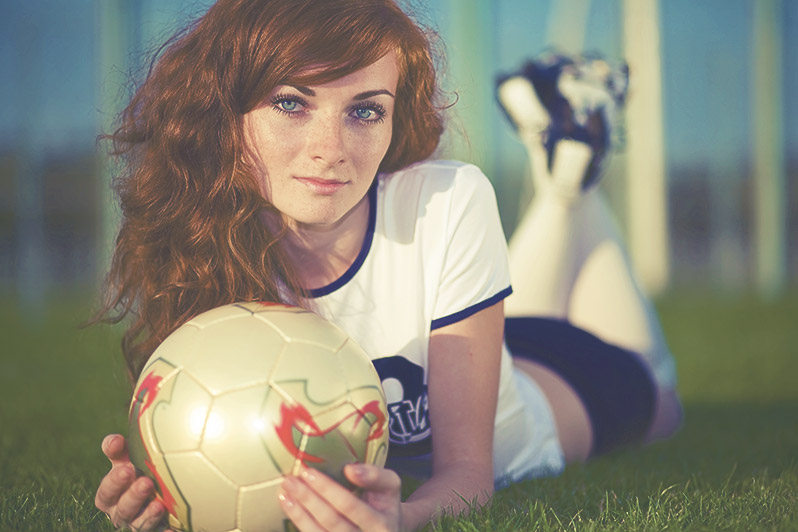
Here is the before version of the photo that I will be using for the tutorial.
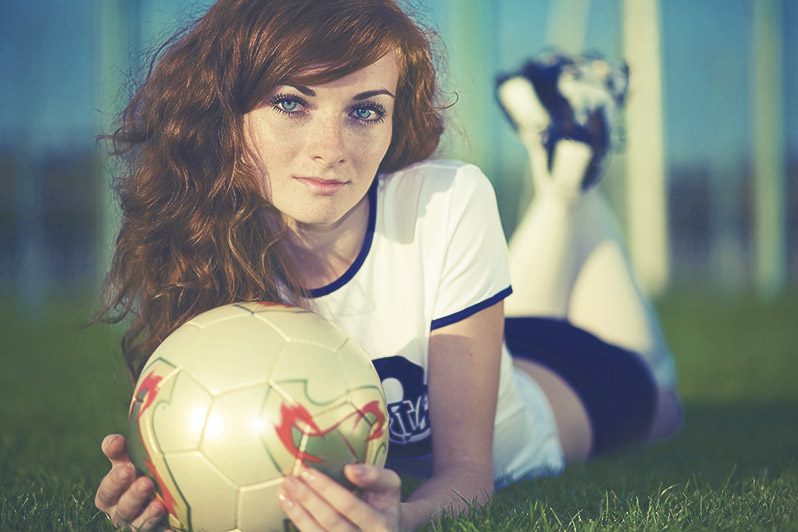
And here is a preview of the after version.
The steps used in this tutorial are taken from one of the actions in our set of Pastel Photoshop Actions, so if you would like to be able to apply a similar effect with your own photos be sure to check out this set of 20 actions.
Throughout the tutorial we will be adding several different adjustment layers. Whenever you need to add an adjustment layer you can click on the icon shown in the photo below, and then select the type of adjustment layer that you want from the list that pops up.
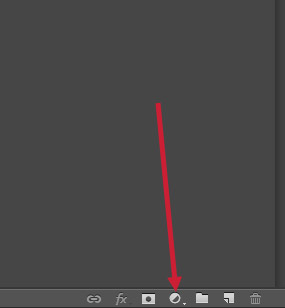
Using adjustment layers allows more flexibility as you are not editing the original photo layer, so you can easily turn off or tweak any of the effects later.
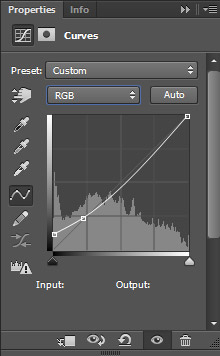
The first adjustment layer that we’ll create is a curves layer. Create an RGB curve like the one shown below.
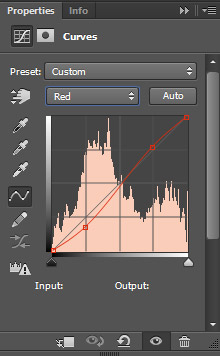
And a red curve like this.
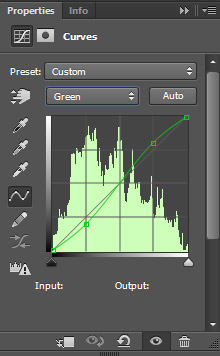
And a green curve like this.
And a blue curve like this.
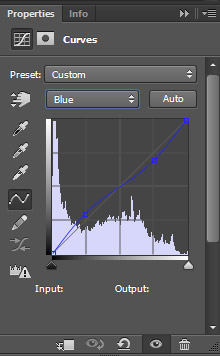
After the changes with the curves adjustment layer the photo looks like this.
Next, add a levels adjustment layer and set the shadows output to 50, which will really lighten the photo and give it a hazy look.
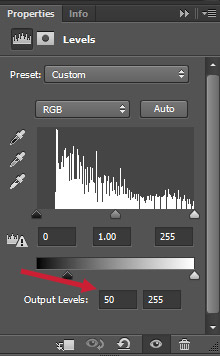
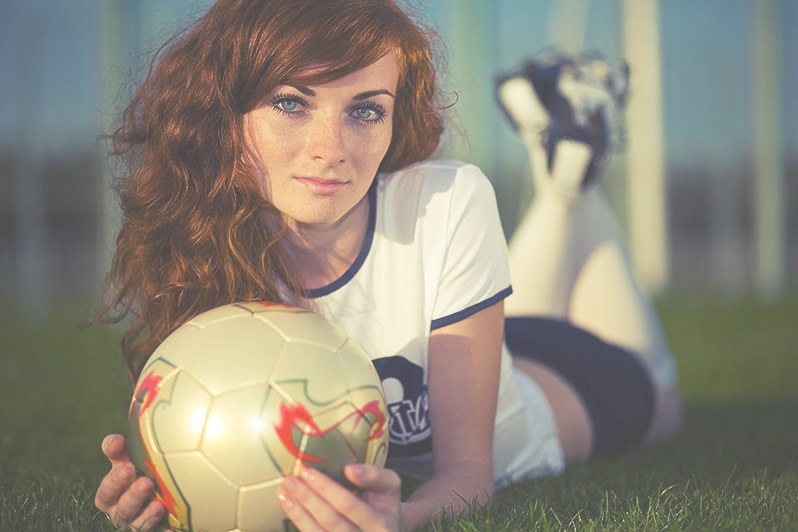
It now looks like this.
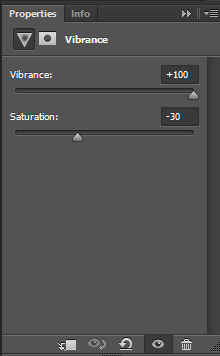
Next up is a vibrance adjustment layer. Set the vibrance to +100 and saturation to -30.
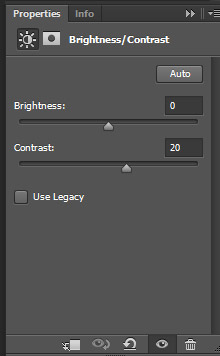
After that, add a brightness and contrast adjustment layer and set the contrast to +20.
Right now the photo looks like this.
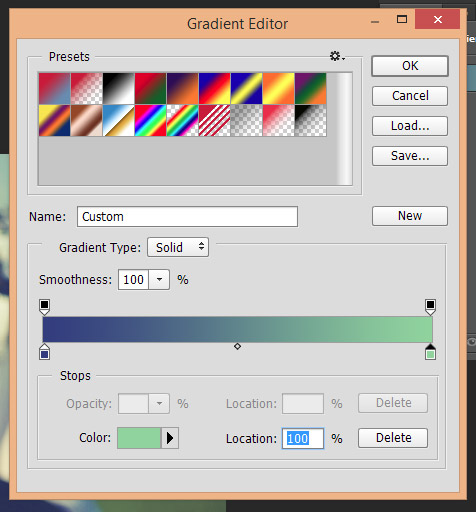
The last step is to add a gradient map adjustment layer. Set the gradient to go from #2d3b84 to #8fd399.
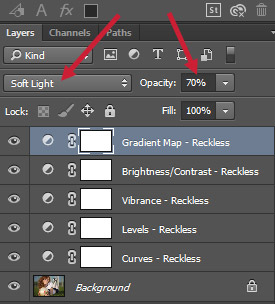
Then change the gradient map layer’s blend mode to “soft light” and set the opacity to 70%. You can also adjust the opacity to suit the strength of the pastel effect that you would like.
And we’re done! The finished photo looks like this.
If you like this soft look be sure to check out our set of 20 Pastel Photoshop Actions.

