Free Photography Bundle ($180 value): PS actions, LR presets, photo overlays, & print templates!
Get it here.
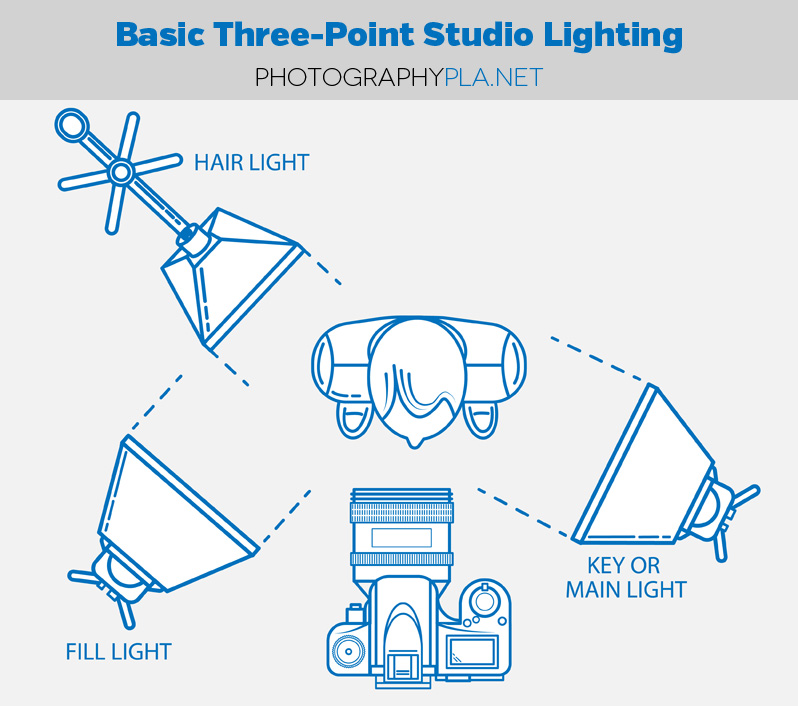
The basic setup for three-point studio lighting is fairly straightforward. All you need is a background, a key or main light, a fill light and a hair light. The lights can be strobes or continuous but for the best and most consistent results I prefer strobes.
When I need help with studio photography I usually head up to ImagesForever.net and consult with Karl Leopold, a person who’s been shooting portraits so long he’s on the second and third generations for some of his customers.
Equipment List
For this setup we were using the following equipment:
- The key light was an AlienBees 800 in a Fomex rectangular soft box
- Our fill was an AlienBees 800 in a 48 inch Octodome
- The hair light was an Ultra 1800 with a grid screen on a boom
- To trigger the lights we used a PocketWizard miniTT1 on the camera and FlexTT5 transceivers on the lights.
- We went with a patterned gray canvas background to get the maximum contrast with our talent clothing.
We had two cameras:
- Canon 5D MK II with a Canon 24-70mm f/2.8 L
- Canon 7D with a Canon 28-135mm kit lens
Both cameras were locked in “M” Manual Mode at ISO 100 and the flash sync speed was 1/125th of a second in first curtain sync. For the shoot we used either f/11, f/13 or f/14, depending on the exact shot and whether we were staging the shot for an illustrative effect.
We ended up using the shots from the 7D for this article as both sets came out extremely well. The only post-processing of the photos was basic color correction and the cropping has been adjusted for illustrative purposes.
The Basic Layout
Light Ratios
Before we get into the details of the shots we need to spend a minute talking about light ratios. Notice in the graphic that the main light, or key, is set closer to the subject than the fill? That is not an accident.
The relationship between the key light and fill is expressed as a ratio. If the lights were set at the same distance from the subject and on the same power settings the light ratio between the key and fill would be 1:1 and the lighting would be flat with few shadows. Flat lighting is not terribly attractive, except for the DMV, so we backed off the fill a bit to create a bit of shadow. Not so much that we bring out the lines in the subject’s face, just enough to add depth to the photo.
If we were to cut the light from the fill by 1 full stop, the light ratio would be 2:1. For these shots we used a light ratio of 3:1, which is 1 1/2 stops. The most common light ratios used in portrait photography are 3:1, 5:1 and 7:1. It’s rare to see many values outside that range for stock portraits. Which one you use will depend on the subject and look you’re trying to achieve.
There are two ways you can achieve the desired light ratio: You can adjust the flash power on the fill and the leave the flash at the same distance to the subject. Or you can physically move the flash farther from the subject and the light will fall off by the square of the distance from the subject.
So, how did we know we had the right light ratio just moving the fill light? In this case we measured the output with an incident light meter and knew we had our 3:1 ratio right on the dot.
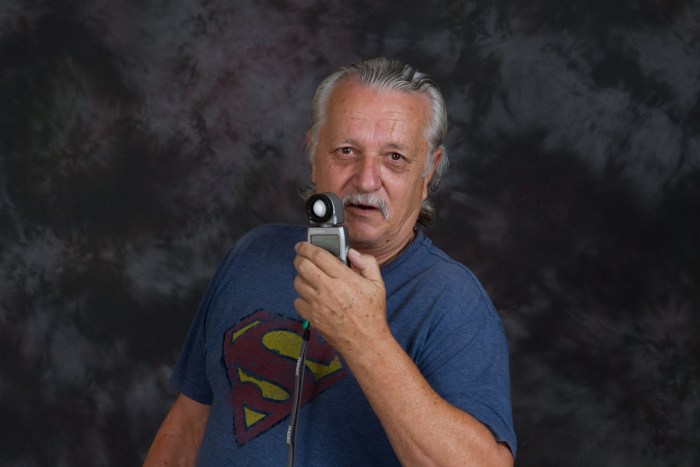
Karl measuring our light ratio with an incident light meter while in the middle of saying, “You’re not actually taking pictures, are you?” Uhhhhh…
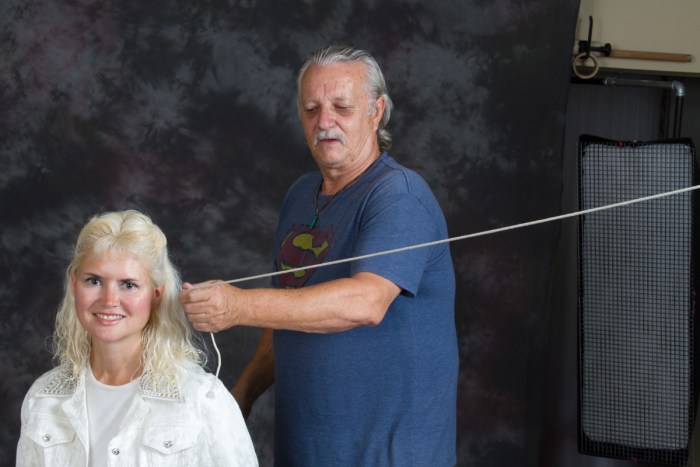
If you don’t have a light meter, then the old school trick is the measure the distance to the subject from each light with a piece of string.
Single Light Shot
So you can see the difference each light makes, we started with just a single light.
Notice the sharp shadows and the way the back shoulder seems to blend into the background. Next let’s add our fill and see what changes.
Key Plus Fill
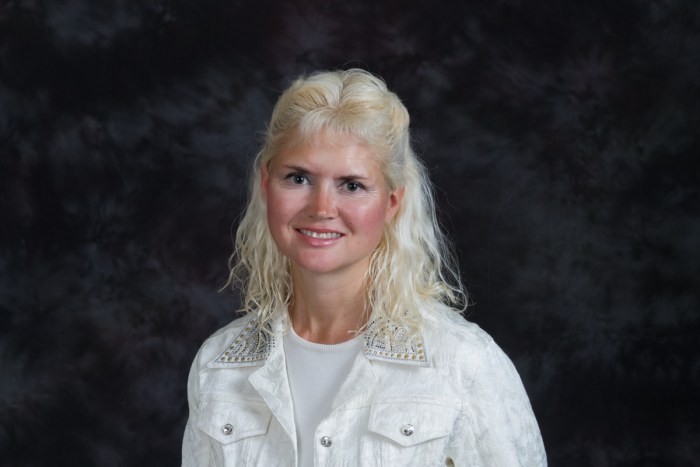
That looks better. We got some light on the back shoulder which helps separate it from the background. Still, the subject’s hair looks a bit flat, so let’s bring up the hair light.
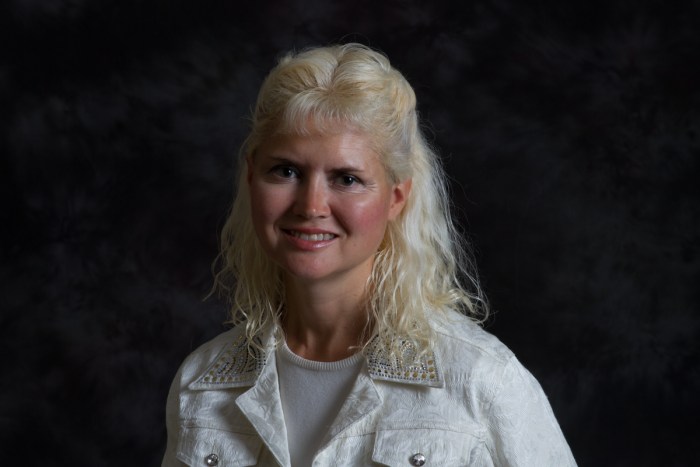
Three Light Set
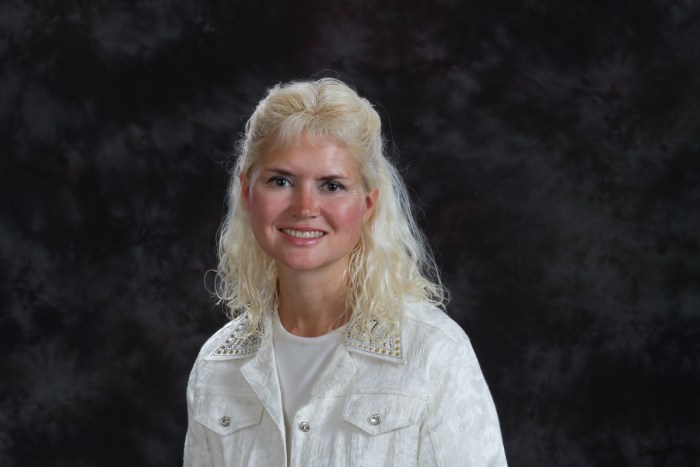
Nice! Notice the halo effect on the hair and back shoulder now. We wanted just a little highlight, so we had the hair light set at -3 stops from key.
And there you have an entirely decent head and shoulders portrait. Some cropping, a little color work and maybe soften the crows feet around the eyes and you’re off to the races.

