Free Photography Bundle ($180 value): PS actions, LR presets, photo overlays, & print templates!
Get it here.
This article is a part of our series Photo Editing in Lightroom 101. Throughout the series we’ll cover the details of Lightroom’s library and develop modules and how you can use Lightroom to improve your own photos. As new articles are published they will be added to this page. If you don’t want to miss future articles in the series, please subscribe to our RSS feed or our email newsletter.
In previous articles we’ve looked at some of Lightroom’s tools including the graduated filter and the radial filter. Both of these tools allow you to make changes to specific parts of a photo without impacting other parts. While both of those tools are extremely useful, they do have some limitations. The graduated filter works in a linear fashion, and if you’re not working with straight lines you may not be able to accomplish what you need with the graduated filter. For example, if you want to increase the exposure to lighten the bottom portion below the horizon of a landscape photo without impacting the sky, you can easily do this with the graduated filter, but you’ll need a relatively straight horizon. The radial filter works by using an ellipse, so it is useful for some situations, like creating vignettes, but certainly not useful in every situation.
The adjustment brush tool gives you many of the same controls and sliders that you would have with the graduated filter and the radial filter, but it doesn’t come with the same restrictions. With the adjustment brush you basically paint certain areas of the photo, and only the areas that you’ve painted will be impacted by the sliders and the adjustments. Using the adjustment brush typically will take a little bit more time than using the graduated filter or the radial filter, but it offers a great deal of flexibility.
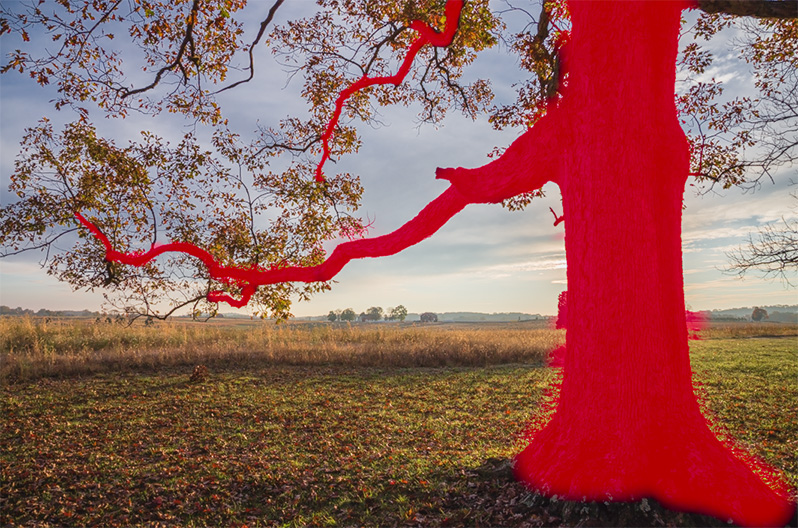
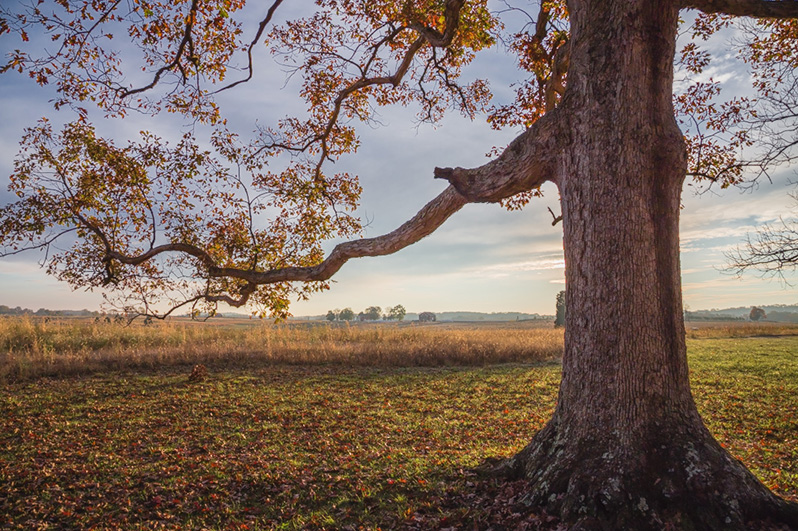
The adjustment brush can be used to dodge and burn, smooth skin, enhance eyes, add texture and detail, selective adjust saturation, and much more. In this example we’ll be using the adjustment brush to dodge or lighten a specific area of a photo. Here is the sample photo that we’ll be working with.
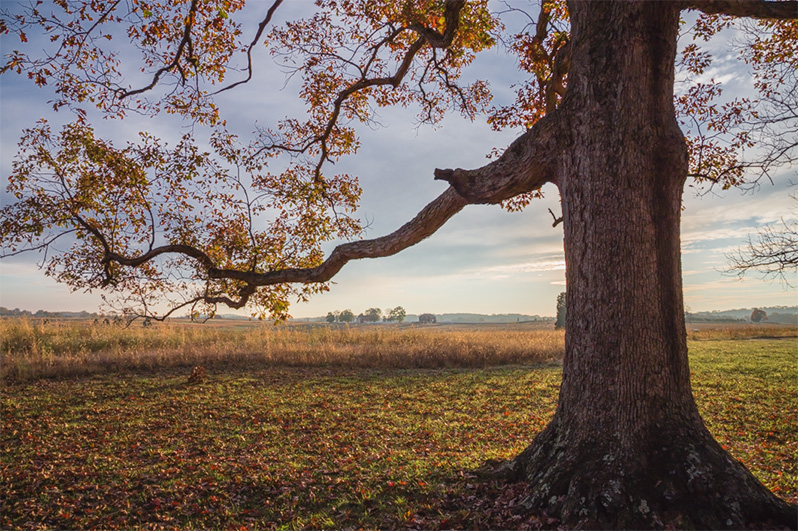
In this photo I want to lighten the tree trunk without impacting the exposure of the rest of the photo. So I will use the adjustment brush to paint the tree trunk.
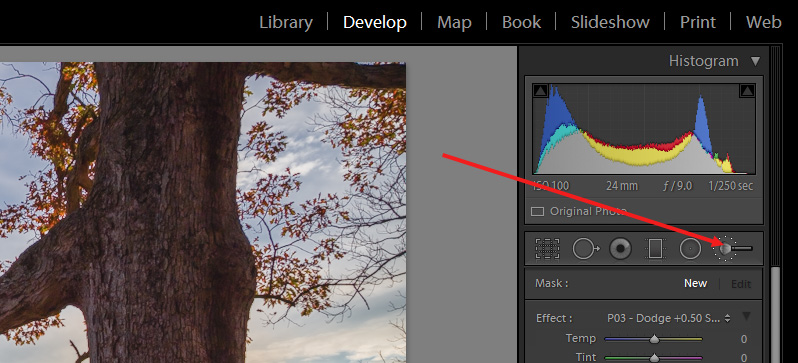
To get started, click on the icon for the adjustment brush or use the keyboard shortcut “k”.
For this tutorial I am going to be using one of the adjustment brushes from our Master Workflow Lightroom Presets, but if you do’t have these presets, don’t worry, you can follow along and simply adjust the sliders manually.
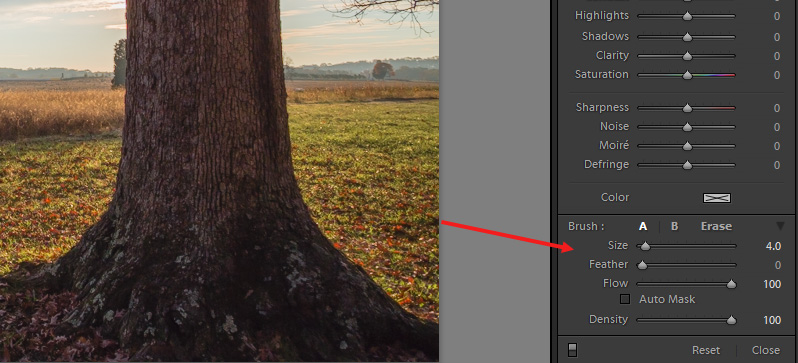
Near the bottom of the settings for the adjustment brush you’ll see 4 sliders: size, feather, flow, and density.
The size controls the size of the brush that you will be painting with. If you’re painting on a large area you can use a large setting here, and if you need to be able to paint precisely in small areas you will need to use a very small setting. The feather controls the hardness or softness of the edge. When you are using the adjustment brush you’ll see two circles. The inside circle is controlled by the size of your brush, and everything inside that circle will be impacted. The outside circle is controlled by the feather. A small feather setting will give your brush a hard edge, and the outside circle will be very close to the inside circle. A larger feather setting will go you a soft edge with a gradual transition, and the outside circle will widen out further from the inside circle.
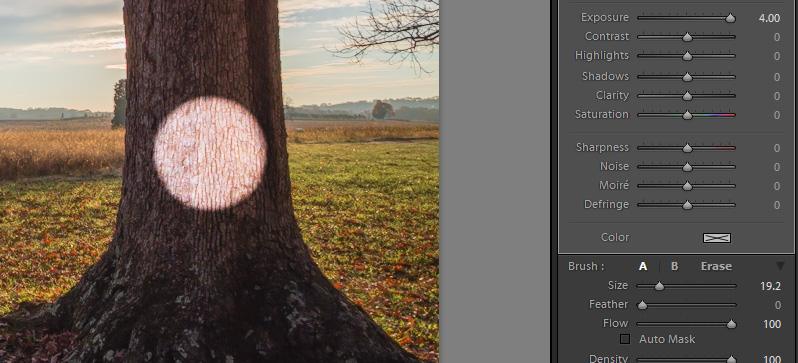
In the screenshot below you can see an extreme adjustment made with a low feather setting and a hard edge.
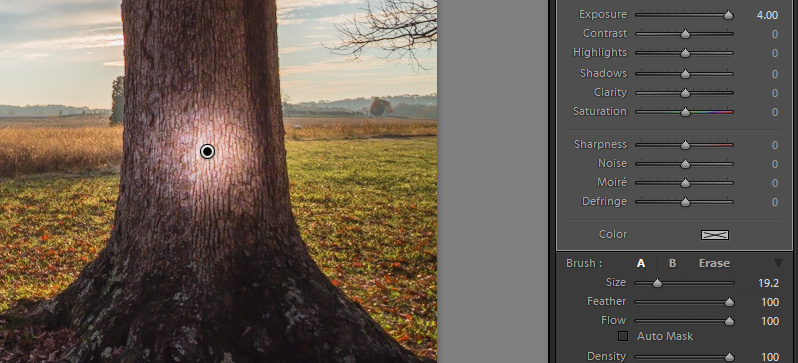
And in the next screenshot you’ll see a similar extreme adjustment with a high feather setting and a soft edge.
The flow slide impacts the speed of the change. If you are dodging or burning and you have a low flow setting it will take a while to get to the maximum change. For example, if you have the exposure set to +1.00 and you have a low flow setting you may need to paint over the area several times in order to get to that +1.00 exposure. Setting the flow to a low number can be helpful when you need to work slowly in very precise areas.
The density setting puts a limit on the amount of change that can be applied with a paint stroke. For example, if you have the exposure setting at +1.00 and the density set at 50, the maximum amount the exposure can be changed with a paint stroke is +0.50 (or 50%, based on the 50 setting for density).
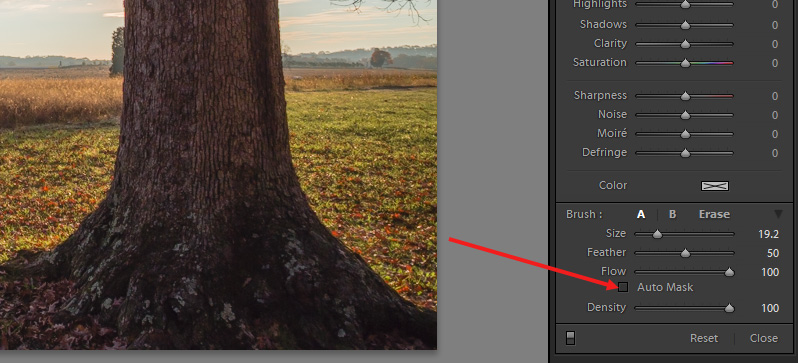
You’ll also see a checkbox for “auto mask”. When you check this box Lightroom will attempt to automatically keep your adjustments constrained to where they are intended. For example, when I start painting near the edge of the tree trunk in the sample photo I can check the auto mask box and it will help to prevent my brush from going off the edge of the tree.
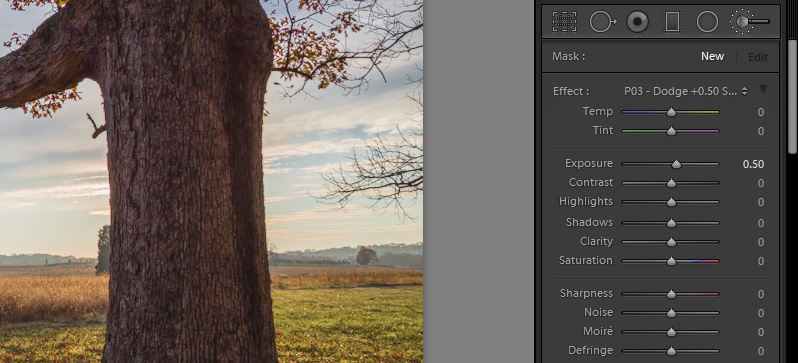
Ok, so now that we have gone over the basics of how the adjustment brush works, we can get started with the sample photo. I’m using a brush setting called Dodge +0.50 from our Master Workflow Presets. If you don’t have these presets, this is a simple one to replicate on your own. Just change the exposure setting to +0.50. You can also change the size setting according to the needs of your photo.
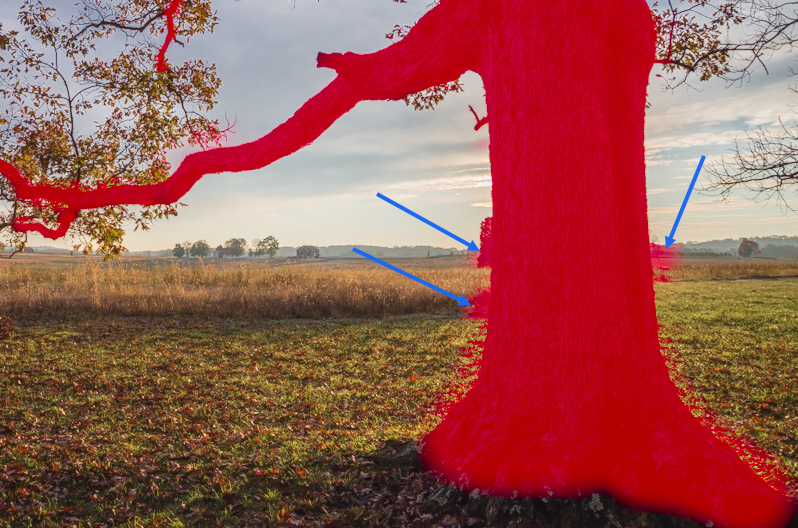
Ok, now I can go ahead and use the mouse to paint on the tree. A helpful tip, you can use the keyboard shortcut “o” to show a red overlay where you are painting. With the red overlay active I can see exactly where I have painted. (You can hit “o” again to remove the red overlay.)
Because the edges of some parts of the tree trunk had similar colors and tones to the background, the auto mask didn’t work perfectly. You can see some areas outside of the tree that were painted.
To fix this I want to erase those areas. To do this, click on “erase”.
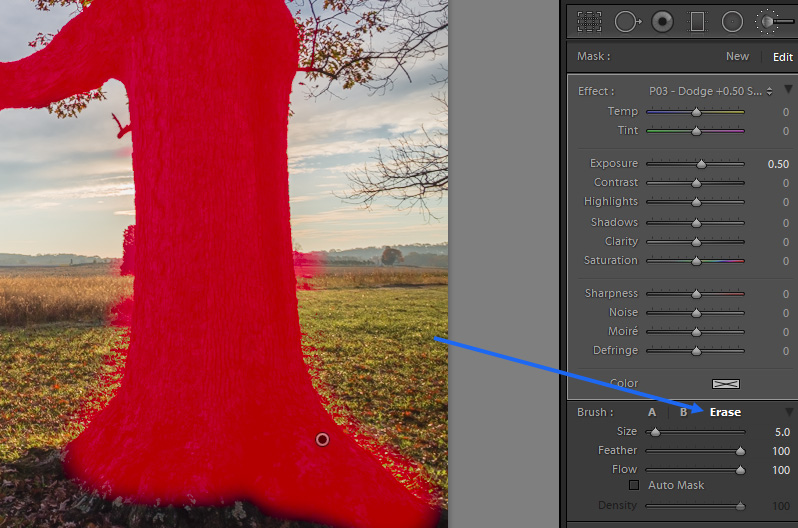
Now, I can go back and paint on the areas that I want to erase, cleaning up the edges of the tree trunk.
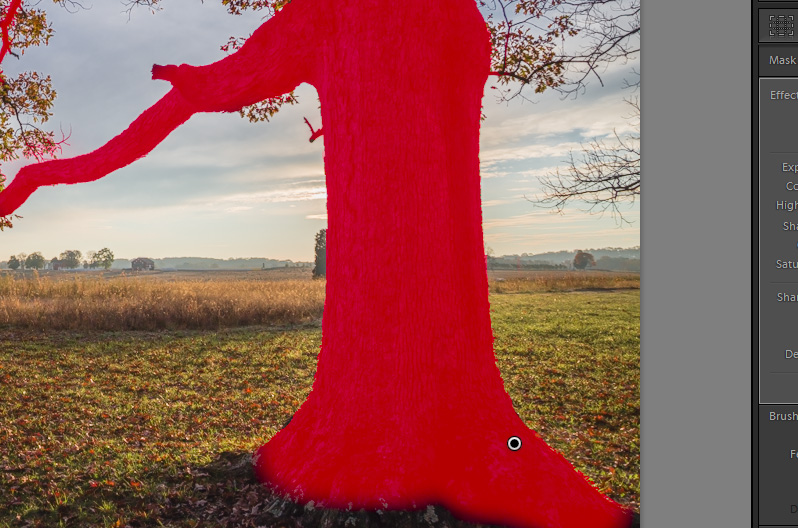
Now, when I hit “o” to remove the overlay I can see the finished product.
The tree trunk is just a little bit lighter and I can see a little more detail than I could before using the adjustment brush.
If you don’t want to miss the other articles in this Photo Editing in Lightroom 101 series, please subscribe to our RSS feed or our email newsletter. As new articles are published they will be added to the series page, which will serve as an index for the entire series.

