Free Photography Bundle ($180 value): PS actions, LR presets, photo overlays, & print templates!
Get it here.
There are a lot of reasons to love Lightroom. The organizational features of the library module and the tools of the develop module can help you to save time, stay organized, and maximize the impact of your photos. One of the ways that you can improve your efficiency in Lightroom is through effectively utilizing develop presets.
When it comes to presets there are a few different types, and it’s important to note the differences and how they relate to your own process in Lightroom. The most common type is the one-click preset. A one-click preset will allow you to add a certain effect or style to a photo just by clicking to apply the preset. Two examples would be our pastel presets and our Dragan-inspired presets. Of course, the results of any preset will vary depending on the photo that you use as a starting point, but ideally you will get close to the effect that you want just by applying the one preset. You may need to make minor adjustments after applying the preset, such as tweaking the exposure setting.
The next type of preset is the stackable workflow preset. A system of workflow presets will be designed so that you can use multiple presets together. This allows you much more control and flexibility as compared to a one-click preset. Workflow presets may require a few clicks to get the effect you want, but they can still save you a considerable amount of time as compared to doing everything manually in Lightroom’s develop module. Some examples of workflow presets would be our Landscape Legends and HDR Hero, where you can stack multiple presets to create an effect that is perfect for the photo that you are using (both of those sets also include some one-click presets in addition to the workflow presets).
The last type of preset that we’ll discuss is a preset created by you for your own use. While there are plenty of presets that you can buy or download, don’t forget that you can also save and re-use your own presets. Some of the advantages of working with your own presets include better flexibility with your own personal style, they can be customized to suit your specific needs, and you may be more familiar with them if you create them yourself.
Saving your own presets for use later can be a little intimidating if you have never done it before, but it’s actually not difficult. Our Master Workflow Lightroom Presets can even be used to help you in the process, and in this article we’ll take a look at how it works.
If you are not familiar with Master Workflow, it is a system that includes a total of over 350 presets. There are 60+ one-click presets that you can use for quick edits of all different kinds, but the stackable workflow presets are the true highlight of the system. With the stackable presets you have full control, and you can save quite a bit of time as compared to manually adjusting all of the sliders in the develop module. Master Workflow allows you to create just about any type of effect that you could want, and in this article we’ll see how you can save the effects that you create to re-use later.
Getting Started with Master Workflow
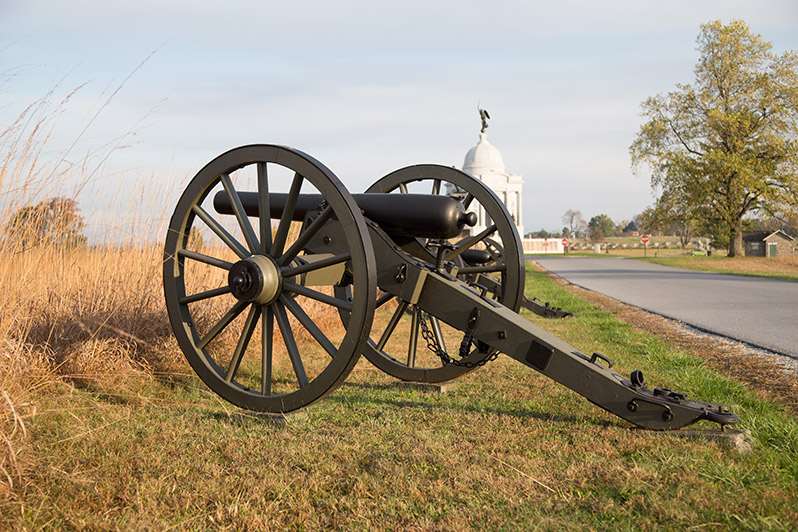
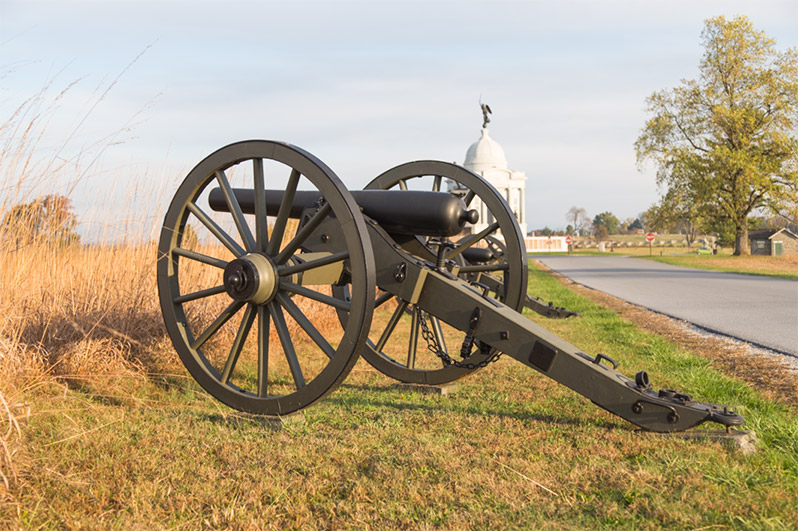
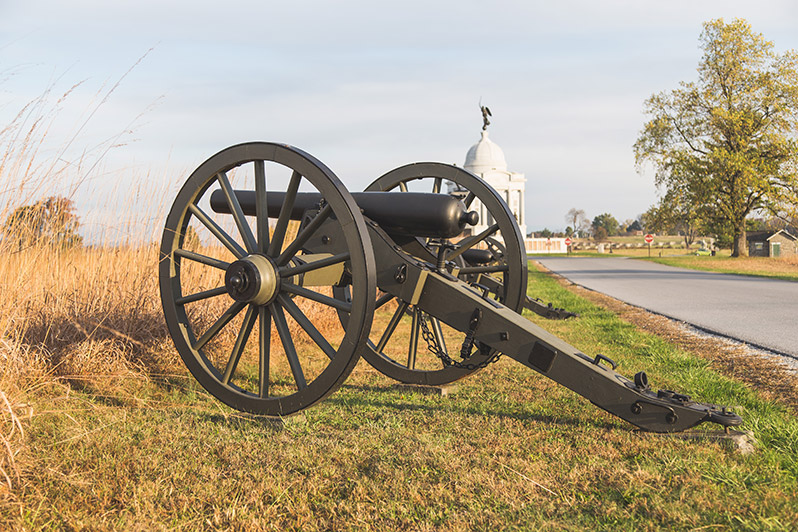
Let’s take a look at the process of using Master Workflow to edit a particular photo and then save a preset to be used later. We’ll be creating a matte effect that we can easily use again later with other photos. Here is the before version of the sample photo I’m working with:
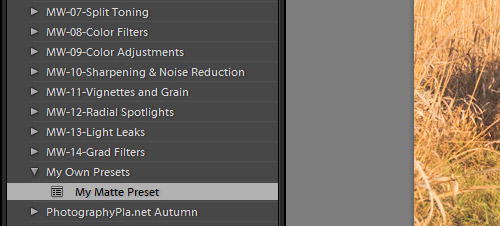
If you have download and installed the Master Workflow presets you will see the following folders of presets in your develop module:
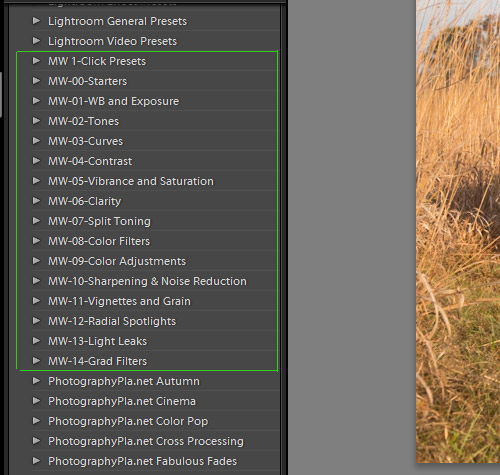
We won’t be using the one-click presets in this tutorial, but they are always available if you want to apply different effects quickly. We’ll look at using a combination of the workflow presets and then saving it as a one-click preset for your own use later.
To get started, the first thing I’ll do is open the folder called “MW-00-Starters” and I’ll click to apply the “Enable Lens Profile Correction” preset.

This preset has a subtle impact on this photo, but it straightens it out a little.
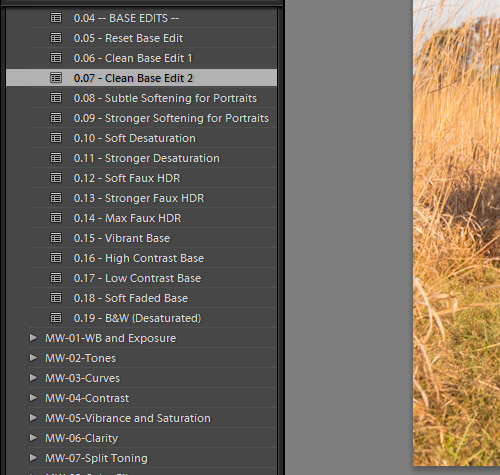
Also in the “MW-00-Starters” folder you’ll find a collection of base edit presets. You don’t have to use one of these base edits, but they do give you a good starting point and they can help to speed up your editing. The base presets will impact settings for contrast, highlights, shadows, whites, blacks, clarity, vibrance, and saturation. The base edit presets will help you to work towards a certain look with just one click. There are two different “clean edit” presets that are great for general use, there are two softening presets that are ideal for portraits, two presets for a desaturated look, three presets that will give you a faux HDR base, a black and white preset, and a few others.
For this sample photo I will be using the “Clean Base Edit 2” preset.
After applying the base edit effect the photo looks like this:
For our next step we’ll be moving to the “MW-03-Curves” folder. There are 20 different curves presets that are great for creating different types of effects. There are curves for adding haze, cross processing, brightening, fading, adding vintage effects, and more. For this photo I am using one of the matte presets, specifically “Soft Matte”.
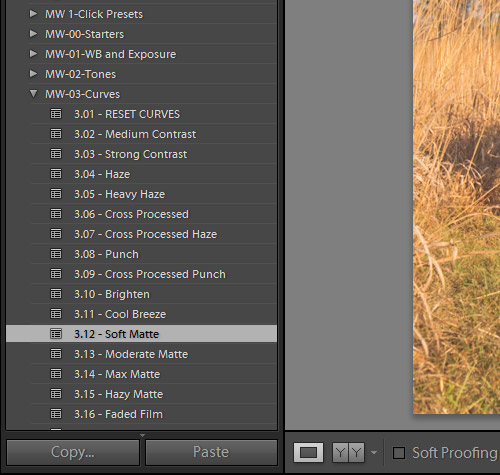
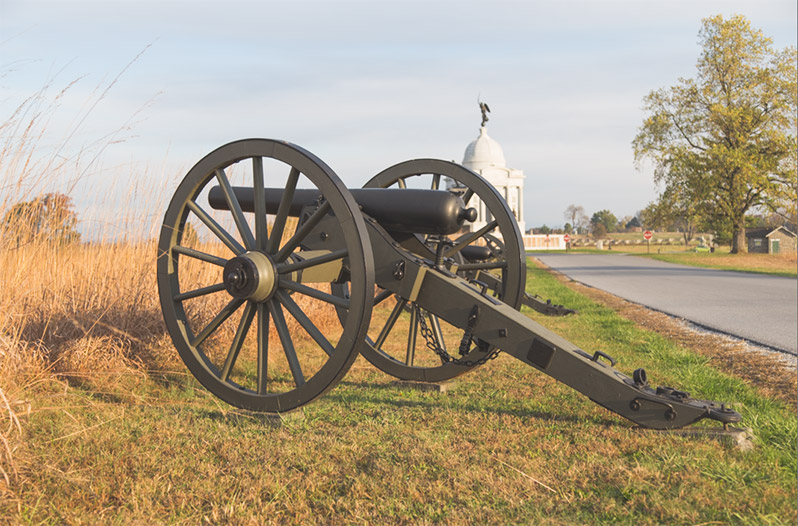
After applying the matte curve preset the photo looks like this:
This preset added a soft, subtle matte effect. Some of the other matte curves will give you a stronger effect.
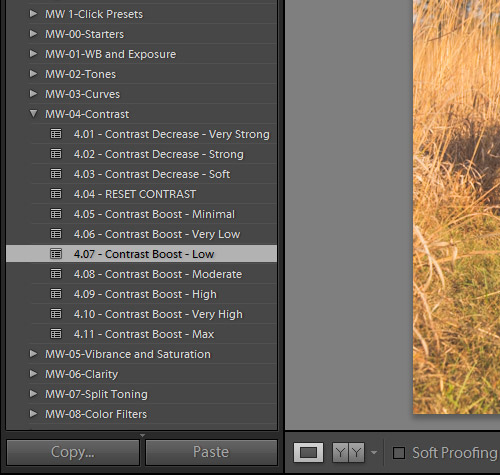
Next, I want to increase the contrast a little. Our base preset added a small amount of contrast, and I want to add a little more. To do that I’ll go to the “MW-04-Contrast” folder and click on the “Contrast Boost – Low” preset.
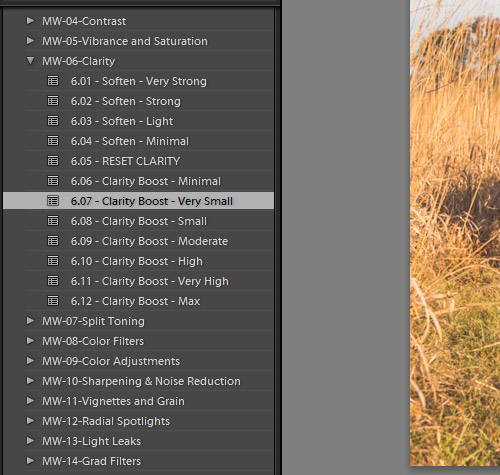
Next, we’ll give the photo a small clarity boost. I’ll go to the “MW-06-Clarity” folder and click on the “Clarity Boost – Very Small” preset.
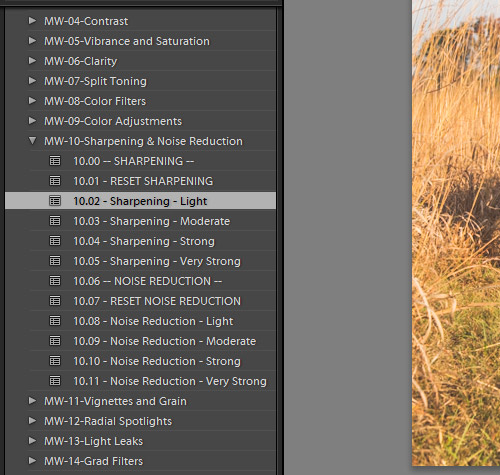
The last thing I want to do is add some sharpening and noise reduction. I’ll go to the “MW-10-Sharpening & Noise Reduction” folder and apply both of these presets: “Sharpening – Light” and “Noise Reduction – Light”.
The final photo looks like this:
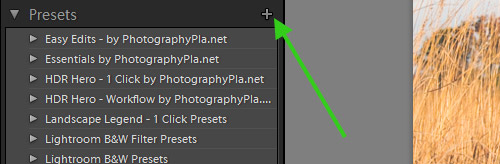
Now, we want to save the effect we’ve created here so we can use it on other photos. This process is pretty simple. To start, click on the “+” sign to create a new preset.
That will open a window like you see below.
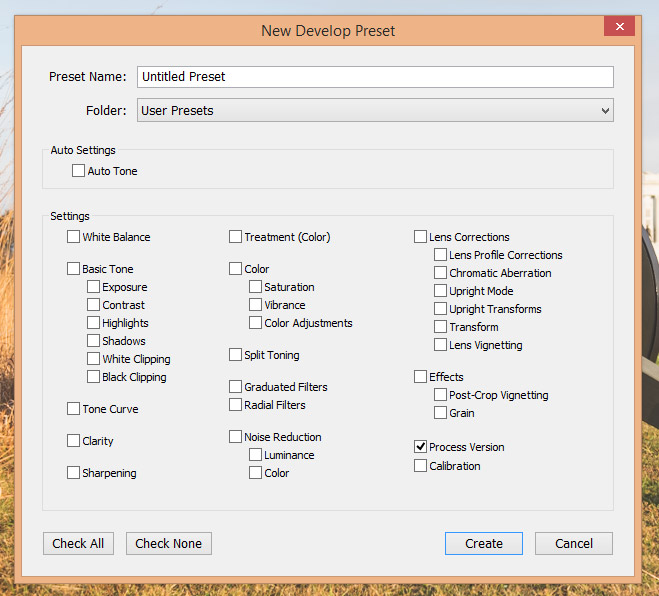
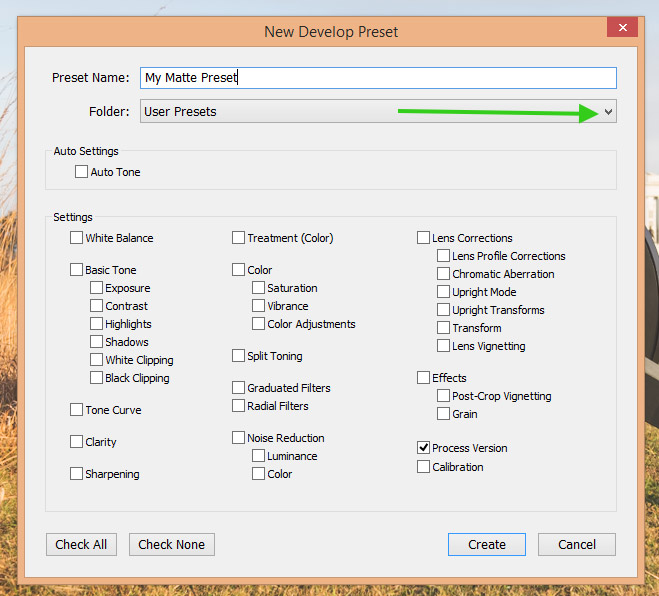
Give your preset a name. We’re going to create a new folder to store the presets that we will be creating. To do this, click on the dropdown and then select “New Folder”.
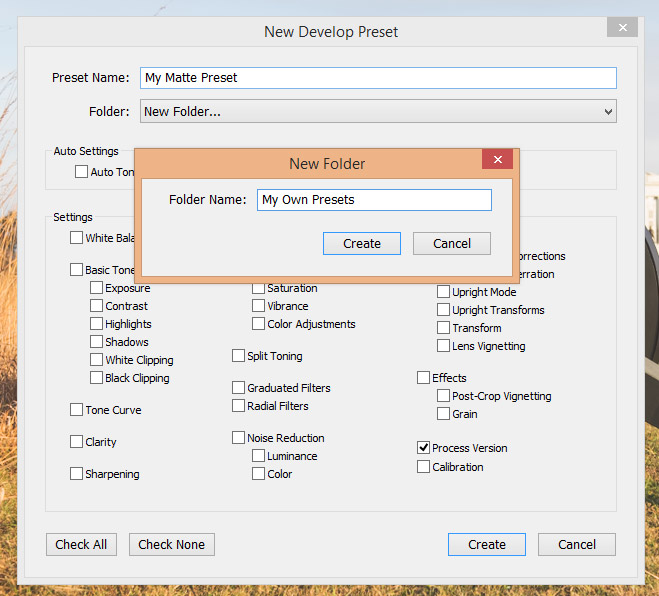
Give your folder a name and click “create”.
The next step is to check the boxes of the settings that you want to be impacted by the preset. You could check everything if you want, but I prefer to only have the preset effect the necessary settings. For example, in this edit we did not make any changes to the exposure, so I don’t want the preset to impact exposure. That way if I want to use the preset later on a photo that I have already made exposure adjustments to it will not overwrite those settings. You have to select the “process version”, but all of the others are option. In this case we did edit the sharpening and noise reduction settings but I don’t want to include them in the preset because I prefer to apply those settings specifically for each photo. So here is how it would look.
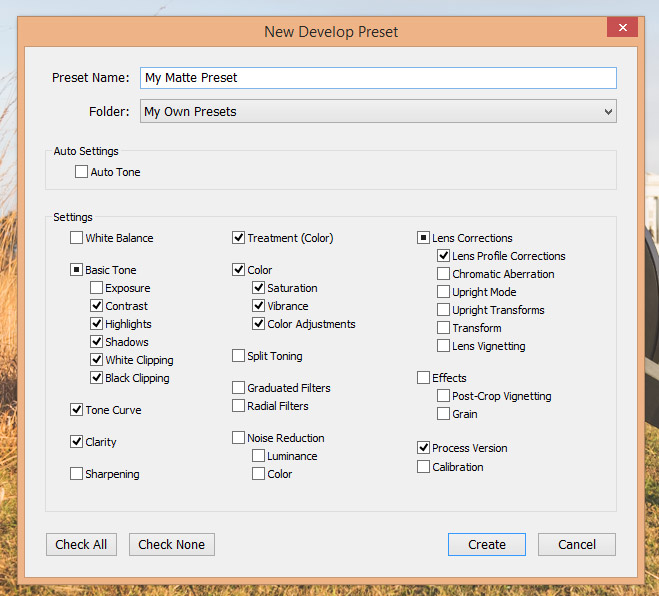
When you are ready, click “create” and it will save your preset.
Now whenever you want to apply the same effect on another photo you can simply click to apply the preset.
That’s it! You can repeat this process any time you have created an effect that you think you might want to re-use later. Master Workflow can help you to save time through the 60+ one-click presets, through the stackable workflow presets, and by making it easy to create your own presets. If you want, you can see more details about the system here: Master Workflow Lightroom Presets.

