Free Photography Bundle ($180 value): PS actions, LR presets, photo overlays, & print templates!
Get it here.
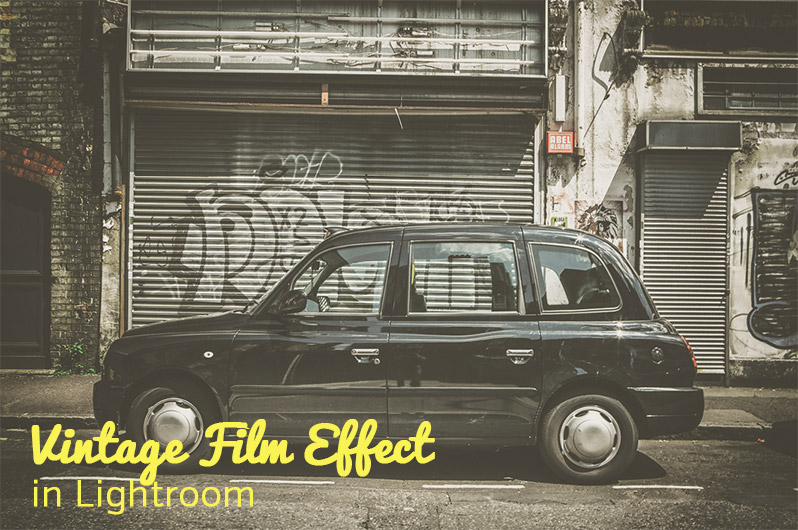
In this tutorial we will quickly walk through the process of easily creating a vintage film-inspired look in Lightroom. This effect is not intended to replicate the look of any particular film, it is just a look inspired by an old film photograph. The settings used in the tutorial are from one of the presets in our collection of Vintage Film Lightroom Presets. That collection includes 30 different presets, so if you like this effect be sure to check out the full collection.
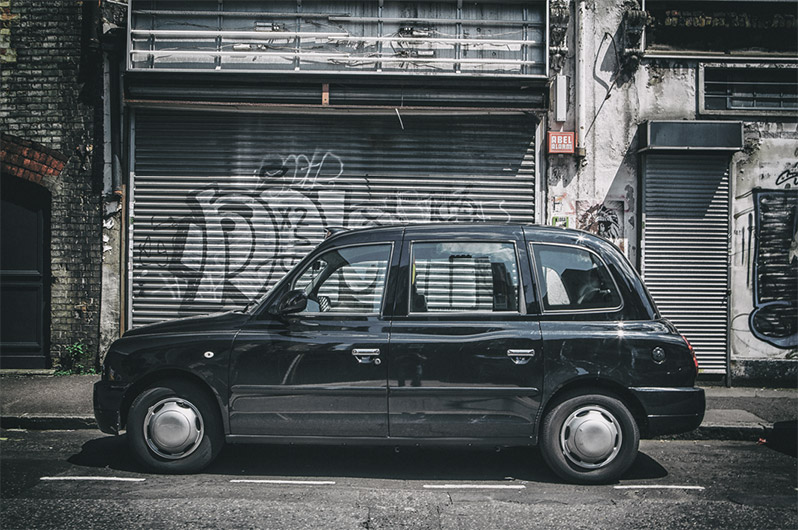
Here is a before version of the photo that we will be working with for this tutorial (the photo is courtesy of ISO Republic and you can download it here for free if you’d like to follow along).
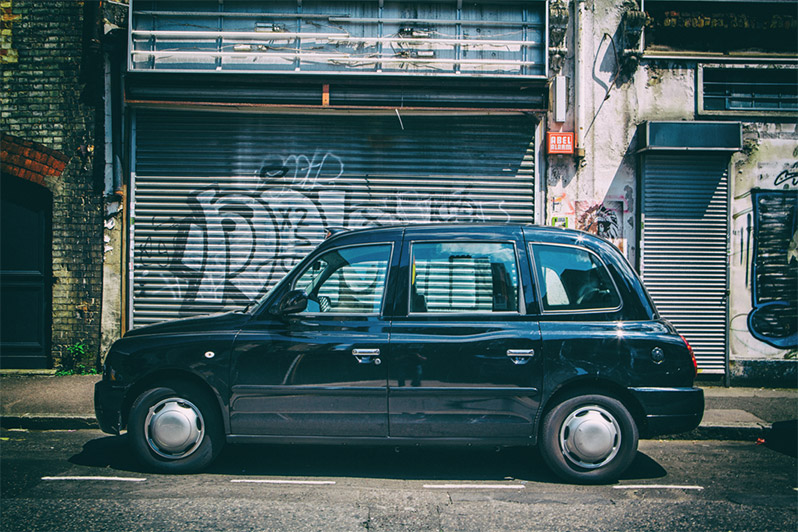
And here is a preview of the effect that we will be creating.
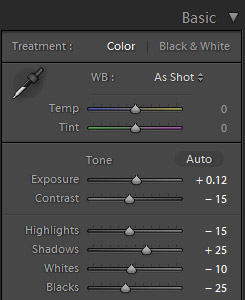
To start, we’ll make some changes in the Basic section of Lightroom’s develop module. Change the exposure to +0.12 to slightly lighten the photo, and change the contrast to -15. The decrease in contrast will help with the vintage look. Then change the highlights, shadows, whites, and blacks to -15, +25, -10, and -25 respectively. Here we are adding a small amount of highlight recovery, opening up the shadows a bit to get more detail, and setting a strong black point.
Next, we’ll move just below those settings to the Presence settings. Set clarity to +15, vibrance to -75, and saturation to -5. With the clarity setting we’ll be making the photo look slightly sharper, and by decreasing the vibrance (drastically) and the saturation we are helping to get that washed out vintage look.

At this point our photo looks like this.
Now we’ll move on to the tone curve. For the RGB curve, create a curve that resembles the one below.
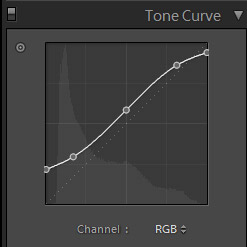
This curve will give a matte film type of effect, but it also lightens the photo, which helps with the vintage look.
We’ll leave the red and green curves untouched, but for blue apply a curve like the one shown below.
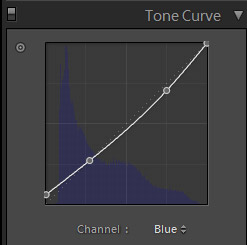
After the changes to the curves the photo looks like this.
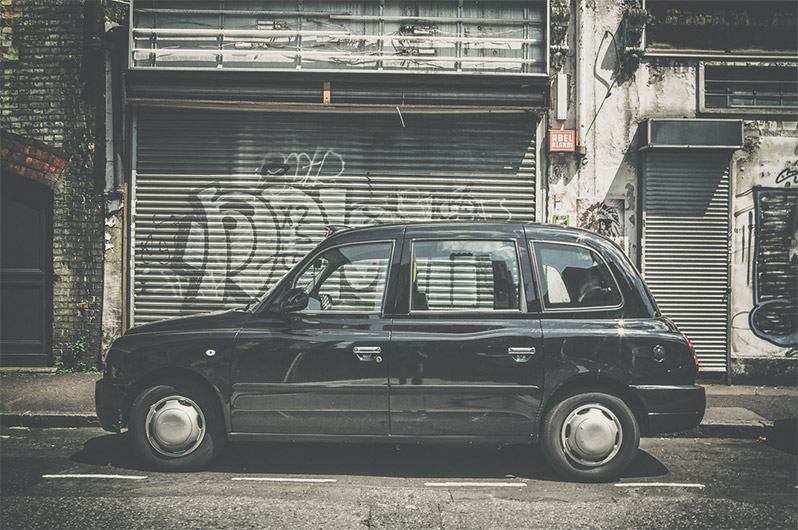
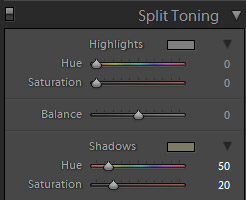
Next, we’ll use split toning to warm up the photo a little. Set the shadows hue to 50 and the shadows saturation to 20. We’ll leave the highlights untouched.
Here is a look at the photo after the split toning.
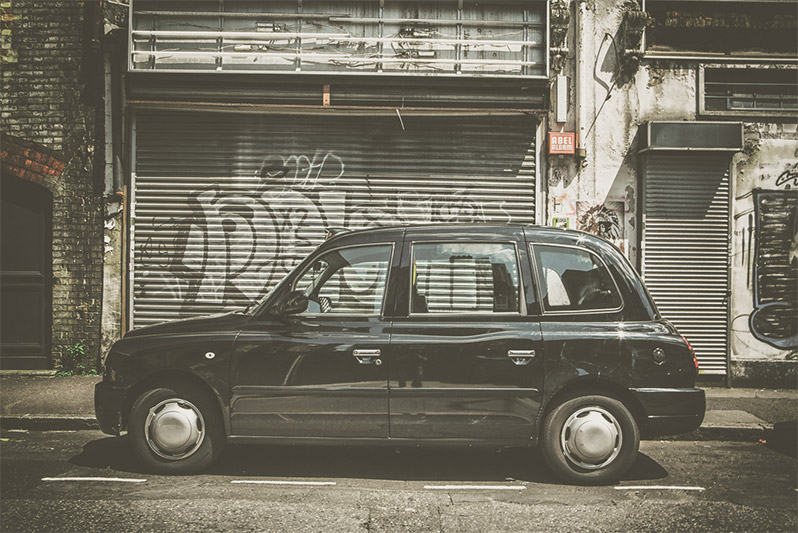
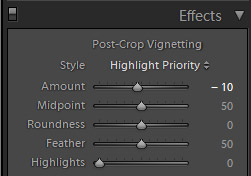
And the last change we will make is to add a subtle vignette by setting the vignette amount to -10.
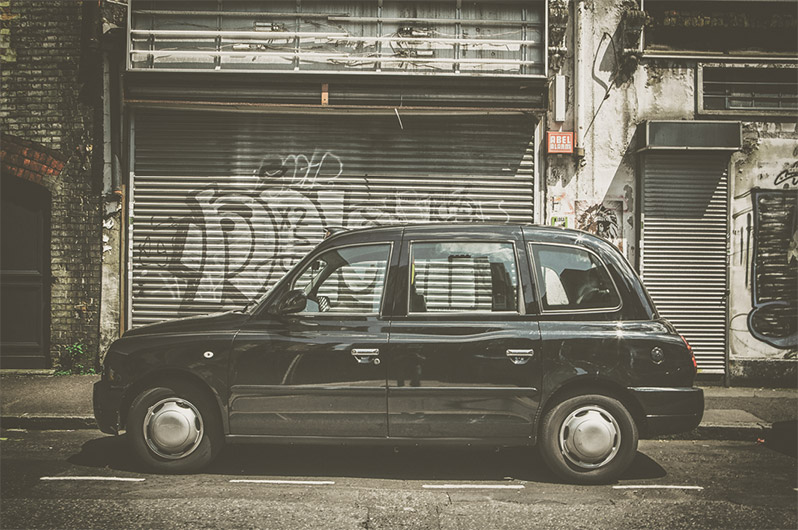
And now we are finished! Here is another look at the end result.

In just a few minutes we created a nice vintage film effect rather easily. If you like this look and you are interested in having a large selection of similar looks please see our Vintage Film Lightroom Presets.

