Free Photography Bundle ($180 value): PS actions, LR presets, photo overlays, & print templates!
Get it here.
Matte effects are pretty simple to create in Lightroom and it’s possible to give your photos a stylish film-like appearance with these simple steps. In this tutorial we’ll go through the steps for creating this matte effect, but if you want to take a shortcut you can download a preset that includes all of the effects used in this tutorial. Keep in mind that the specifics of your settings and adjustments may vary a little depending on the specific photo that you’re working with, so don’t afraid to experiment a little.
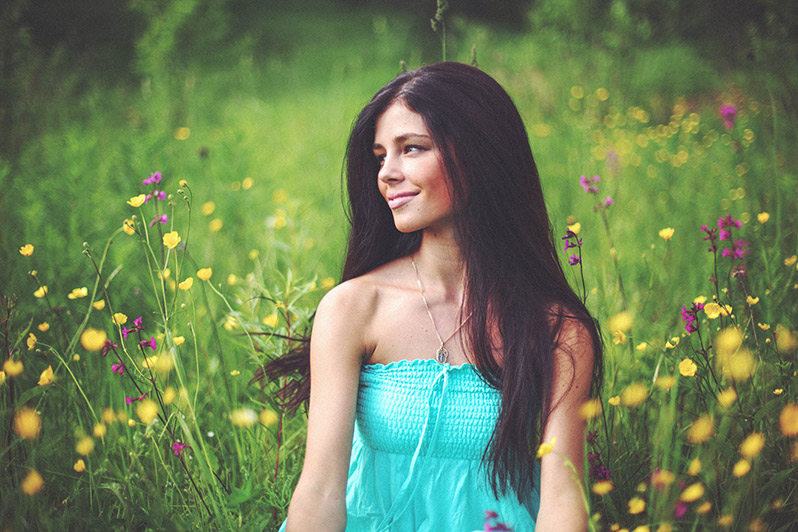
Here is the “before” look at our sample photo.
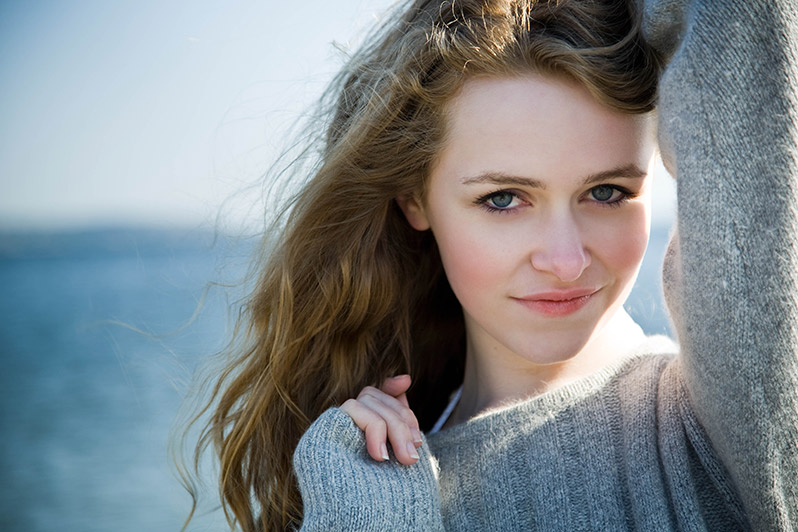
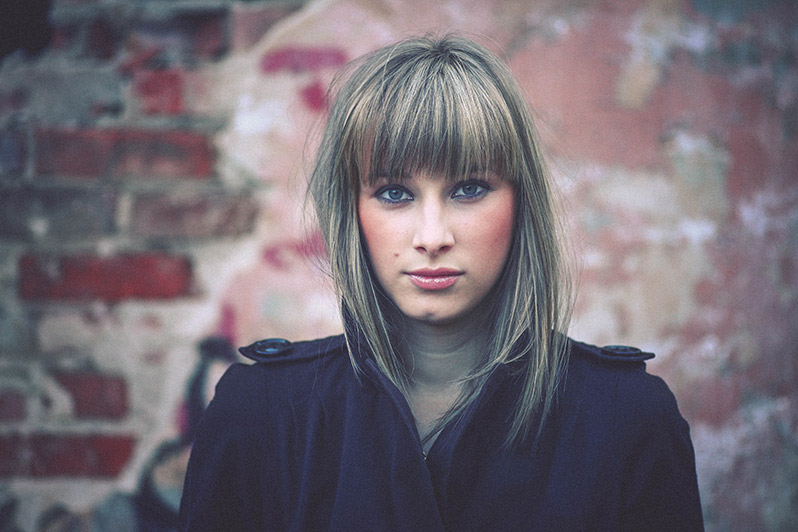
And here is a preview of the “after” photo that we will be creating.

Download the free preset here. And if you’re looking for even more matte effects, please see our full set of Matte Lightrom Presets.
If you want even more Lightroom presets check out our Ultimate Photography Bundle, which includes more than 1,000 different presets.
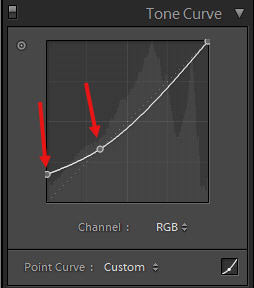
The first step is to edit the tone curve. The image below shows the changes that you should make to the tone curve. Add one new point and then lift the left end point a little bit. This tone curve is the foundation of the matte effect.
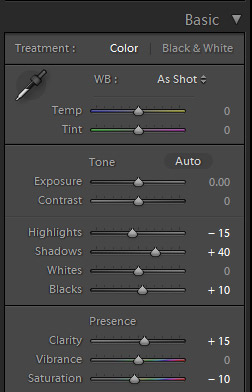
Next, we’ll make some adjustments in the “basic” section of the develop module. The image below shows the settings I am using, but feel free to experiment to see what looks the best on the photo that you are working with. I am changing the highlights to -15, shadows to +40, blacks to +10, clarity to +15, and saturation to -10.
Our next step is to add a subtle split toning effect. Go to the “split toning” section in the develop module and enter the settings shown in the image below. Again, feel free to experiment as needed. For the highlights settings I’m using 50 for hue and 5 for saturation. For the shadows settings I’m using 270 for the hue and 10 for the saturation. Increasing the saturation settings will make the split toning effect stronger, if desired.

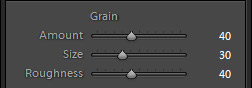
The last step is to add the grain. I’m using 40 for the amount, 30 for the size, and 40 for the roughness. You may want to adjust this depending on your photo as these settings can create too much grain for some photos. Simply reduce the settings until you get a look that is appropriate for your photo.
And we’re now finished! Here is another look at the end result.
Here are a few other before and after samples showing the effect of this grainy matte preset:
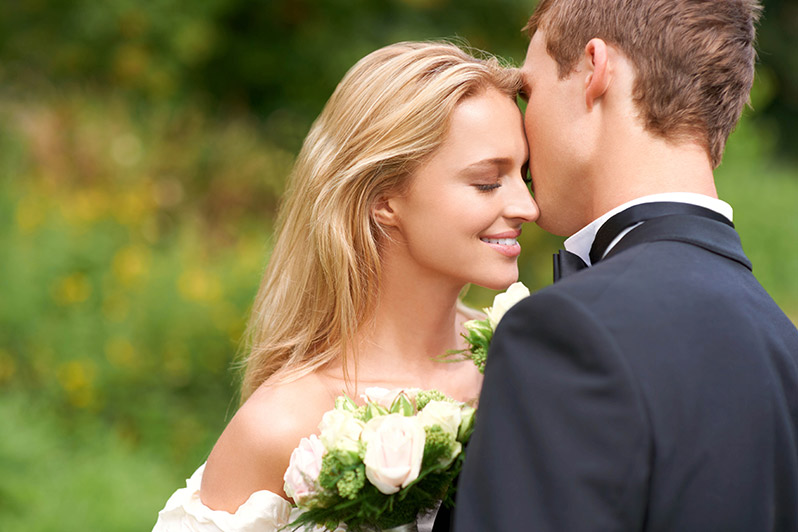
Before:

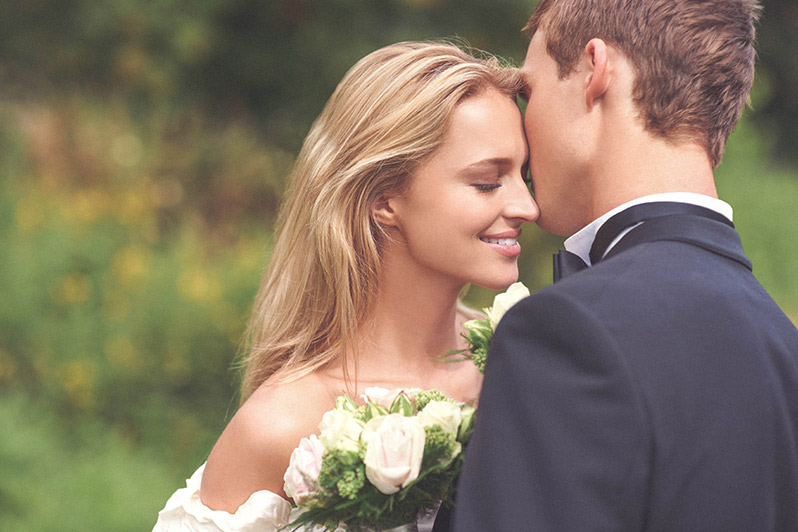
After:
Before:
After:
Before:
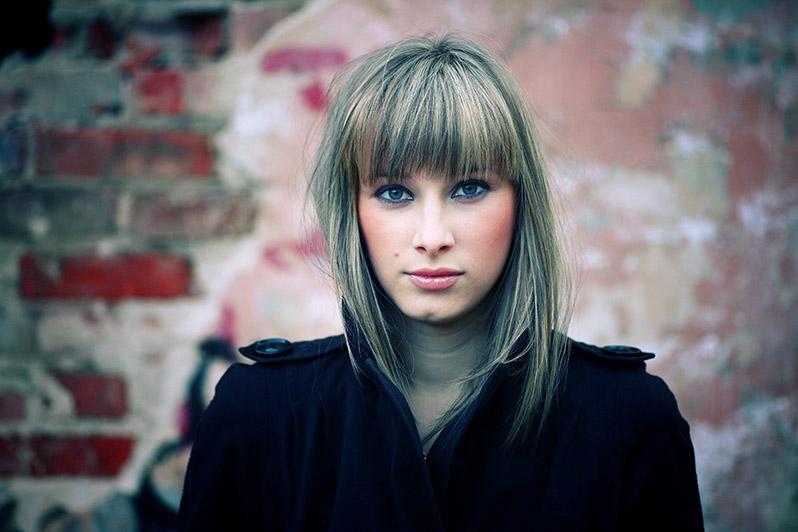
After:
If you want to be able to add this matte effect to your photos quickly and easily, download the free preset here. And if you’re looking for even more matte effects, please see our full set of Matte Lightrom Presets.

