Free Photography Bundle ($180 value): PS actions, LR presets, photo overlays, & print templates!
Get it here.
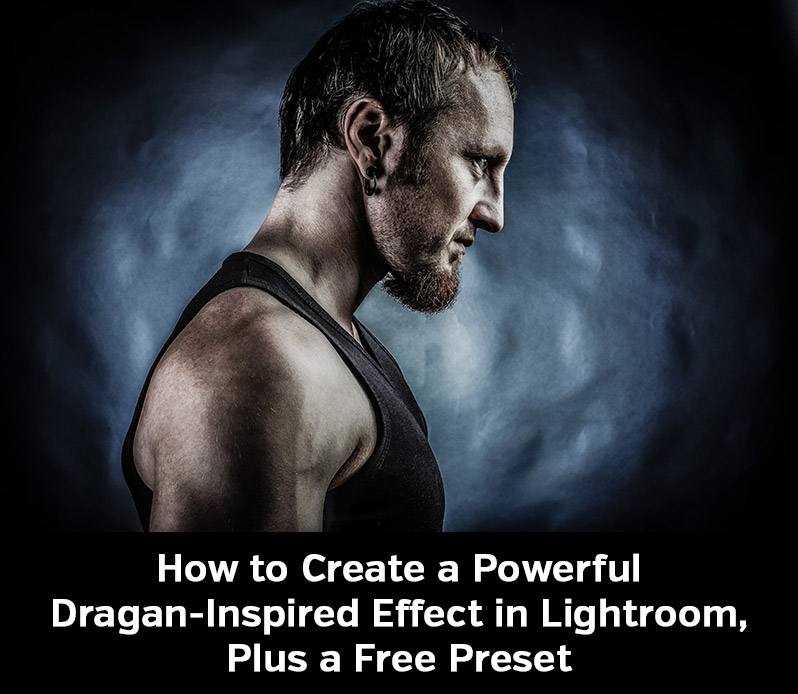
Andrzej Dragan is well-know for his distinct style of portraits. In this tutorial we’ll walk through the process of creating a Dragan-inspired effect in Lightroom. The result will be a high-contrast photo with a rough, textured look and feel. This effect isn’t ideal for all portraits, but in the right situation it can help you to create powerful and impactful images.
At the end of the tutorial you’ll also be able to download a free Lightroom preset to create the effect easily and instantly. The free preset is 1 of the 17 presets available in our new set of Dragan-Inspired Lightroom Presets. (Update – these Dragan-Inspired Lightroom Presets are currently on sale for a limited time. Get them for just $19 instead of the regular price of $29! See details.)
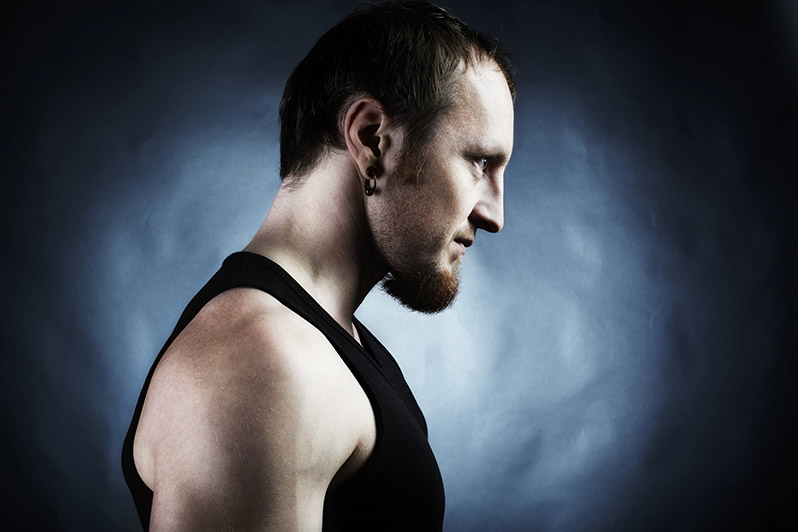
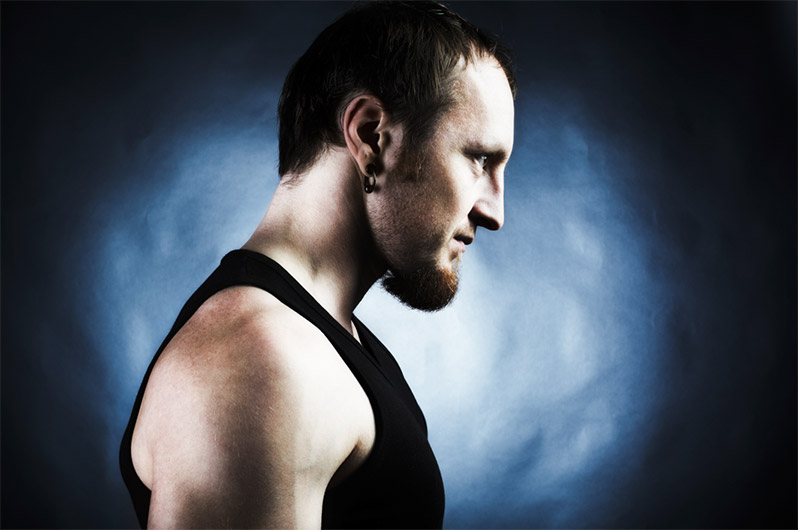
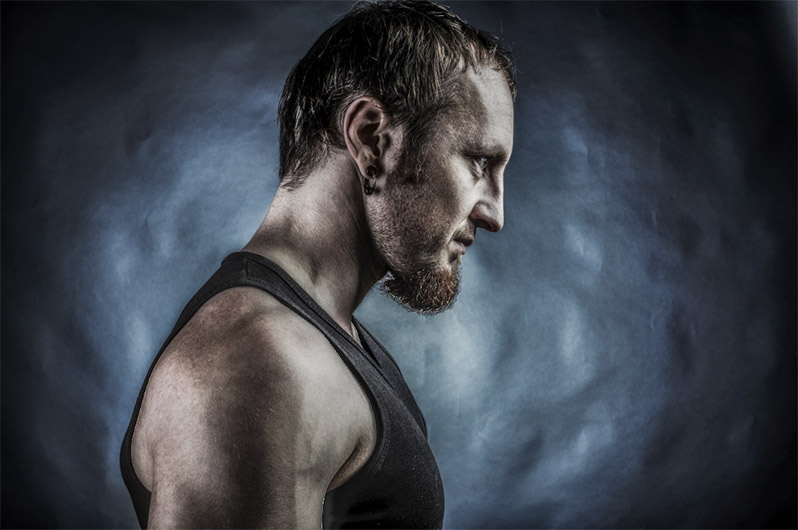
Here is a look at the “before” version of the sample photo that I’ll be working with in this tutorial.
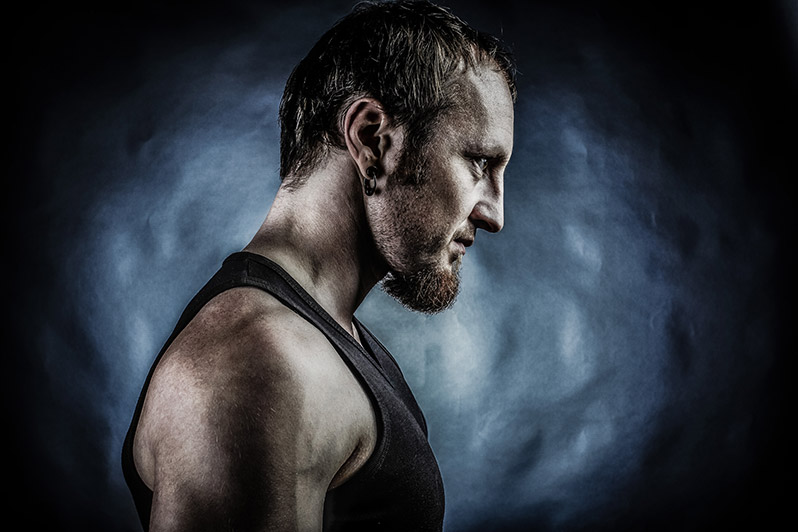
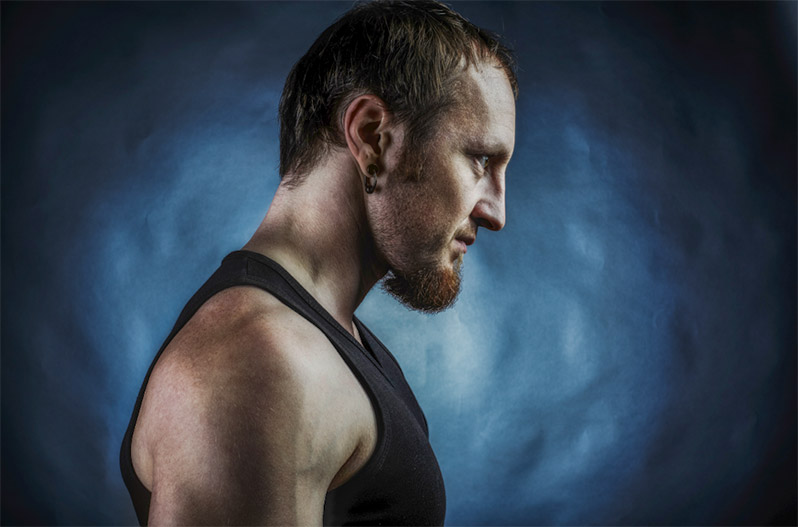
And here is a preview of the end result.
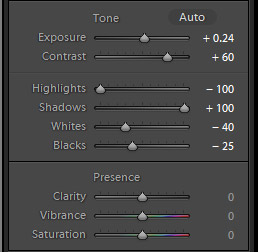
Ok, let’s get started. Many of the settings we’ll be changing are in the “Basic” section of Lightroom’s develop module (if you’re not already familiar with the develop module, please see Intro to Lightroom’s Develop Module). The first two settings that we’ll change are exposure and contrast. I am going to increase exposure by .24 because throughout the process of creating this effect the photo will get too dark without increasing the exposure. I’m also going to set contrast at 60, which will give the photo a very strong contrast.
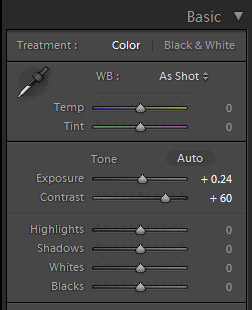
And with those change the photo looks like this.
Next up, changes to the highlights, shadows, whites, and blacks. I’m using the settings -100 for highlights and 100 for shadows to open up the dynamic range of the photo. I’m using -40 for whites, and I’m using -25 for blacks to give the photo a strong black point.
At this stage our work in progress looks like this.
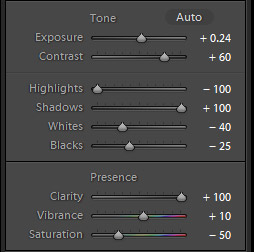
In the “presence” section of the “basic” settings I am going to set clarity to the max setting of 100 to give the photo a sharp, high contrast look. If 100 is too high for the photo that you are working with, back off that setting with a lower number. I’m also going to set vibrance at 10 and saturation at -50. Desaturating the photo will help to create the look that we’re after.
And below you will see how the photo looks at this point.
The next change I’ll make is to the tone curve. I am going to use one of the curve presets, medium contrast. To apply the curve click on the arrow next to “linear” and then select “medium contrast”. Since we’ve already drastically increased the contrast setting and the clarity setting, adding this tone curve may create too strong of an effect for some photos. If that is the case, just leave the tone curve set to linear.
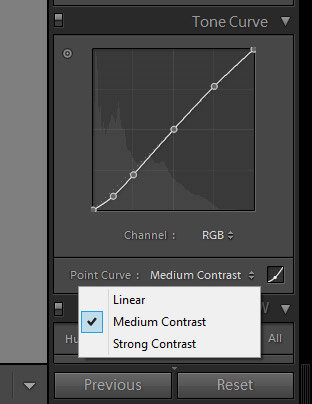
The photo below shows the current version.
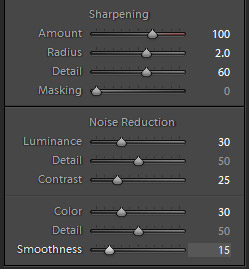
Next, we’ll move on to add some sharpness. In the “detail” section of the develop module I am applying the following sharpening settings: amount = 100, radius = 2, detail = 60. This will give the photo a very sharp look.
And for noise reduction I am using these settings: luminance = 30, detail = 50, contrast = 25, color = 30, detail = 50, and smoothness = 15.
If you’re not very familiar with sharpening and noise reduction settings please see Applying Sharpening and Noise Reduction in Lightroom.
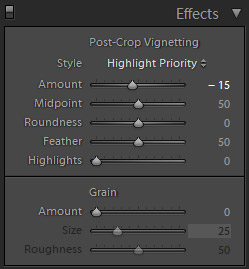
And the last change that we’ll make is to add a vignette. I’m setting the amount to -15 to give it a subtle vignette. This particular photo already has dark edges, but you may or may not want to add a vignette on your photo.
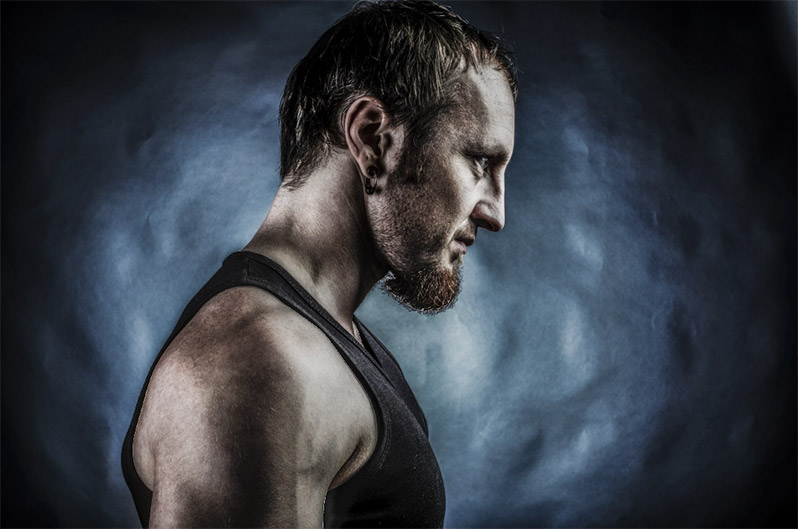
And that’s it! Here is our end result.
If you want to apply this Dragan-inspired look to your photos very easily you can download this free Lightroom preset (for LR 4, 5, 6, and CC). And if you want even more Dragan-inspired effects, please see our full set of 17 Dragan-Inspired Lightroom Presets.

