Free Photography Bundle ($180 value): PS actions, LR presets, photo overlays, & print templates!
Get it here.
If you’re looking for a way to add some intrigue to a photo, applying a cross processing effect is one option. Cross processing in film photography involves intentionally processing film in chemicals intended for a different type of film. The results are unpredictable, but the shifts in color often creating a really interesting look.
Cross processing can easily be replicated in digital post processing using either Lightroom or Photoshop. In this article we’ll walk through the process of creating a cross processed effect in Lightroom. The effect used here is on the more subtle side when compared with some cross processed effects, which I think makes it a little more useful for a wider variety of photos. At the end of the article you’ll be able to download a free Lightroom preset that will apply these settings to your photos.
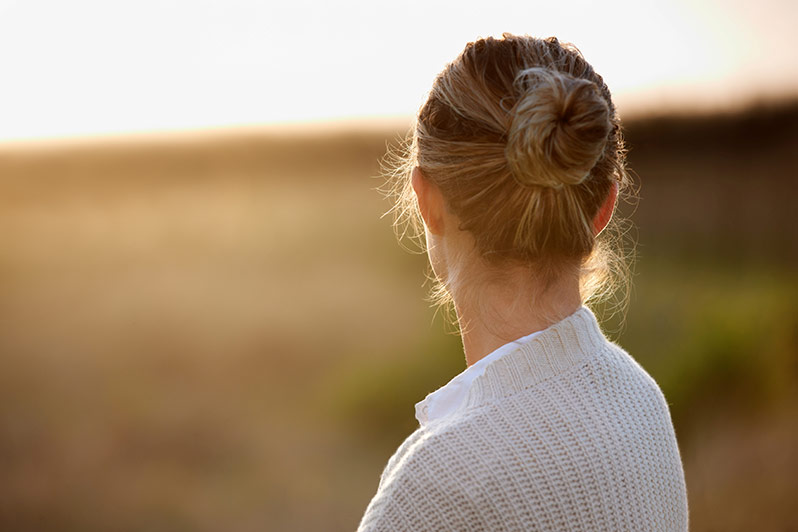
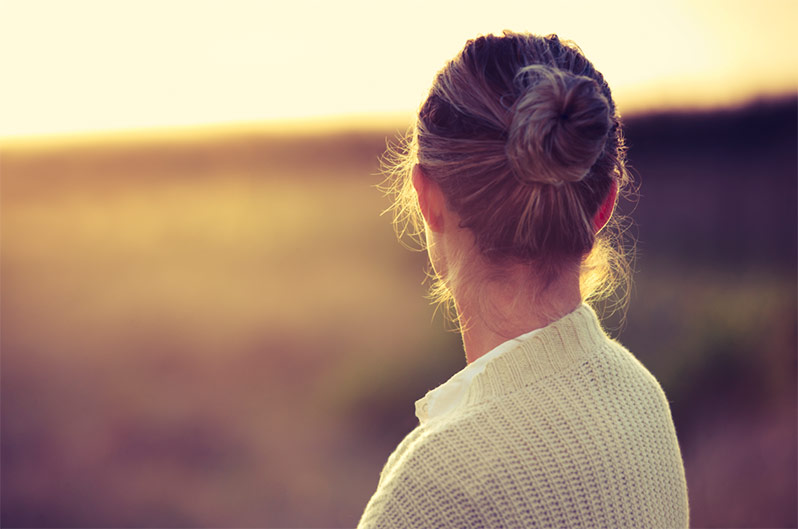
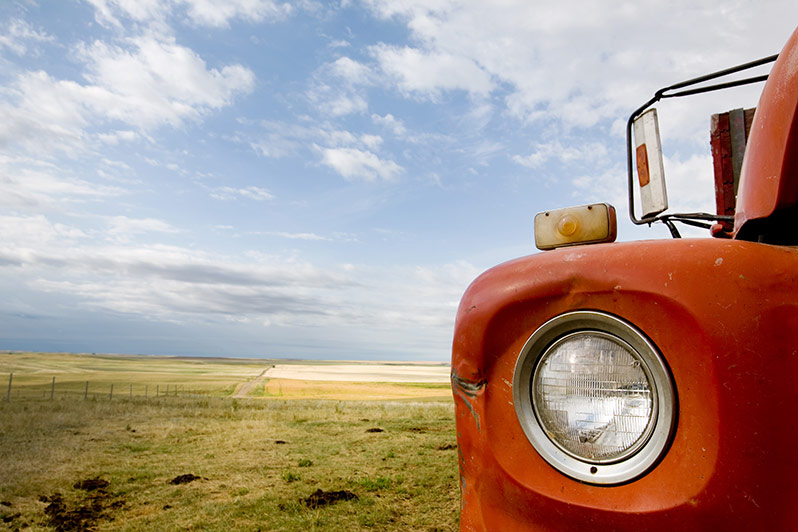
Here is a look at the “before” version of the sample photo that I’ll be working with in this article.
And here is a look at the “after” version.

Before we get started, it’s important to point out that these effects will look different on any photo. You may need to adjust some of the settings from this tutorial in Lightroom in order to get the best results with your specific photo.
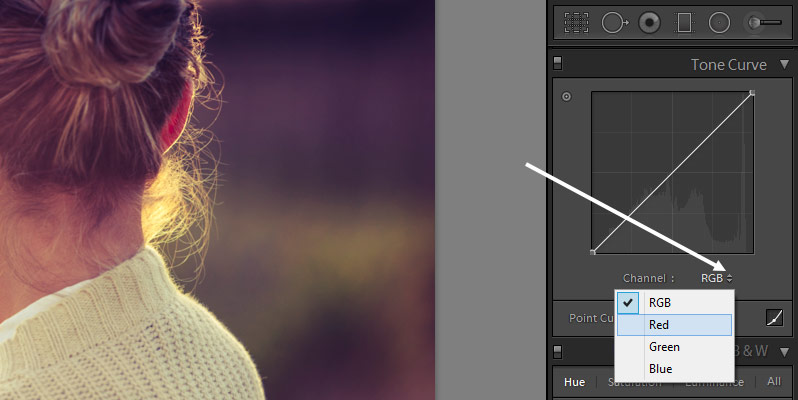
The first thing I want to do is adjust the tone curve, which provides the foundation of the cross processed effect. You can leave the RGB curve untouched, but we will be adjust each of the Red, Green, and Blue curves. Next to the “RGB”, click on the arrows to open up the menu and select the “Red” curve.
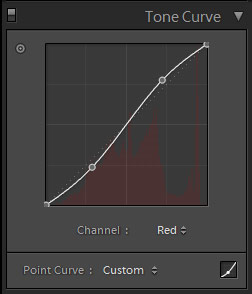
Create a slight “S” curve. Since I want this effect to be rather subtle I am keeping the “S” curve fairly subtle as well.
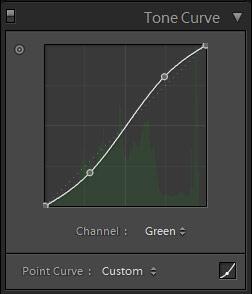
Next, select the Green curve and apply a similar “S” curve.
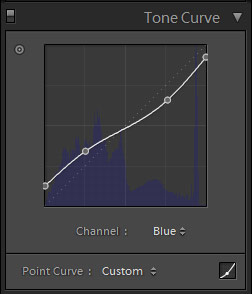
Next, select the Blue curve and give it a reverse “S” curve. In this case I’m also adjust the end points of the curve a little bit as well. This will give more blue to the dark areas of the photo.
Now we’re done with the tone curve, and at this point we already have a nice subtle cross processed effect. We’ll make some more changes to the settings in a minute, but here is a look at the current work in progress.
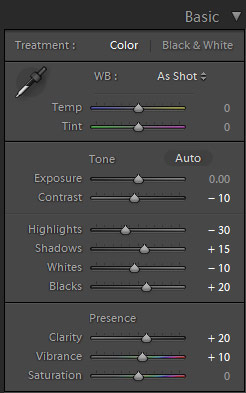
Next, we’re going to make some changes in the Basic section of the settings. Keep in mind that the optimal settings may vary depending on the photo that you are working with. First, I’m going to give the photo a small decrease in contrast by setting the contrast to -10. Next, we’ll adjust the Highlights, Shadows, Whites, and Blacks. I’m going to use the settings of -30, +15, -10, +20, which will increase the dynamic range a little bit without giving it an overwhelming HDR-like look. Last, I’ll give Clarity and Vibrance a boost. I’m using settings of +20 and +10.
And that’s it! You could continue to add changes to other settings if you’d like, such as adding a vignette or some grain, but this gives the basics of a subtle cross processed look. Here is another look at the end result.
If you’d like to use this effect in your own photos you can download the Subtle Cross Processing Lightroom Preset here (for LR 4 and 5). If you’d like more presets of this style please see our full set of Cross Processing Lightroom Presets, which includes a total of 20 presets.
If you want even more Lightroom presets check out our Ultimate Photography Bundle, which includes more than 1,000 different presets.
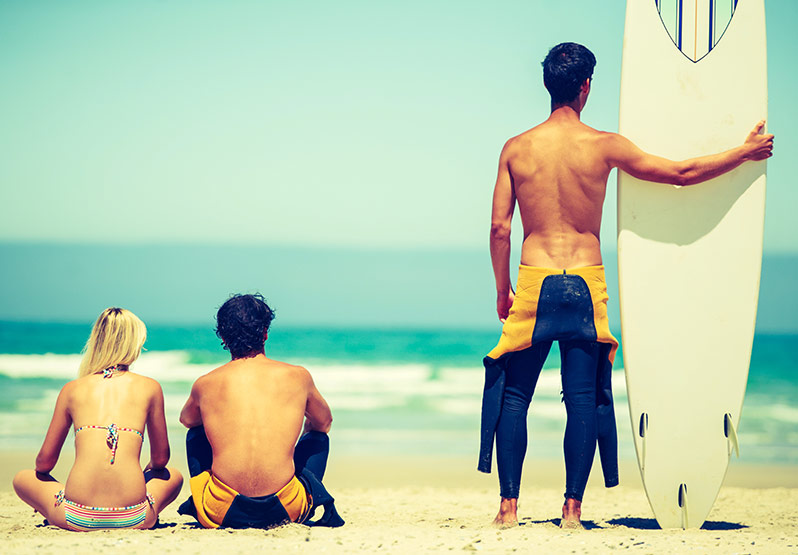
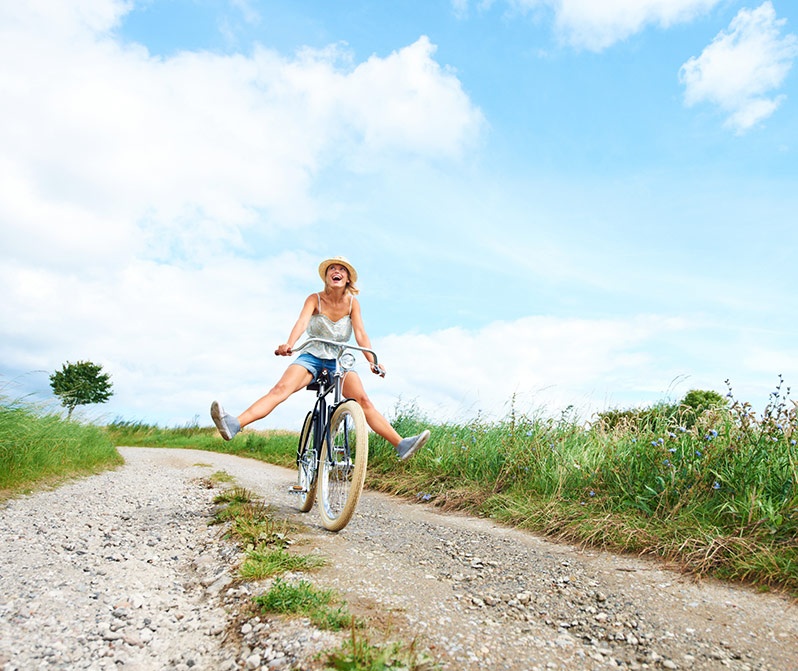
Additional Before and After Photos
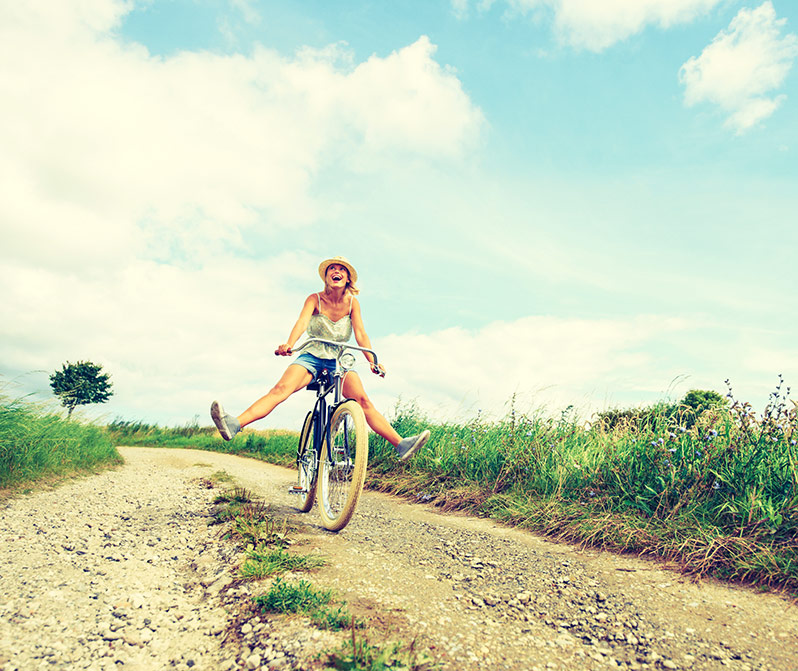
The photos below show the effects of the preset on some additional images.
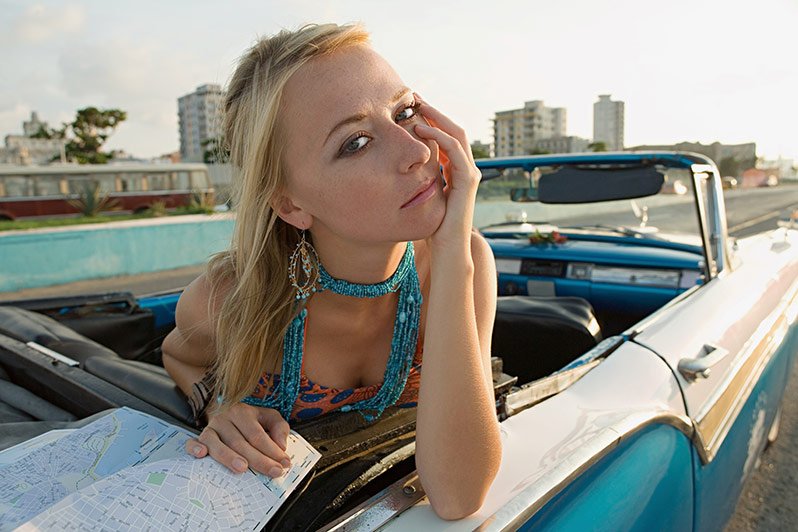
Before:
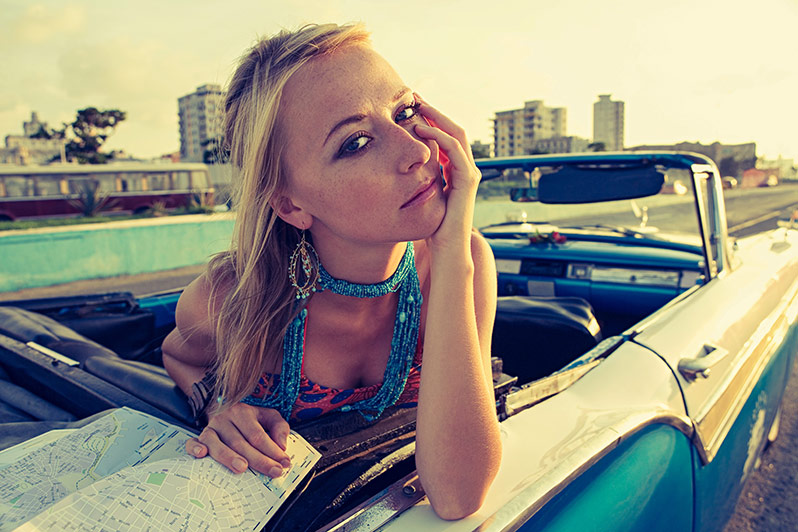
After:

Before:
After:
Before:
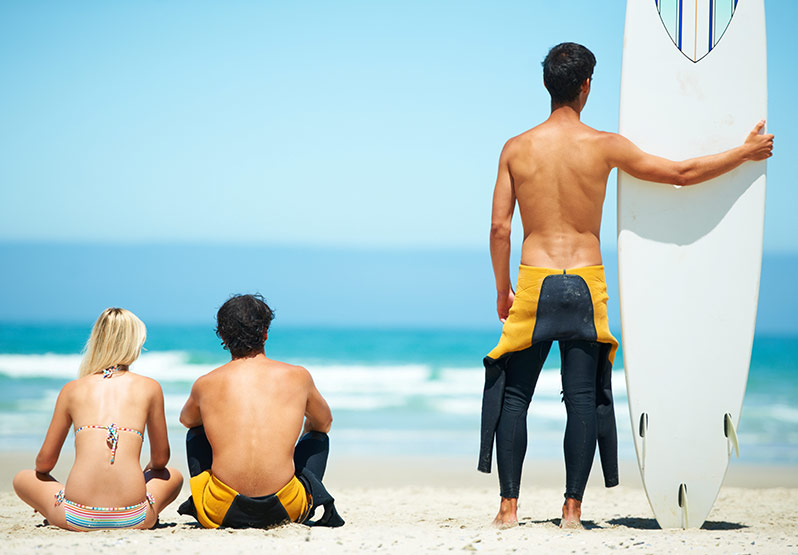
After:
Before:
After:
To learn more Lightroom techniques please see these tutorials:
- How to Create a Grainy Matte Effect in Lightroom, Plus a Free Preset
- How to Create a Lomo Effect in Lightroom
- How to Create HDR Effects in Lightroom
- How to Create a Desaturated Cinema Effect in Lightroom, Plus a Free Preset
And if you’re interested in learning more about the basics of Lightroom, please see our Photo Editing in Lightroom 101 series.

